Build and launch an email sequence
This walkthrough demonstrates how to create and deploy an AI-powered email outreach sequence in Kuration. Users start by generating personalized multi-email sequences through the Engagement toolbox, then configure a linear cadence that maps each AI-written email to specific touchpoints with built-in wait periods and reply handling. The process concludes with naming and activating the complete sequence, enabling automated, personalized outreach to enriched leads.
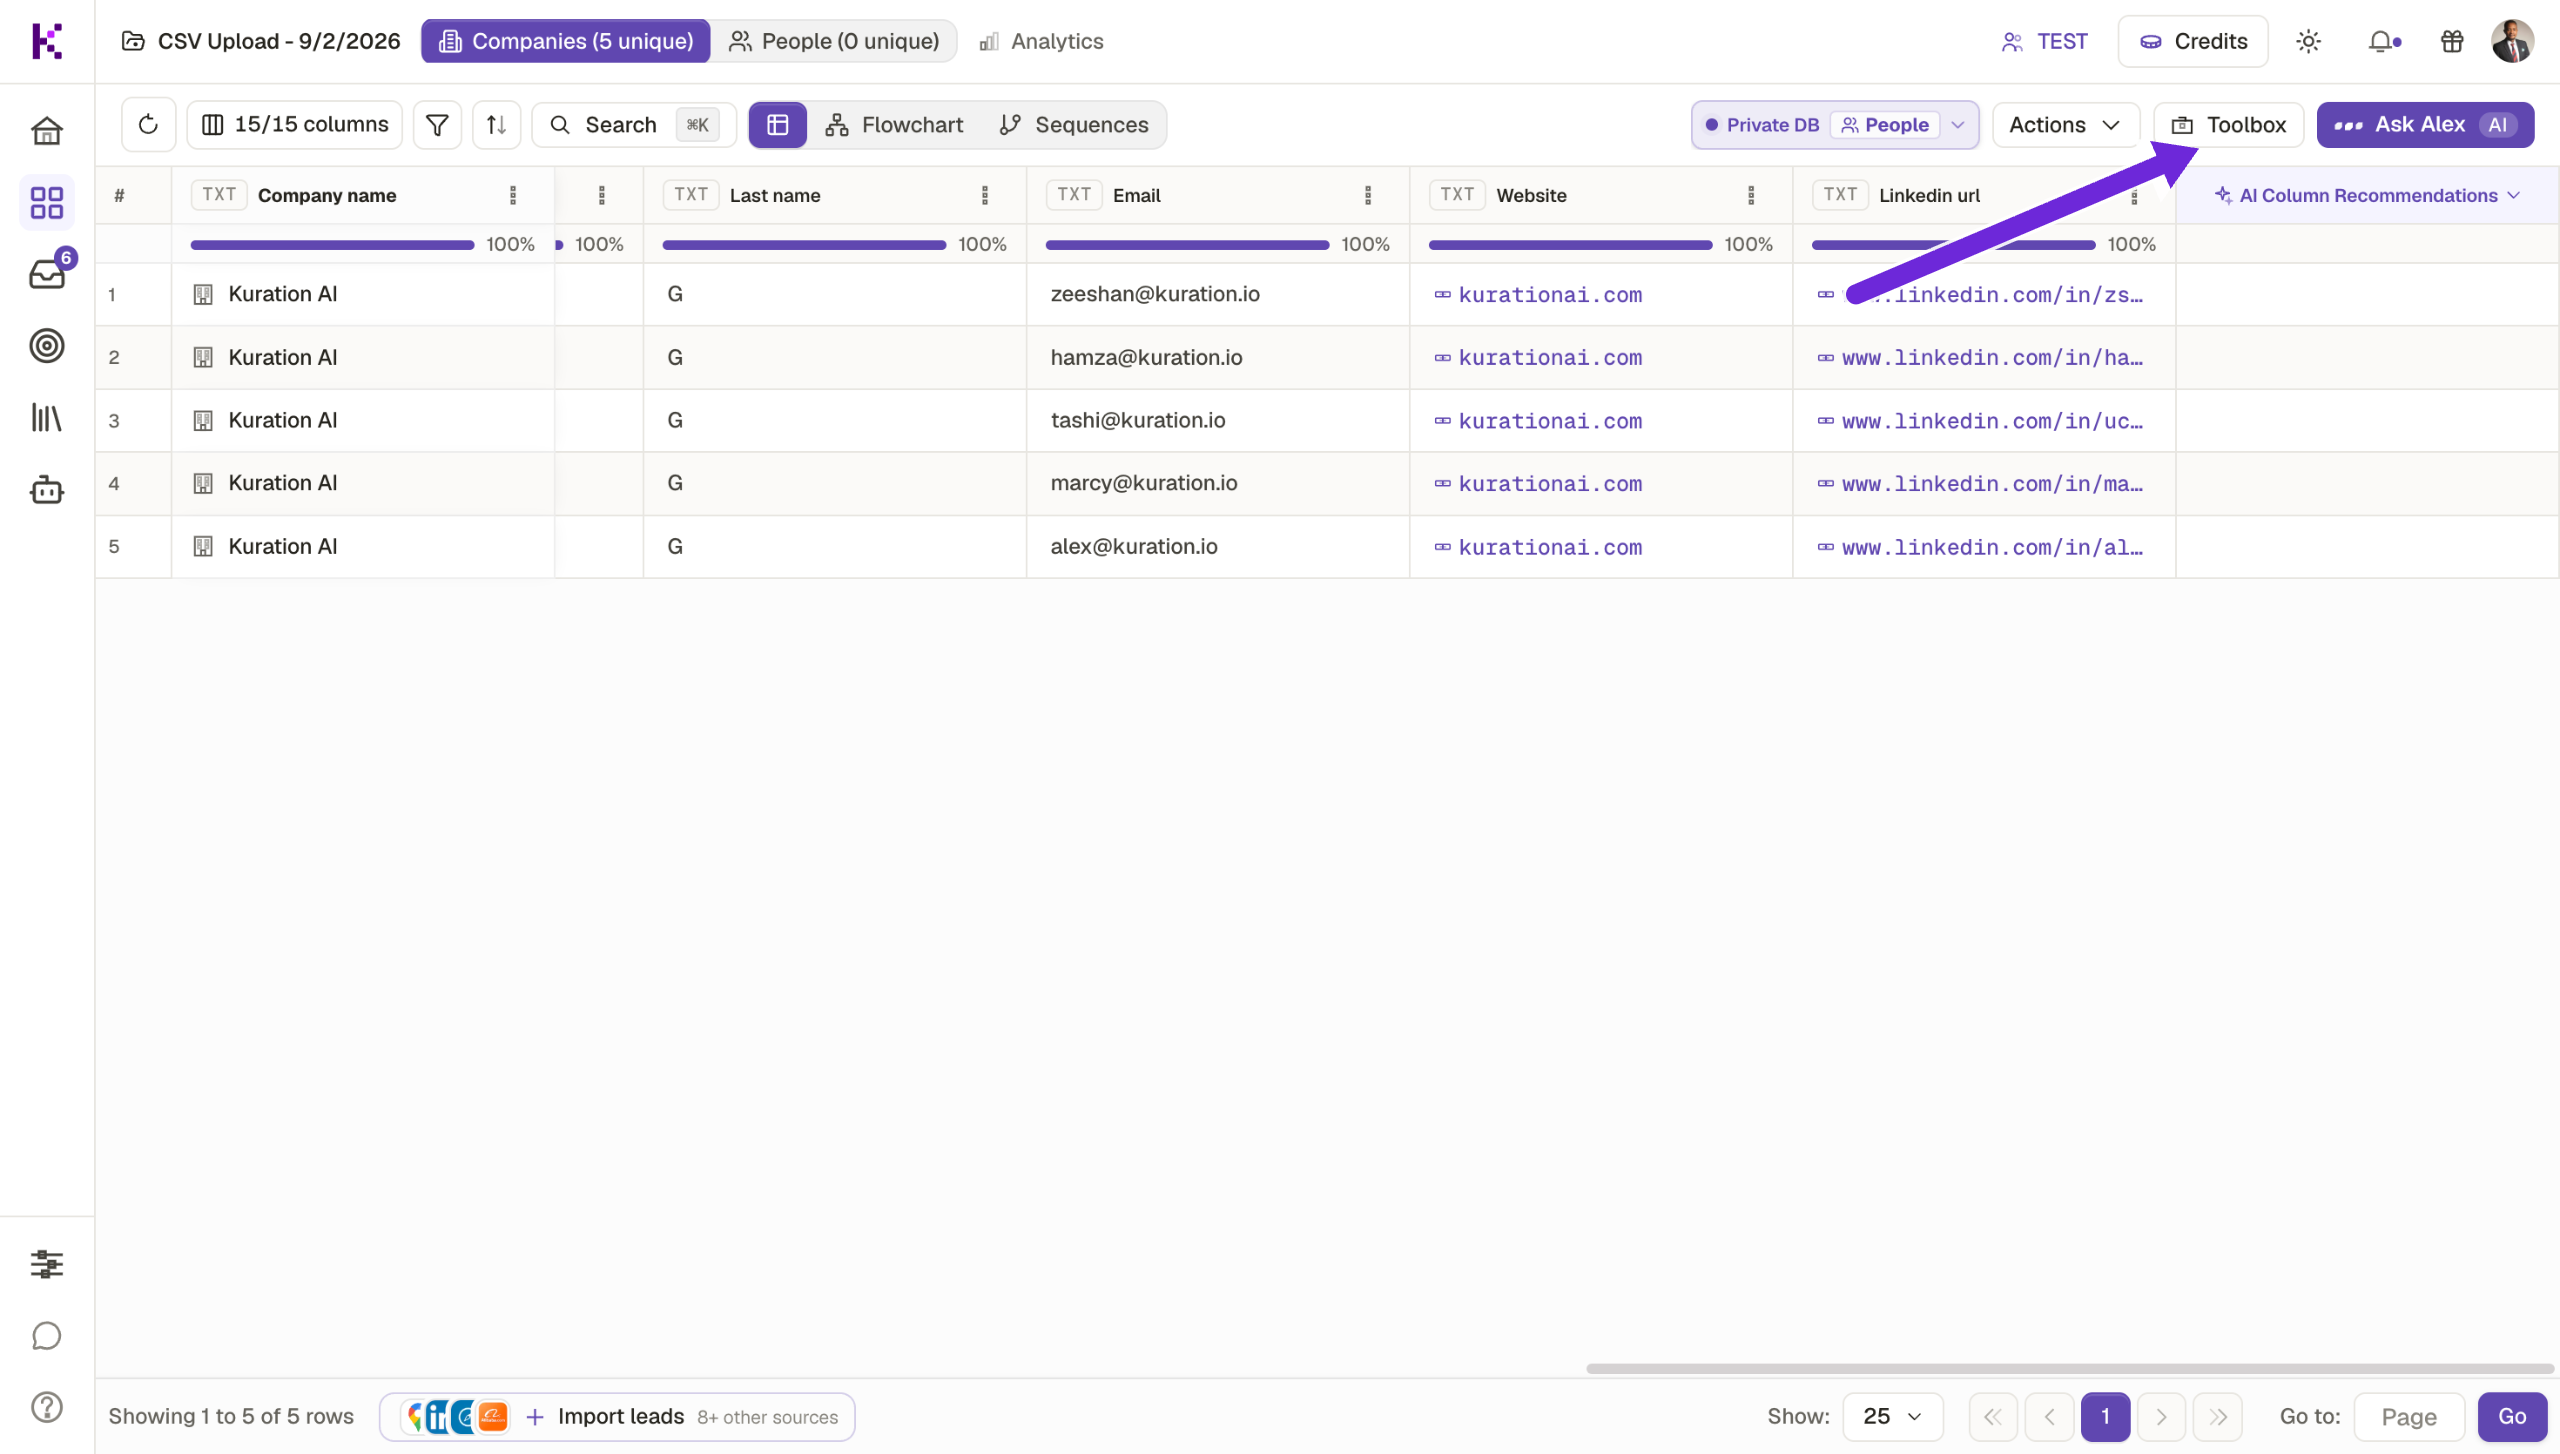
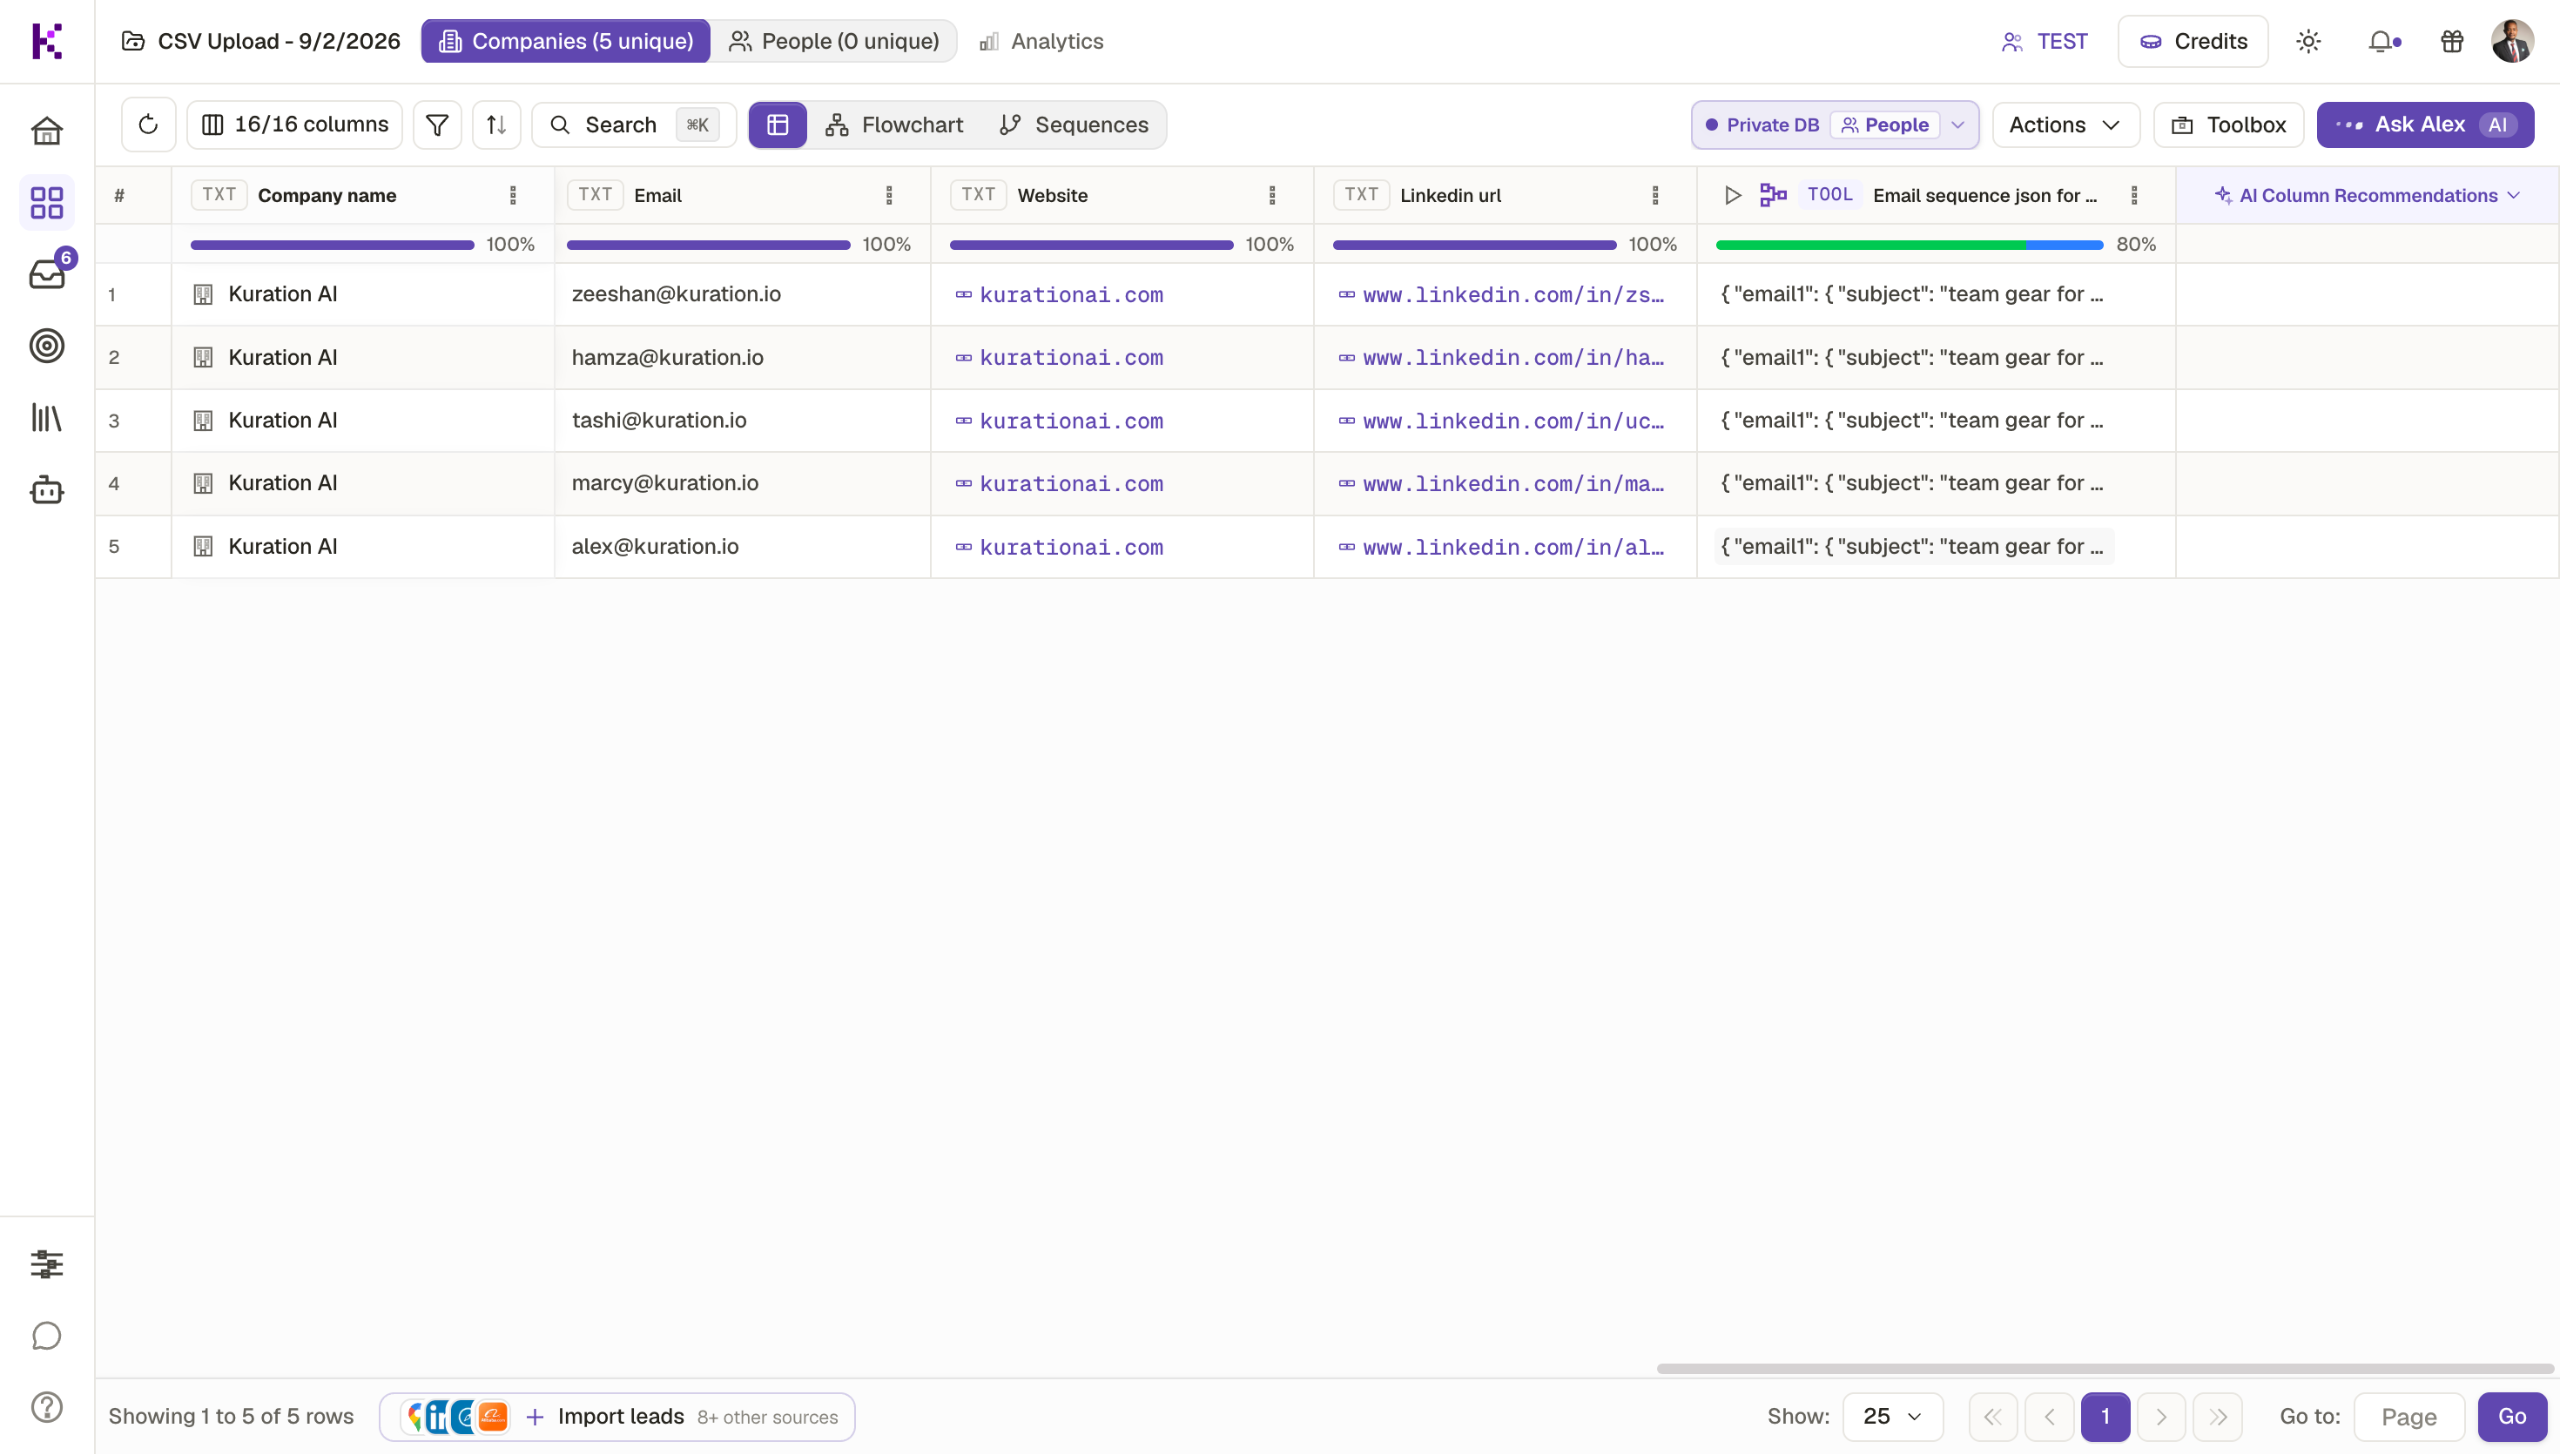
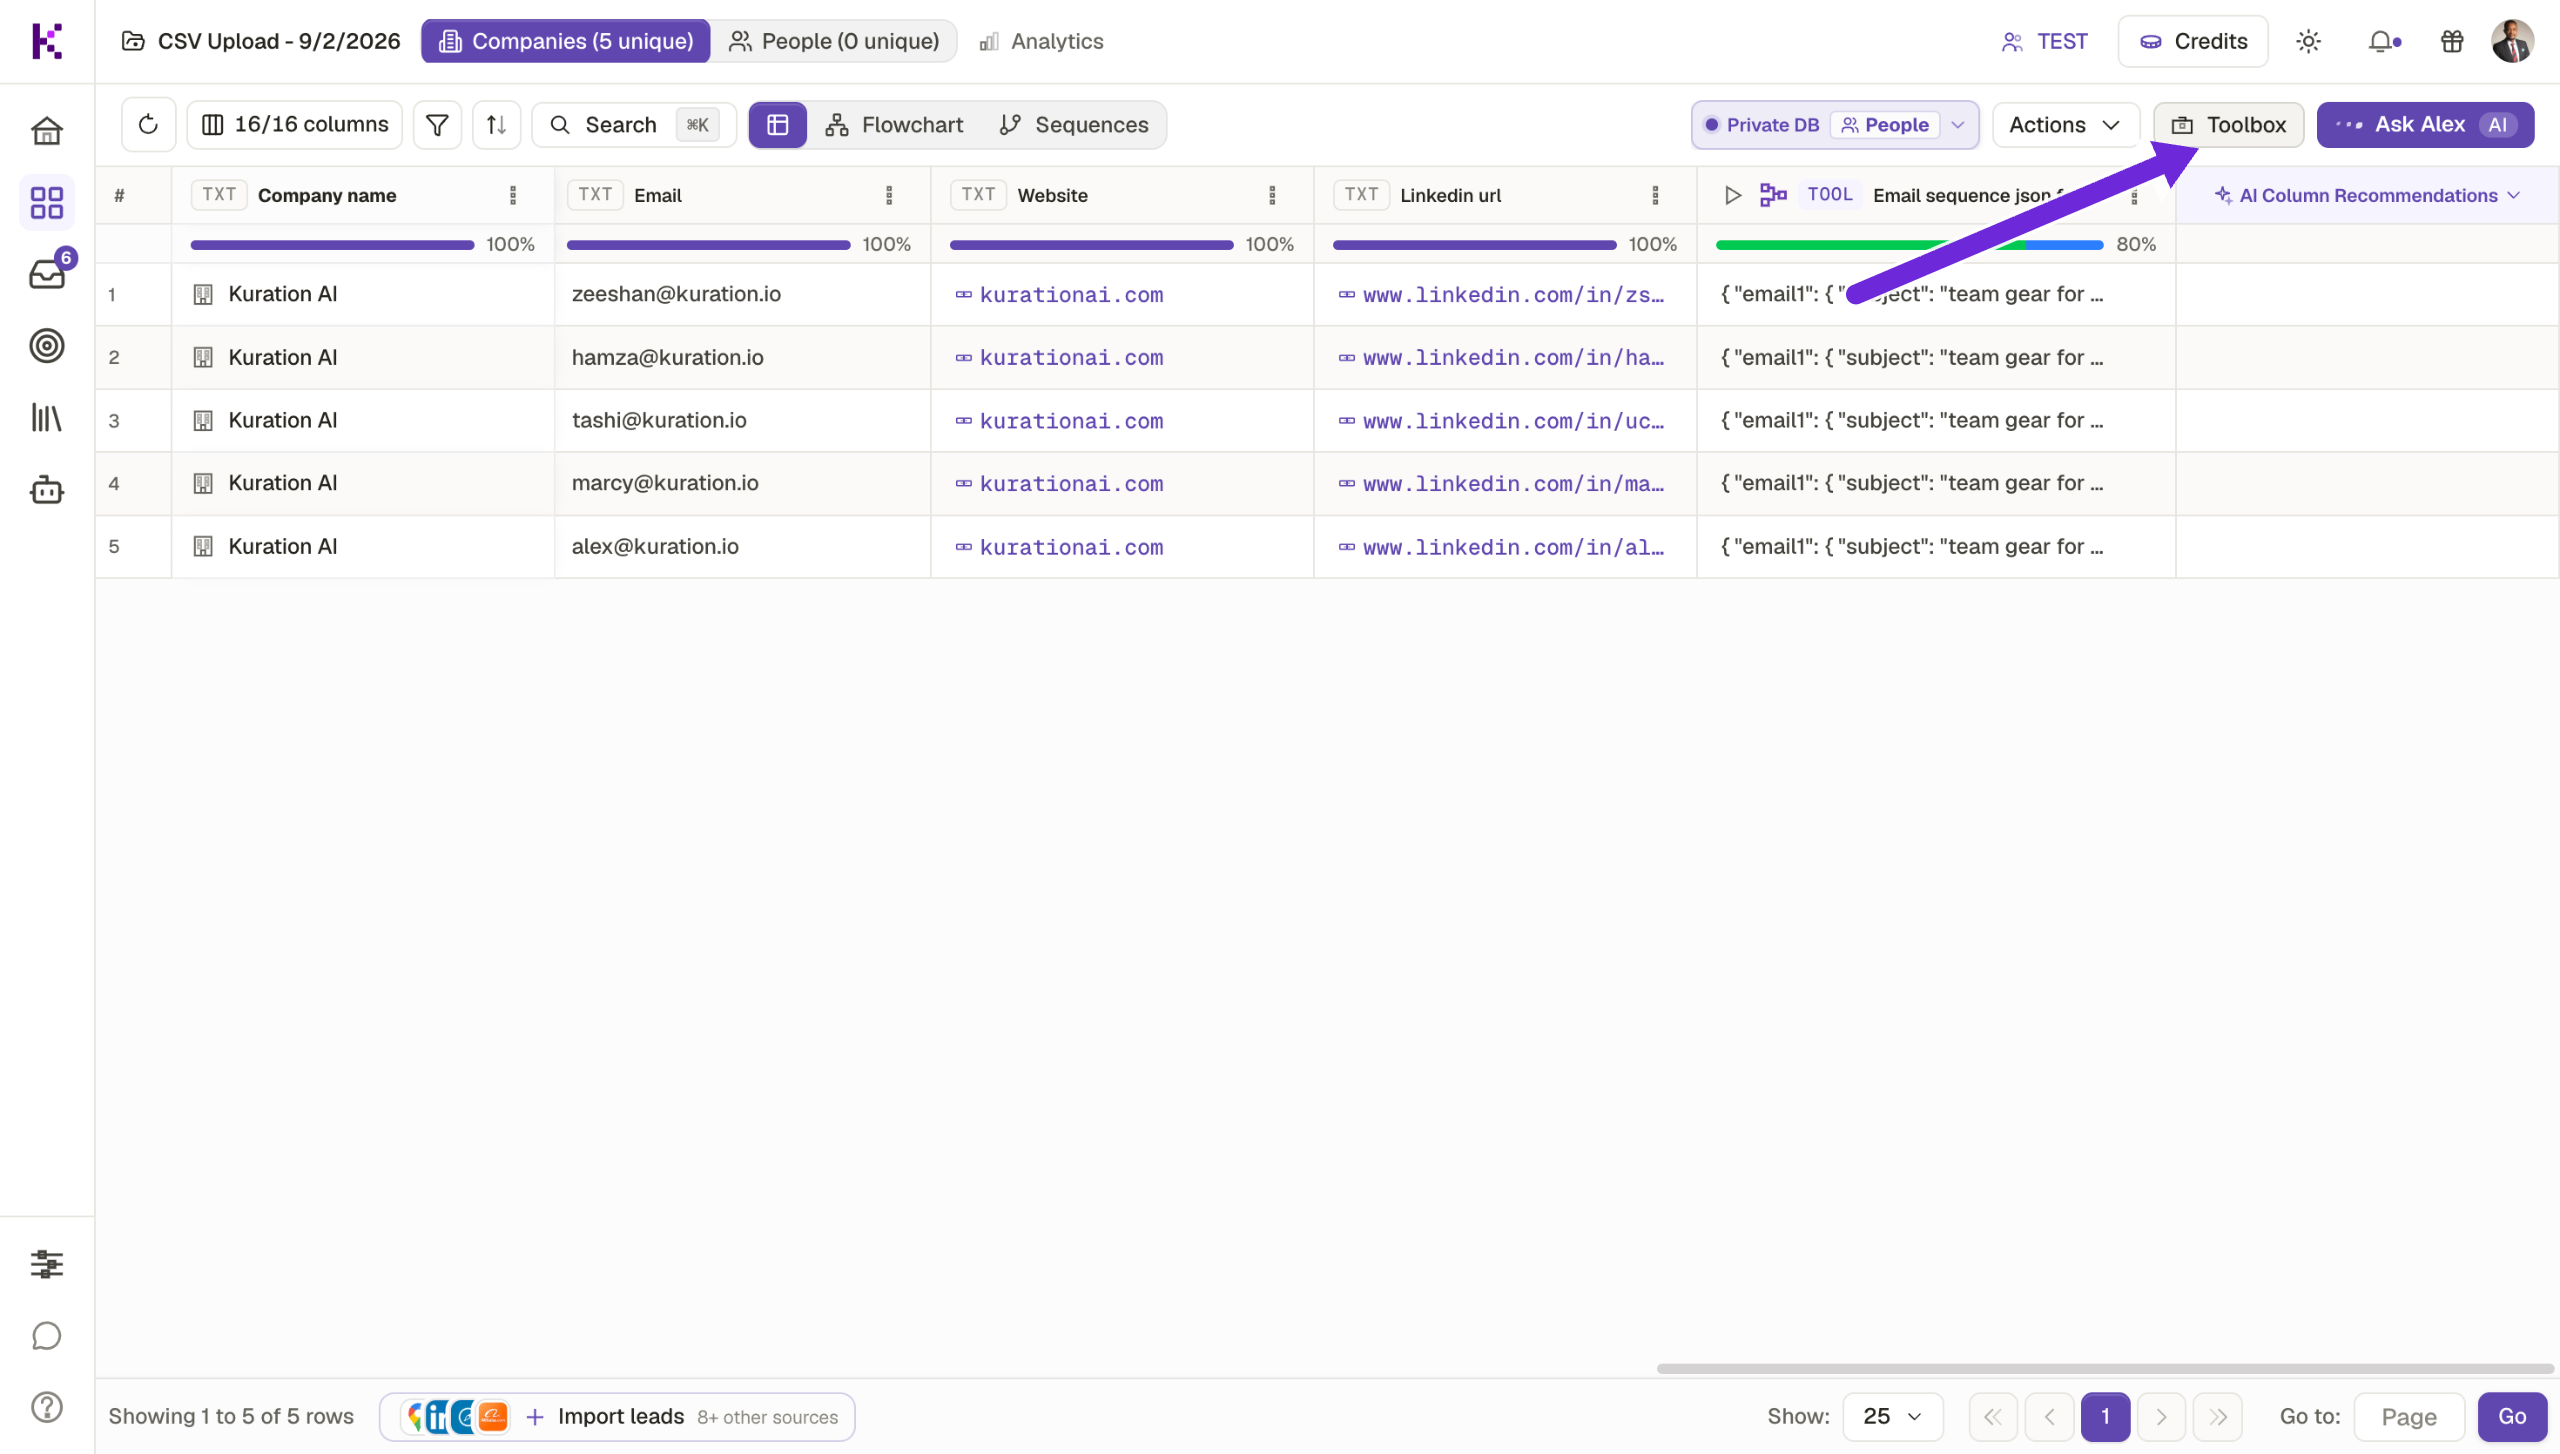
Open your list and Head to the Toolbox — this is where Kuration AI's enrichment and engagement tools live.

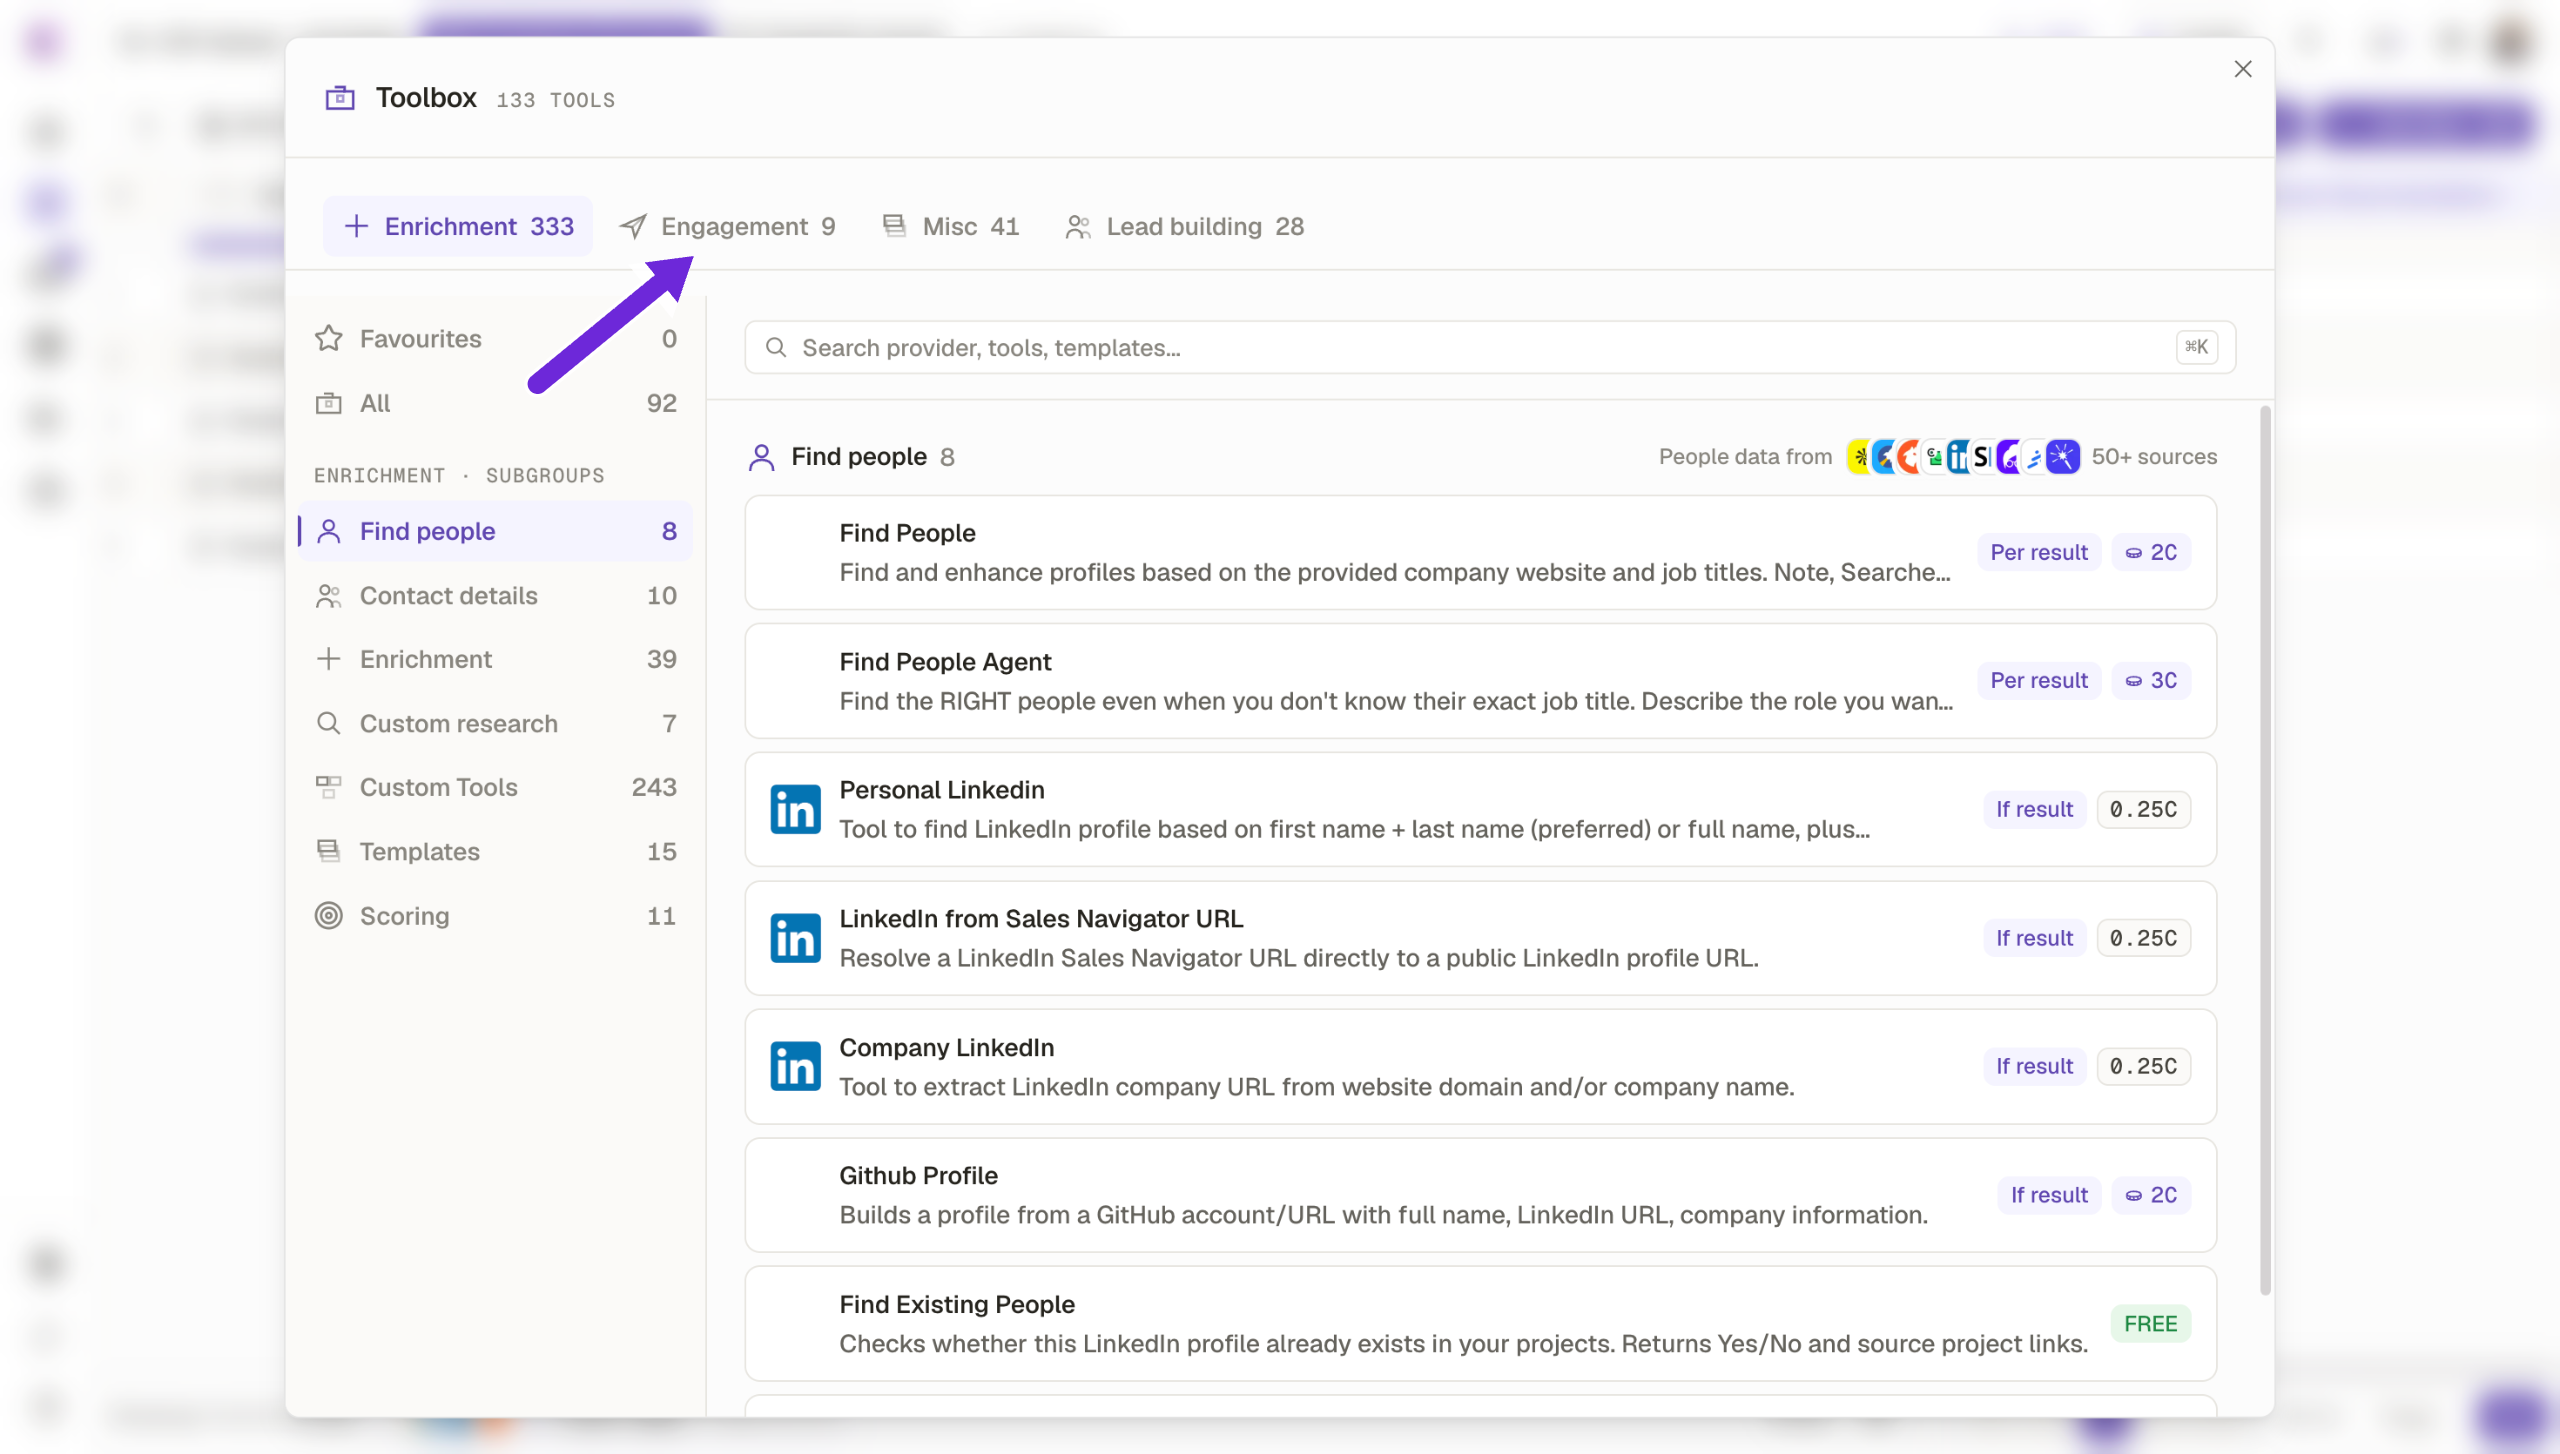
Open Engagement to start crafting outreach sequences tailored to your enriched leads.
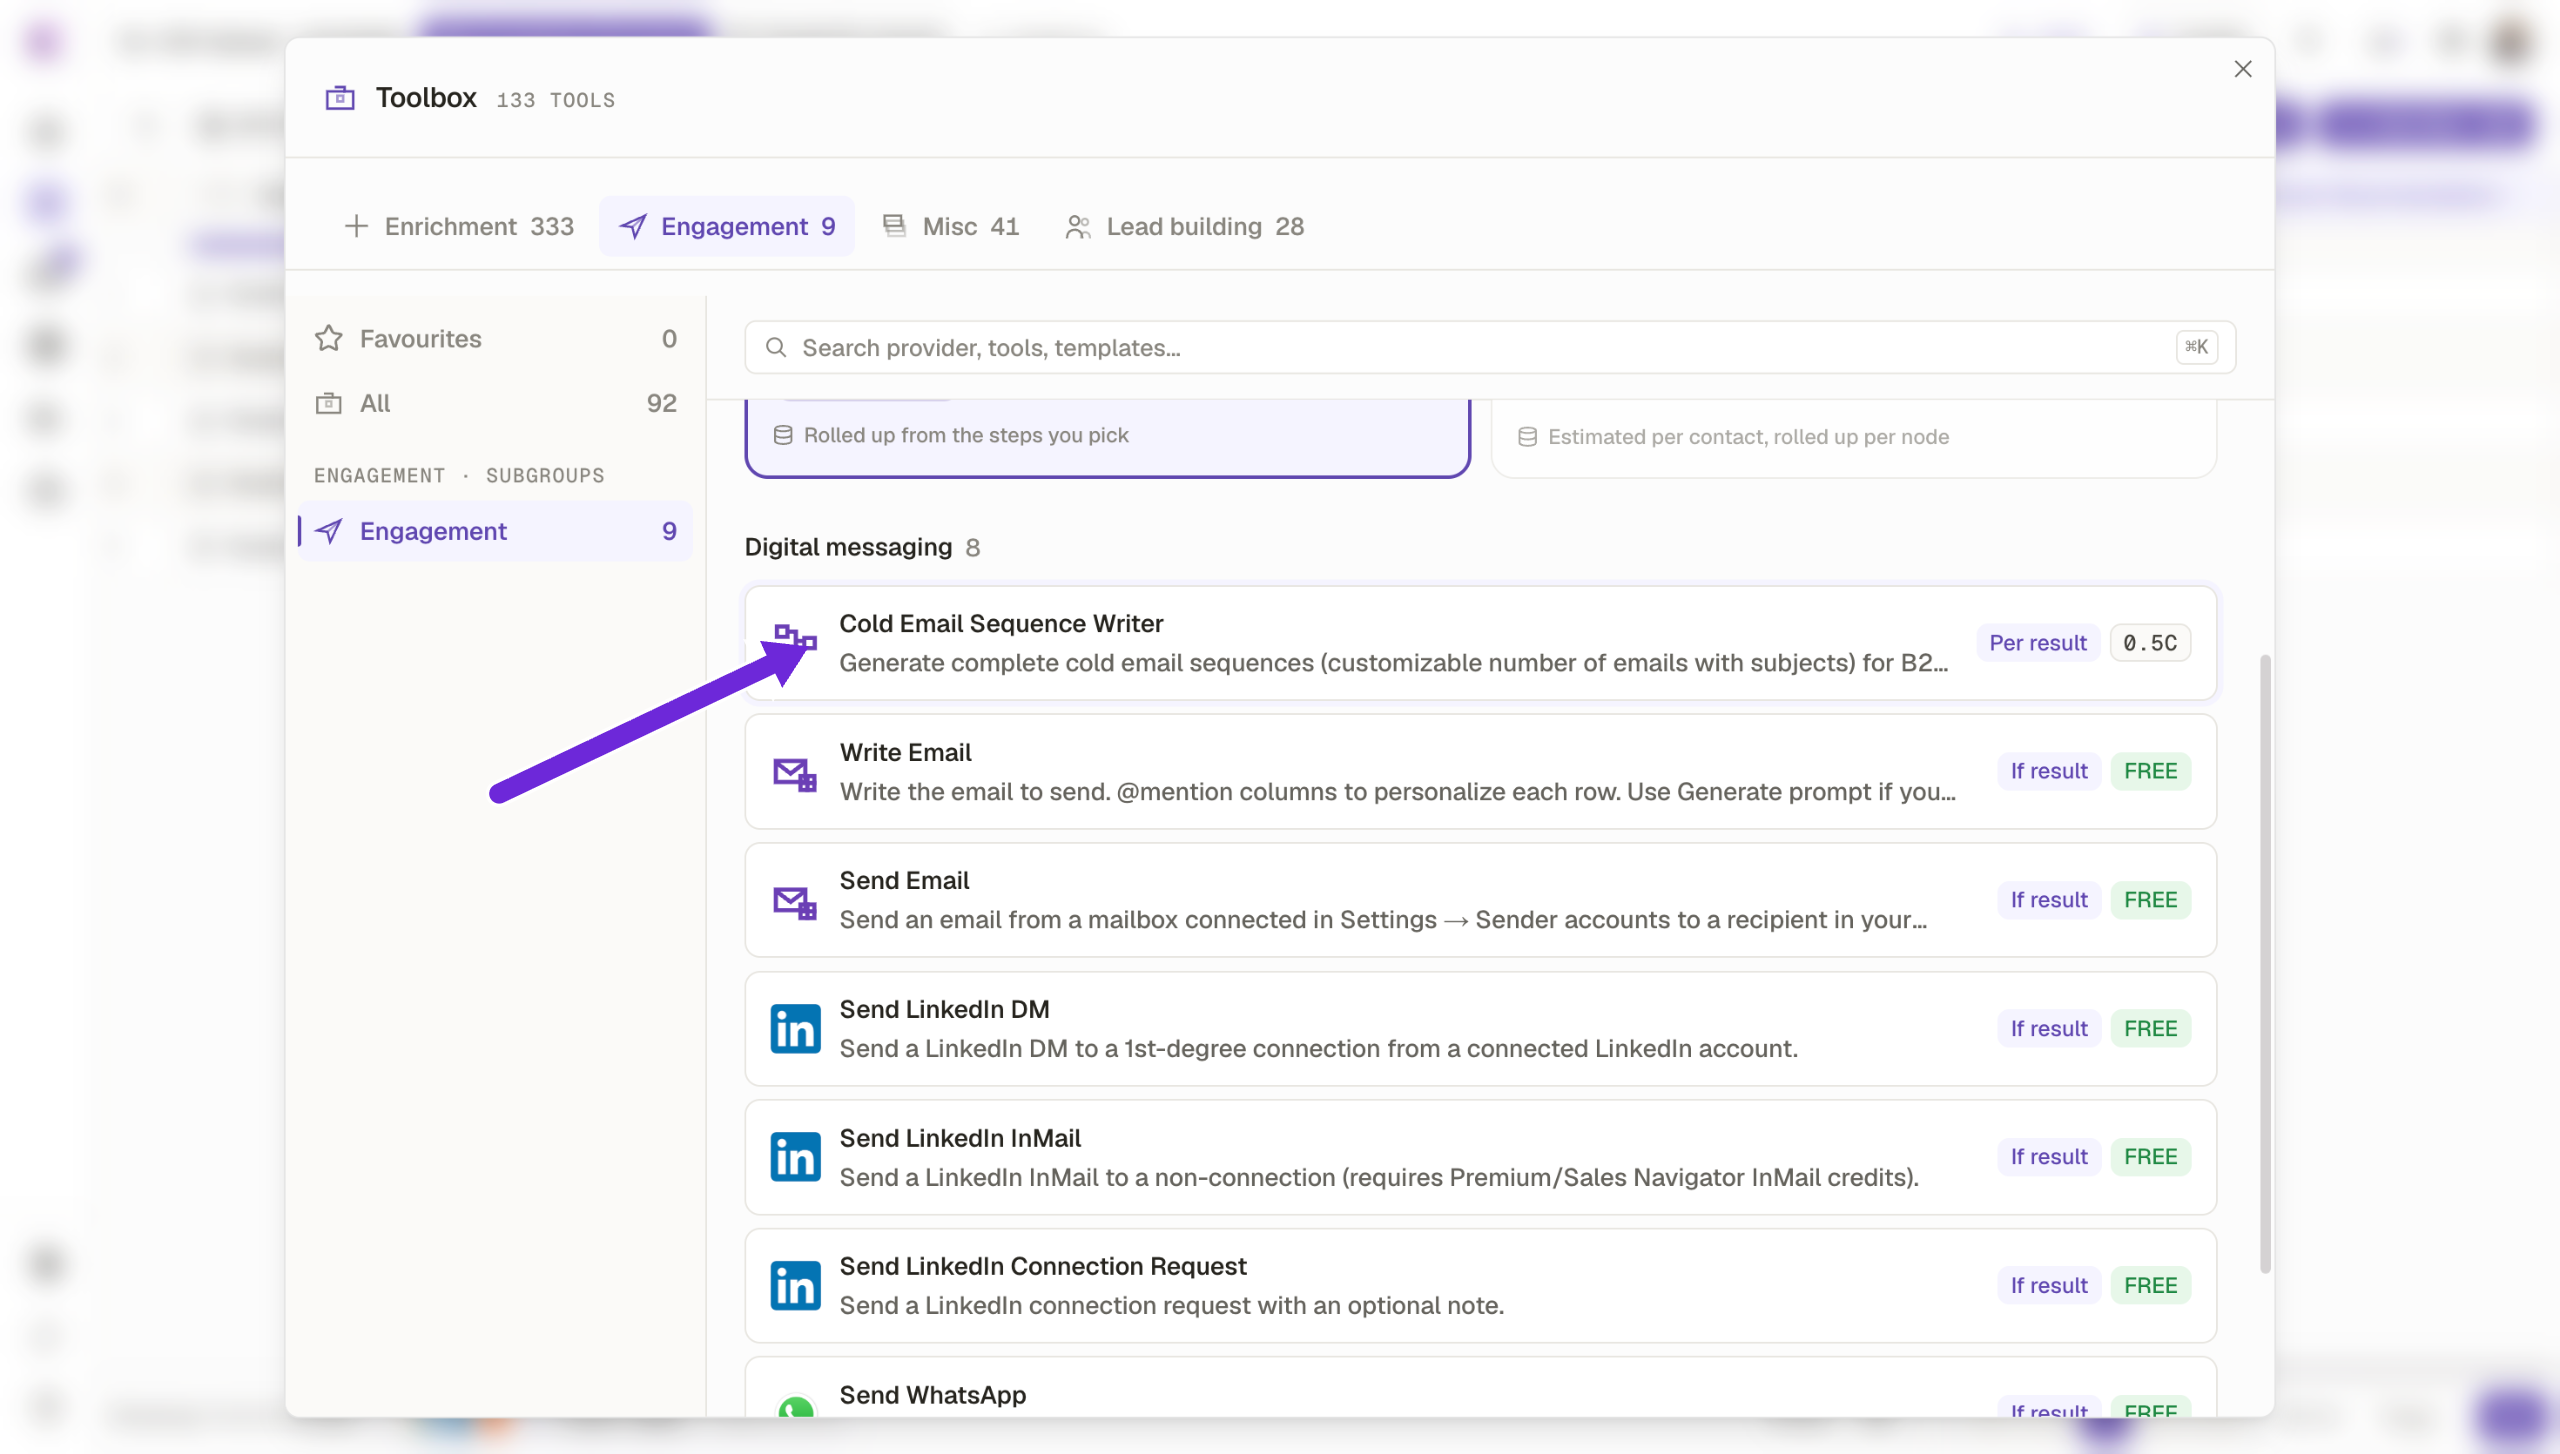
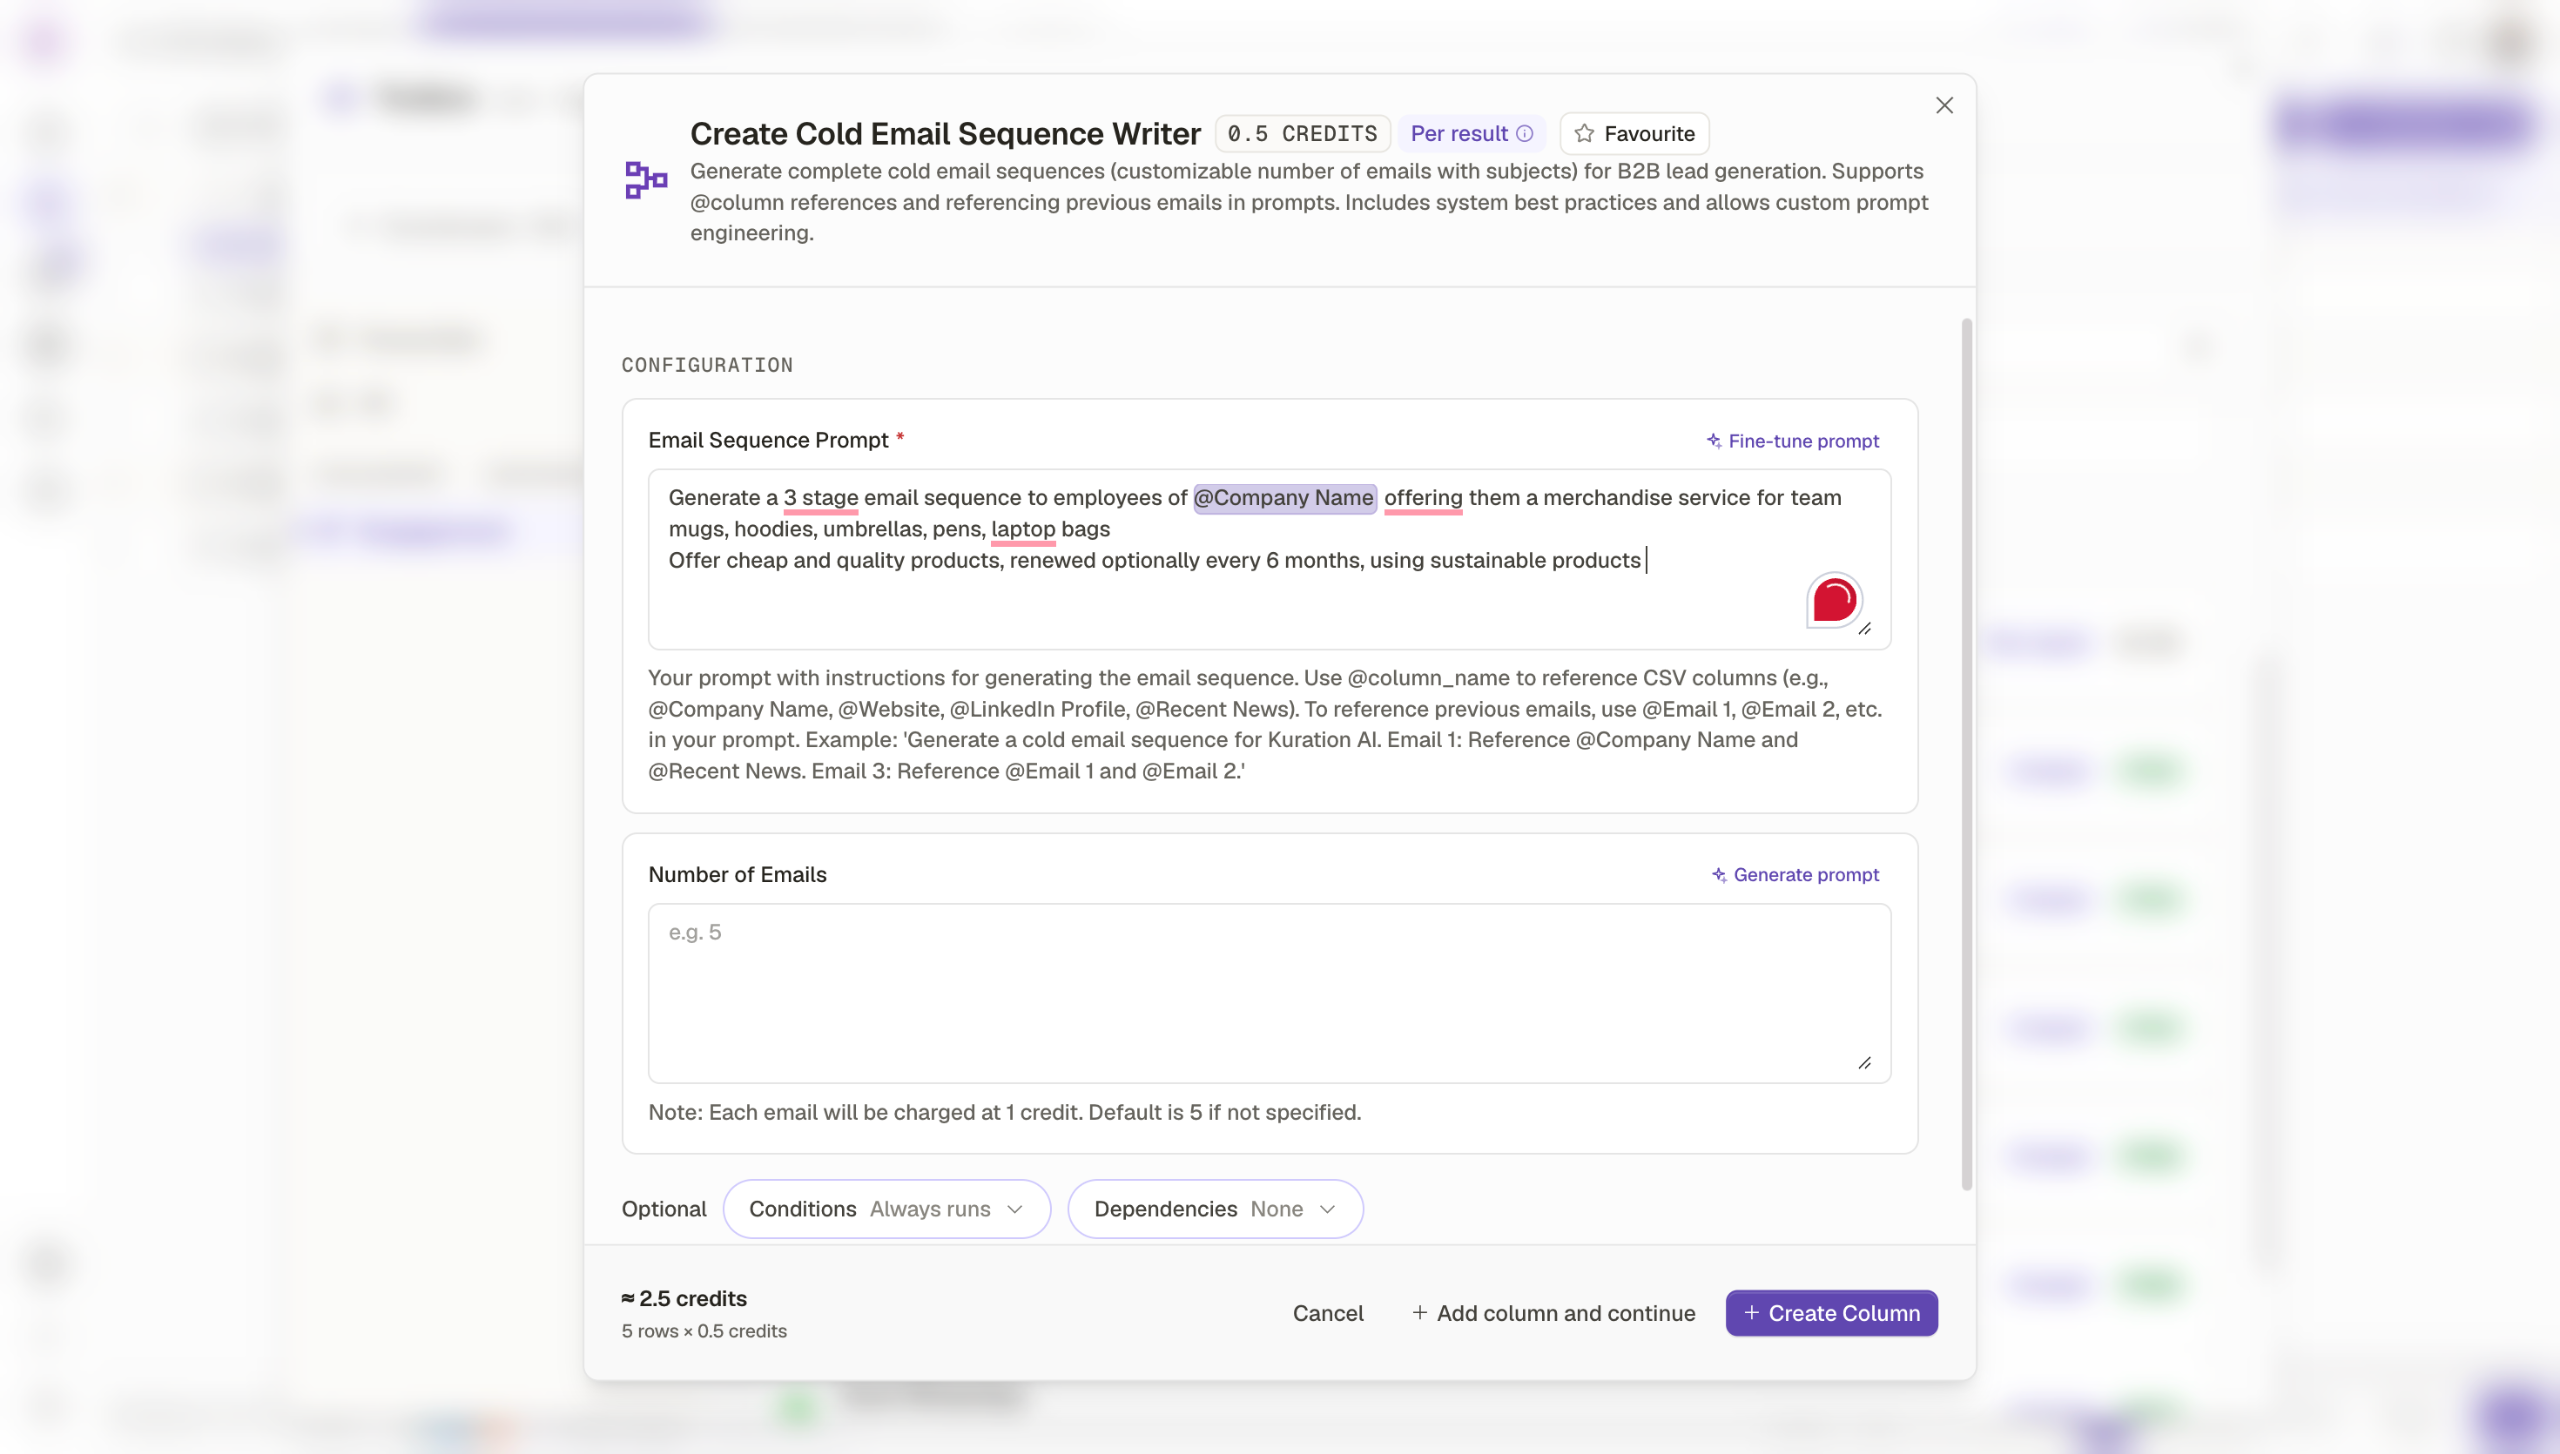
Select the engagement tool that fits your outreach goal, we will select the Cold Email Sequence Writer.

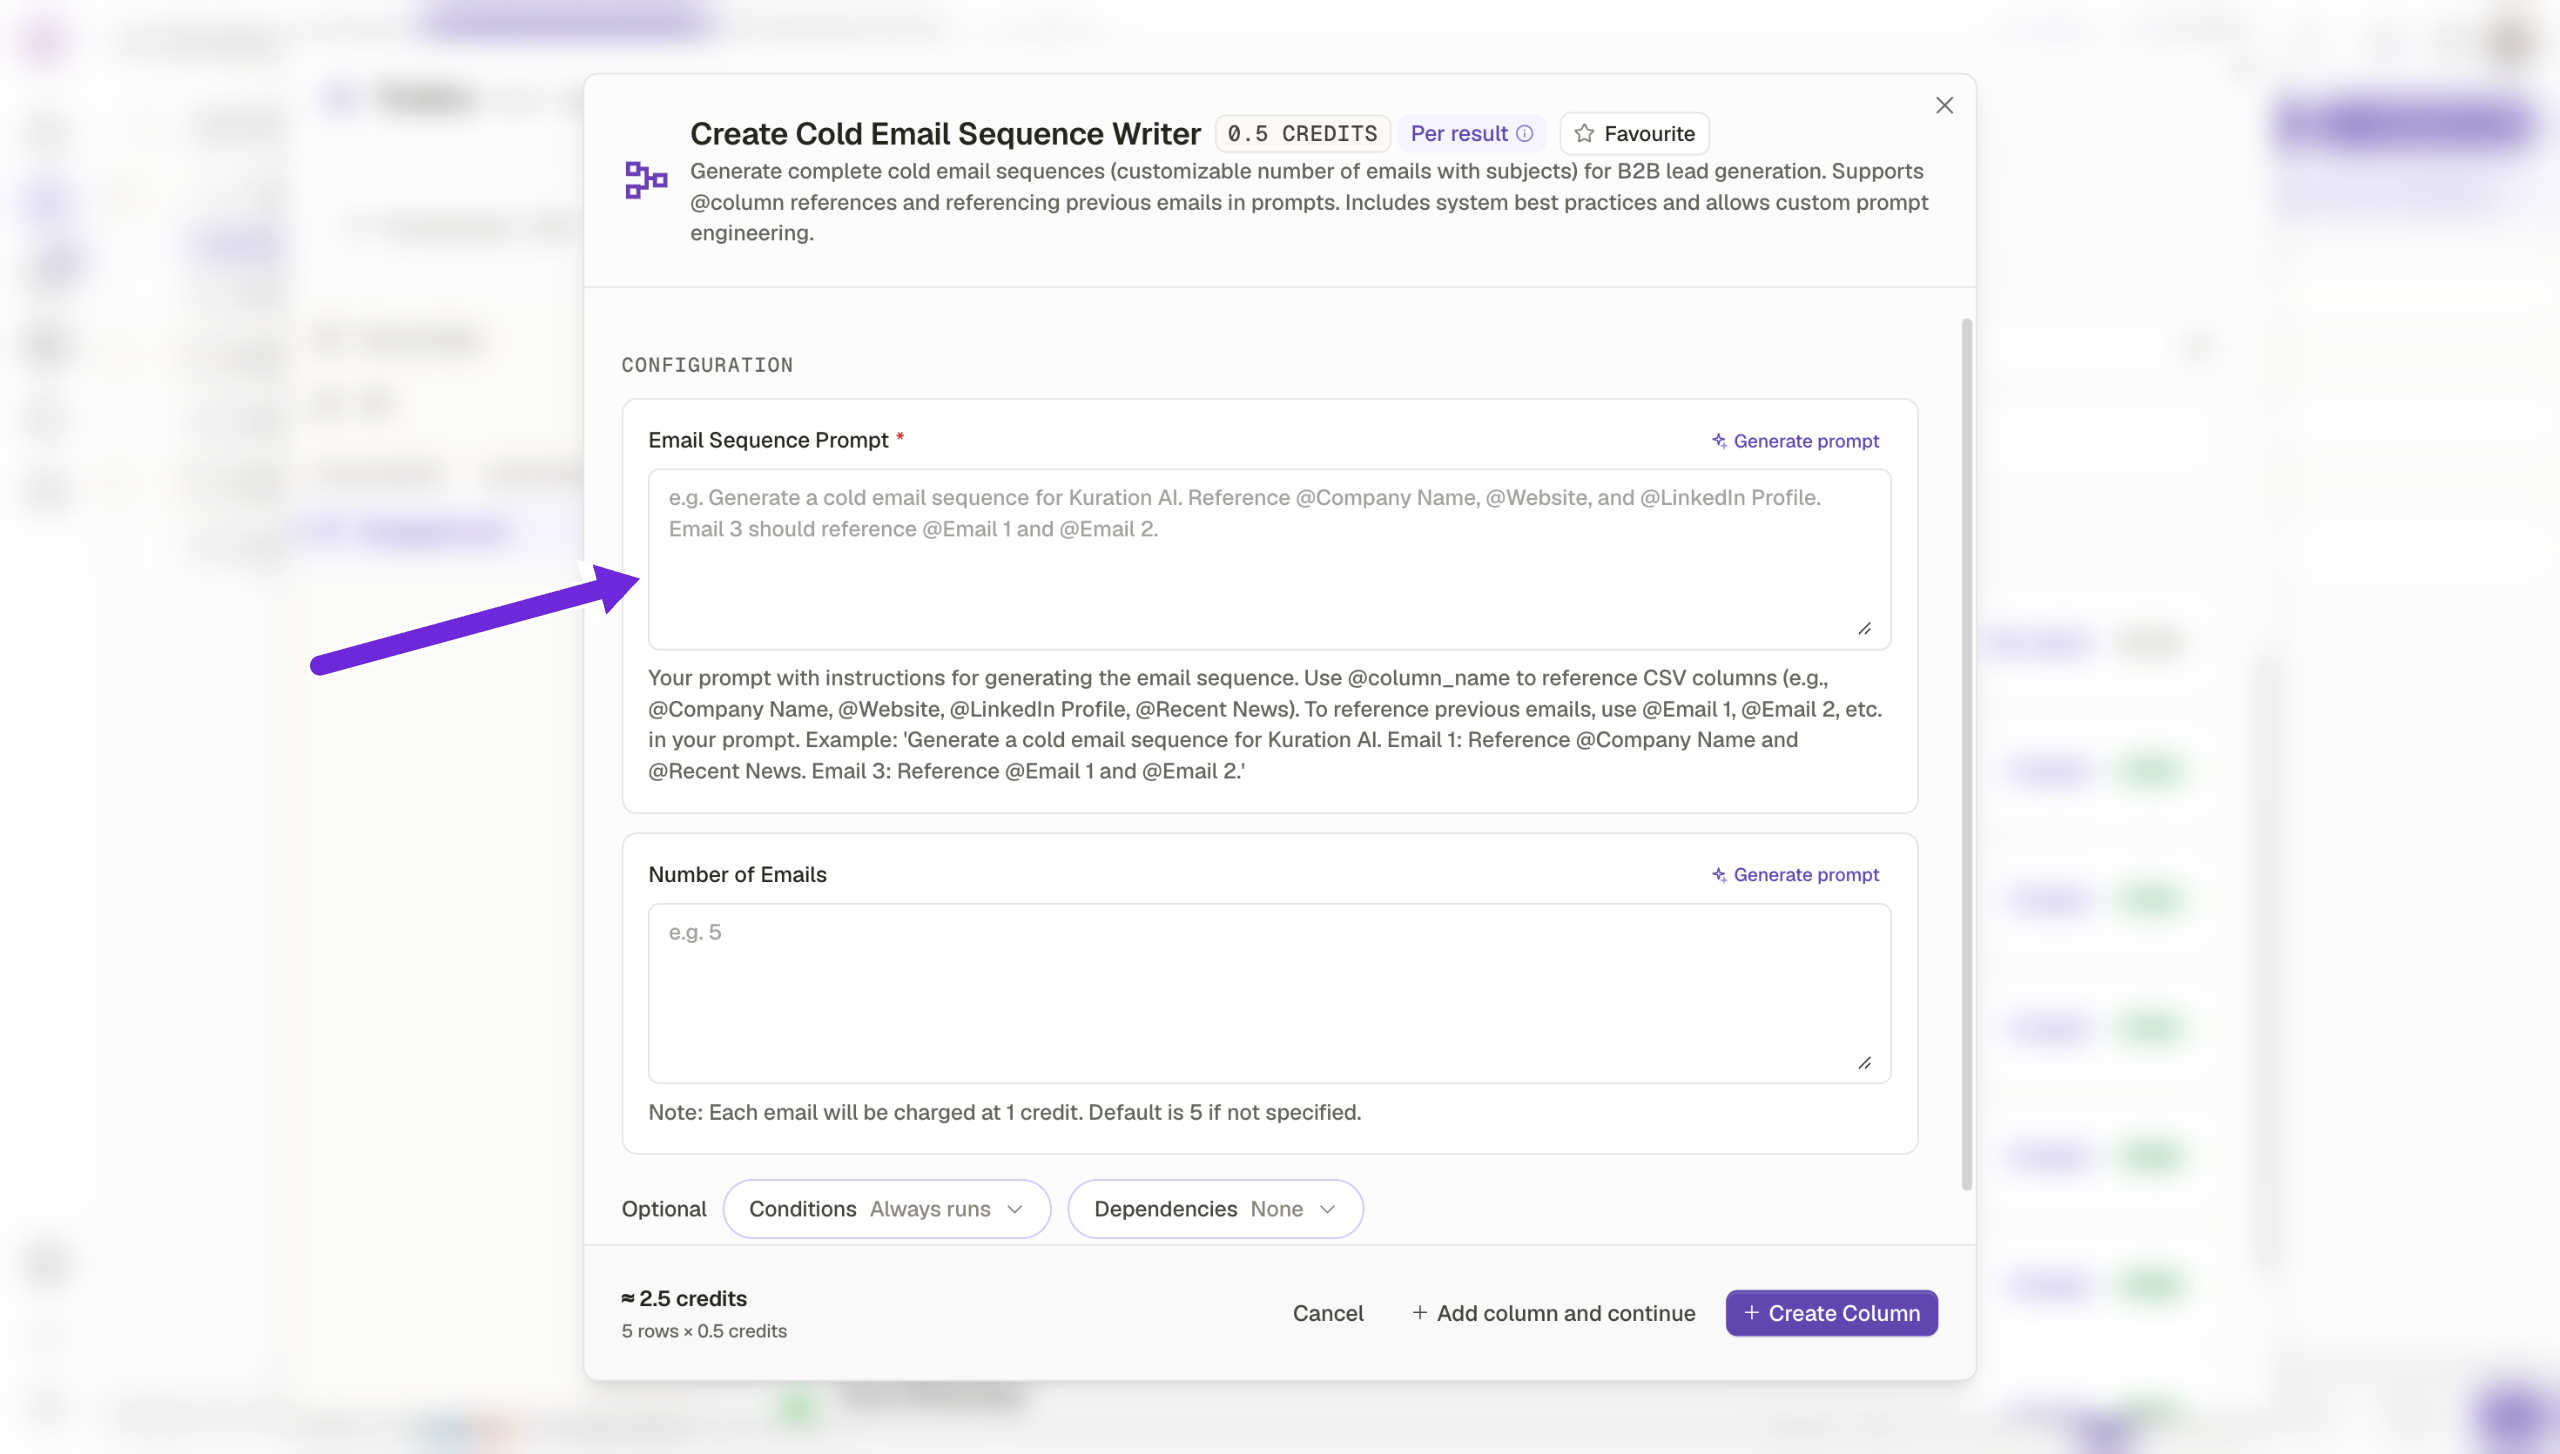
Provide your instruction prompt in this text area, you can provide columns as context, or general context, like what offerings to include, what to emphasize etc.

Review the generated sequence settings before adding it as a column to your list.

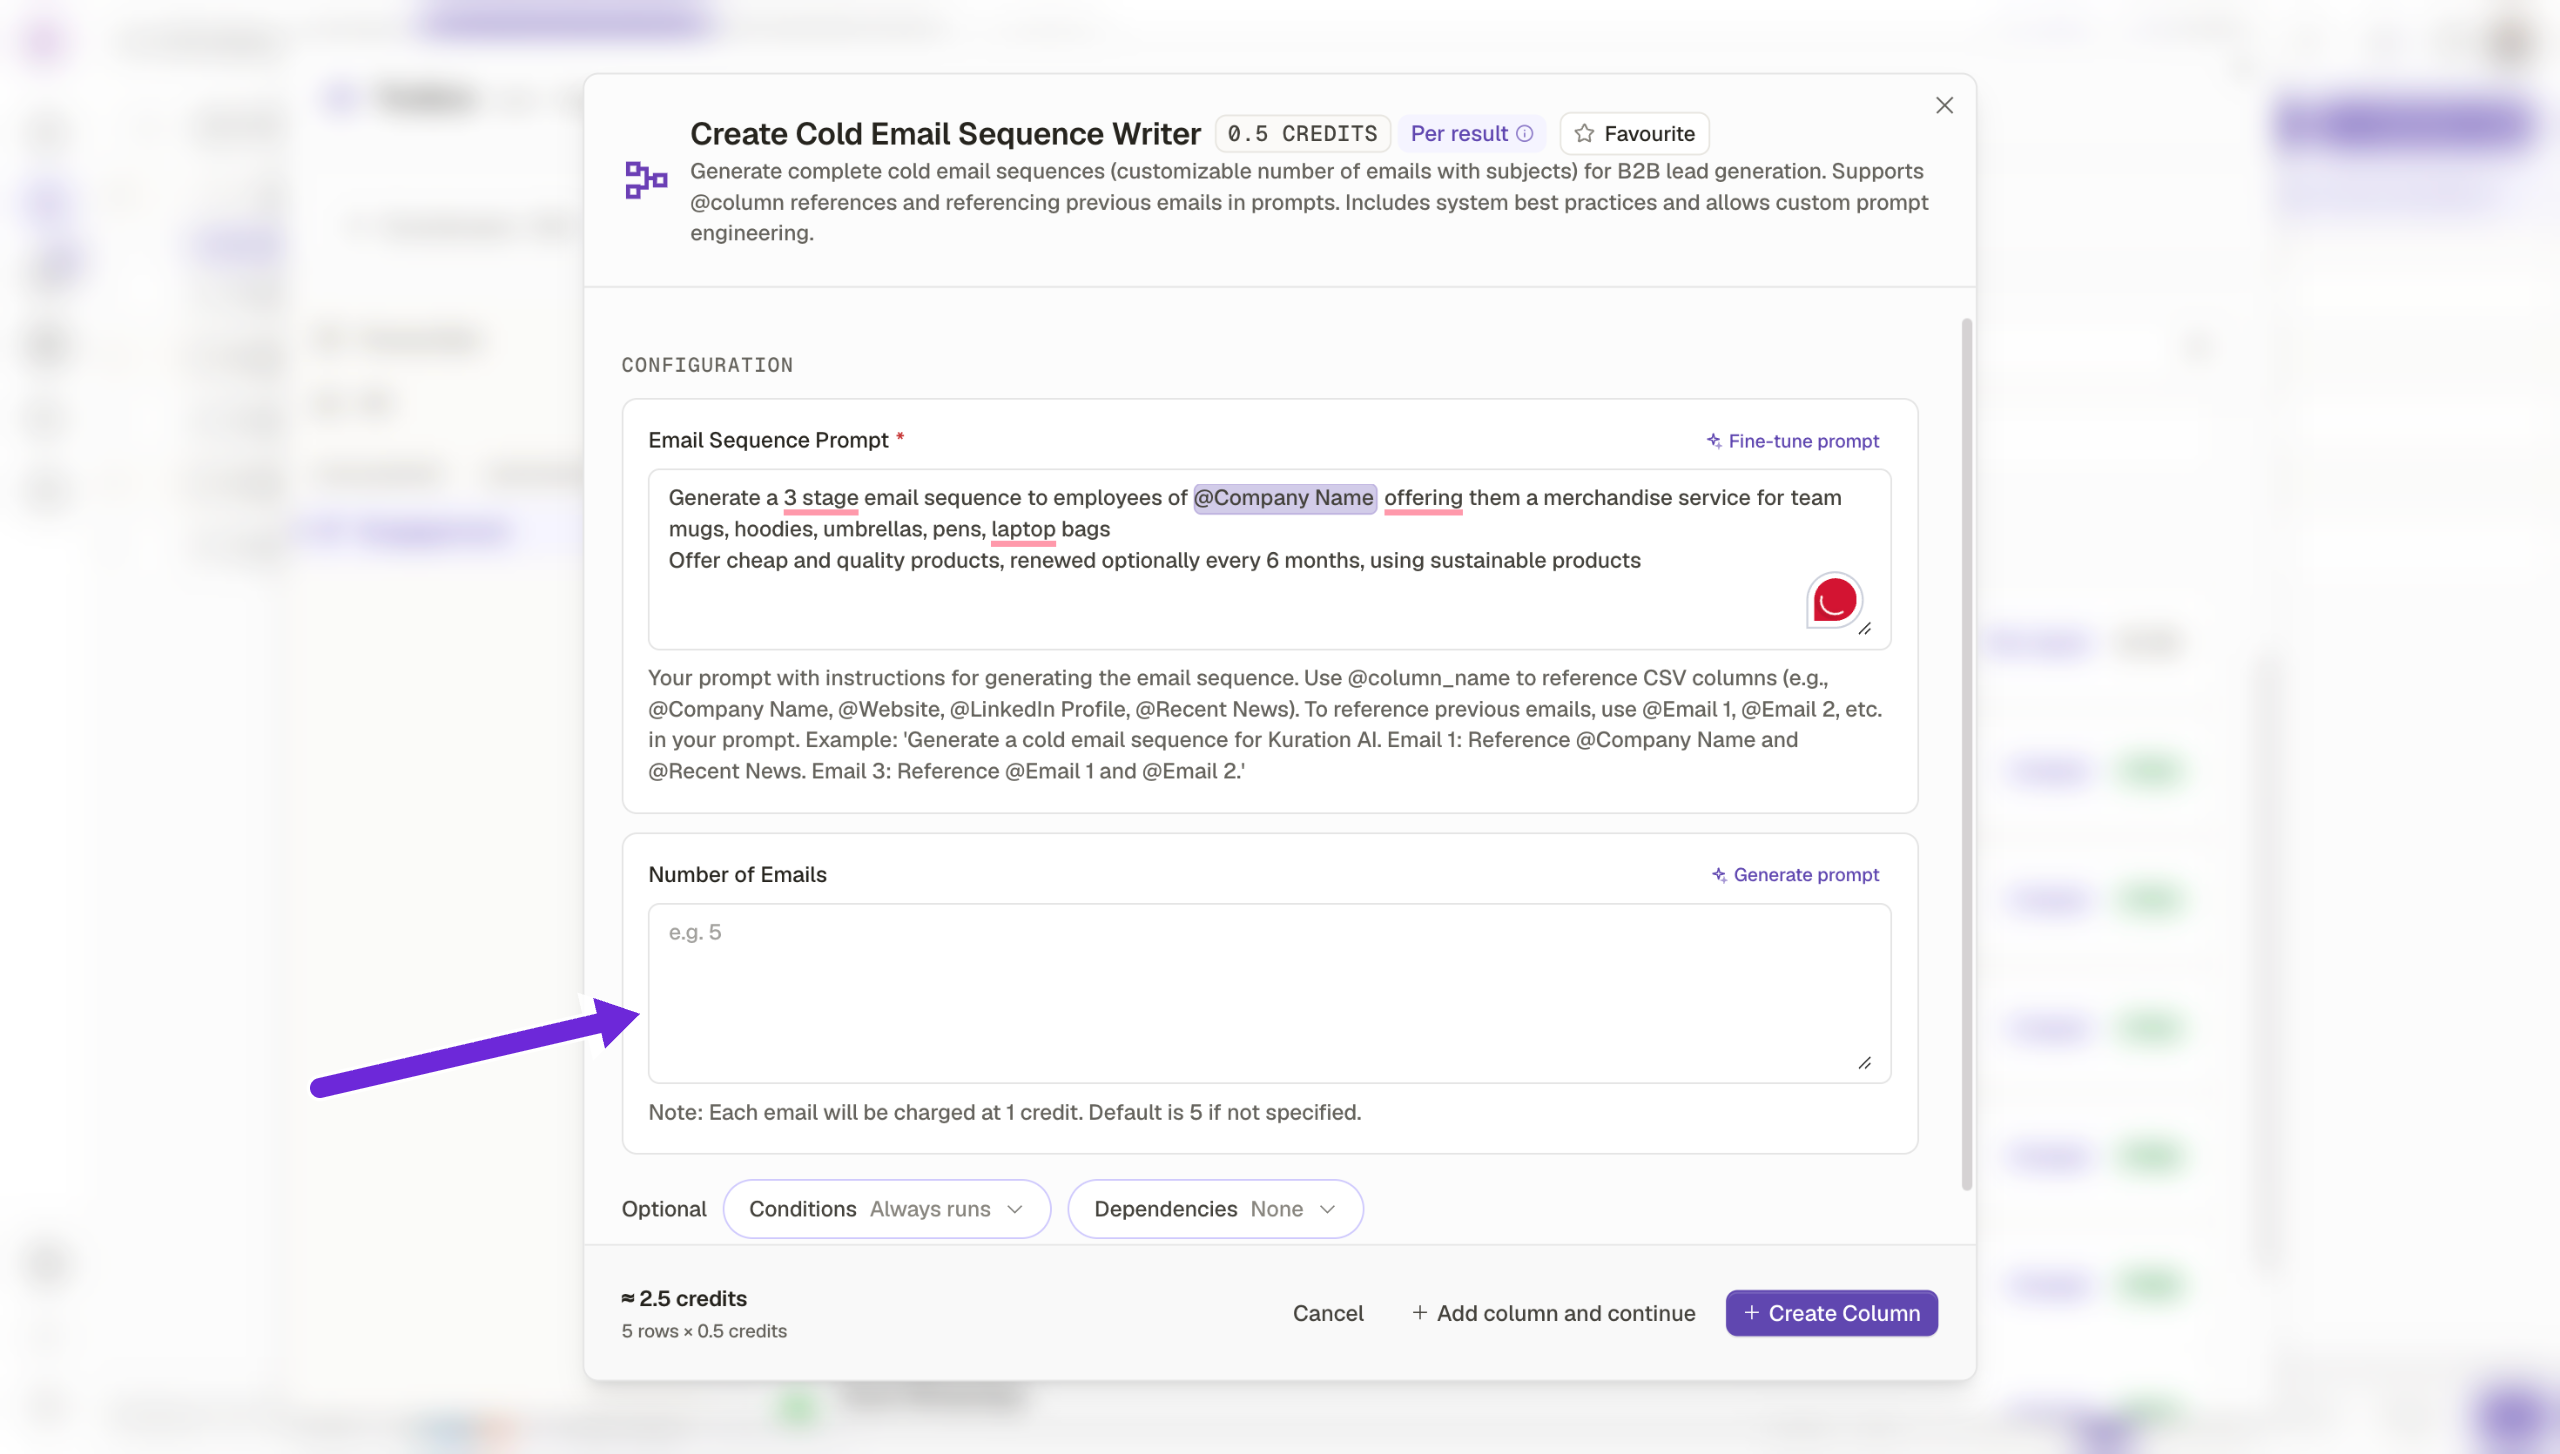
Indicate the number of emails you'd like written in this text area.

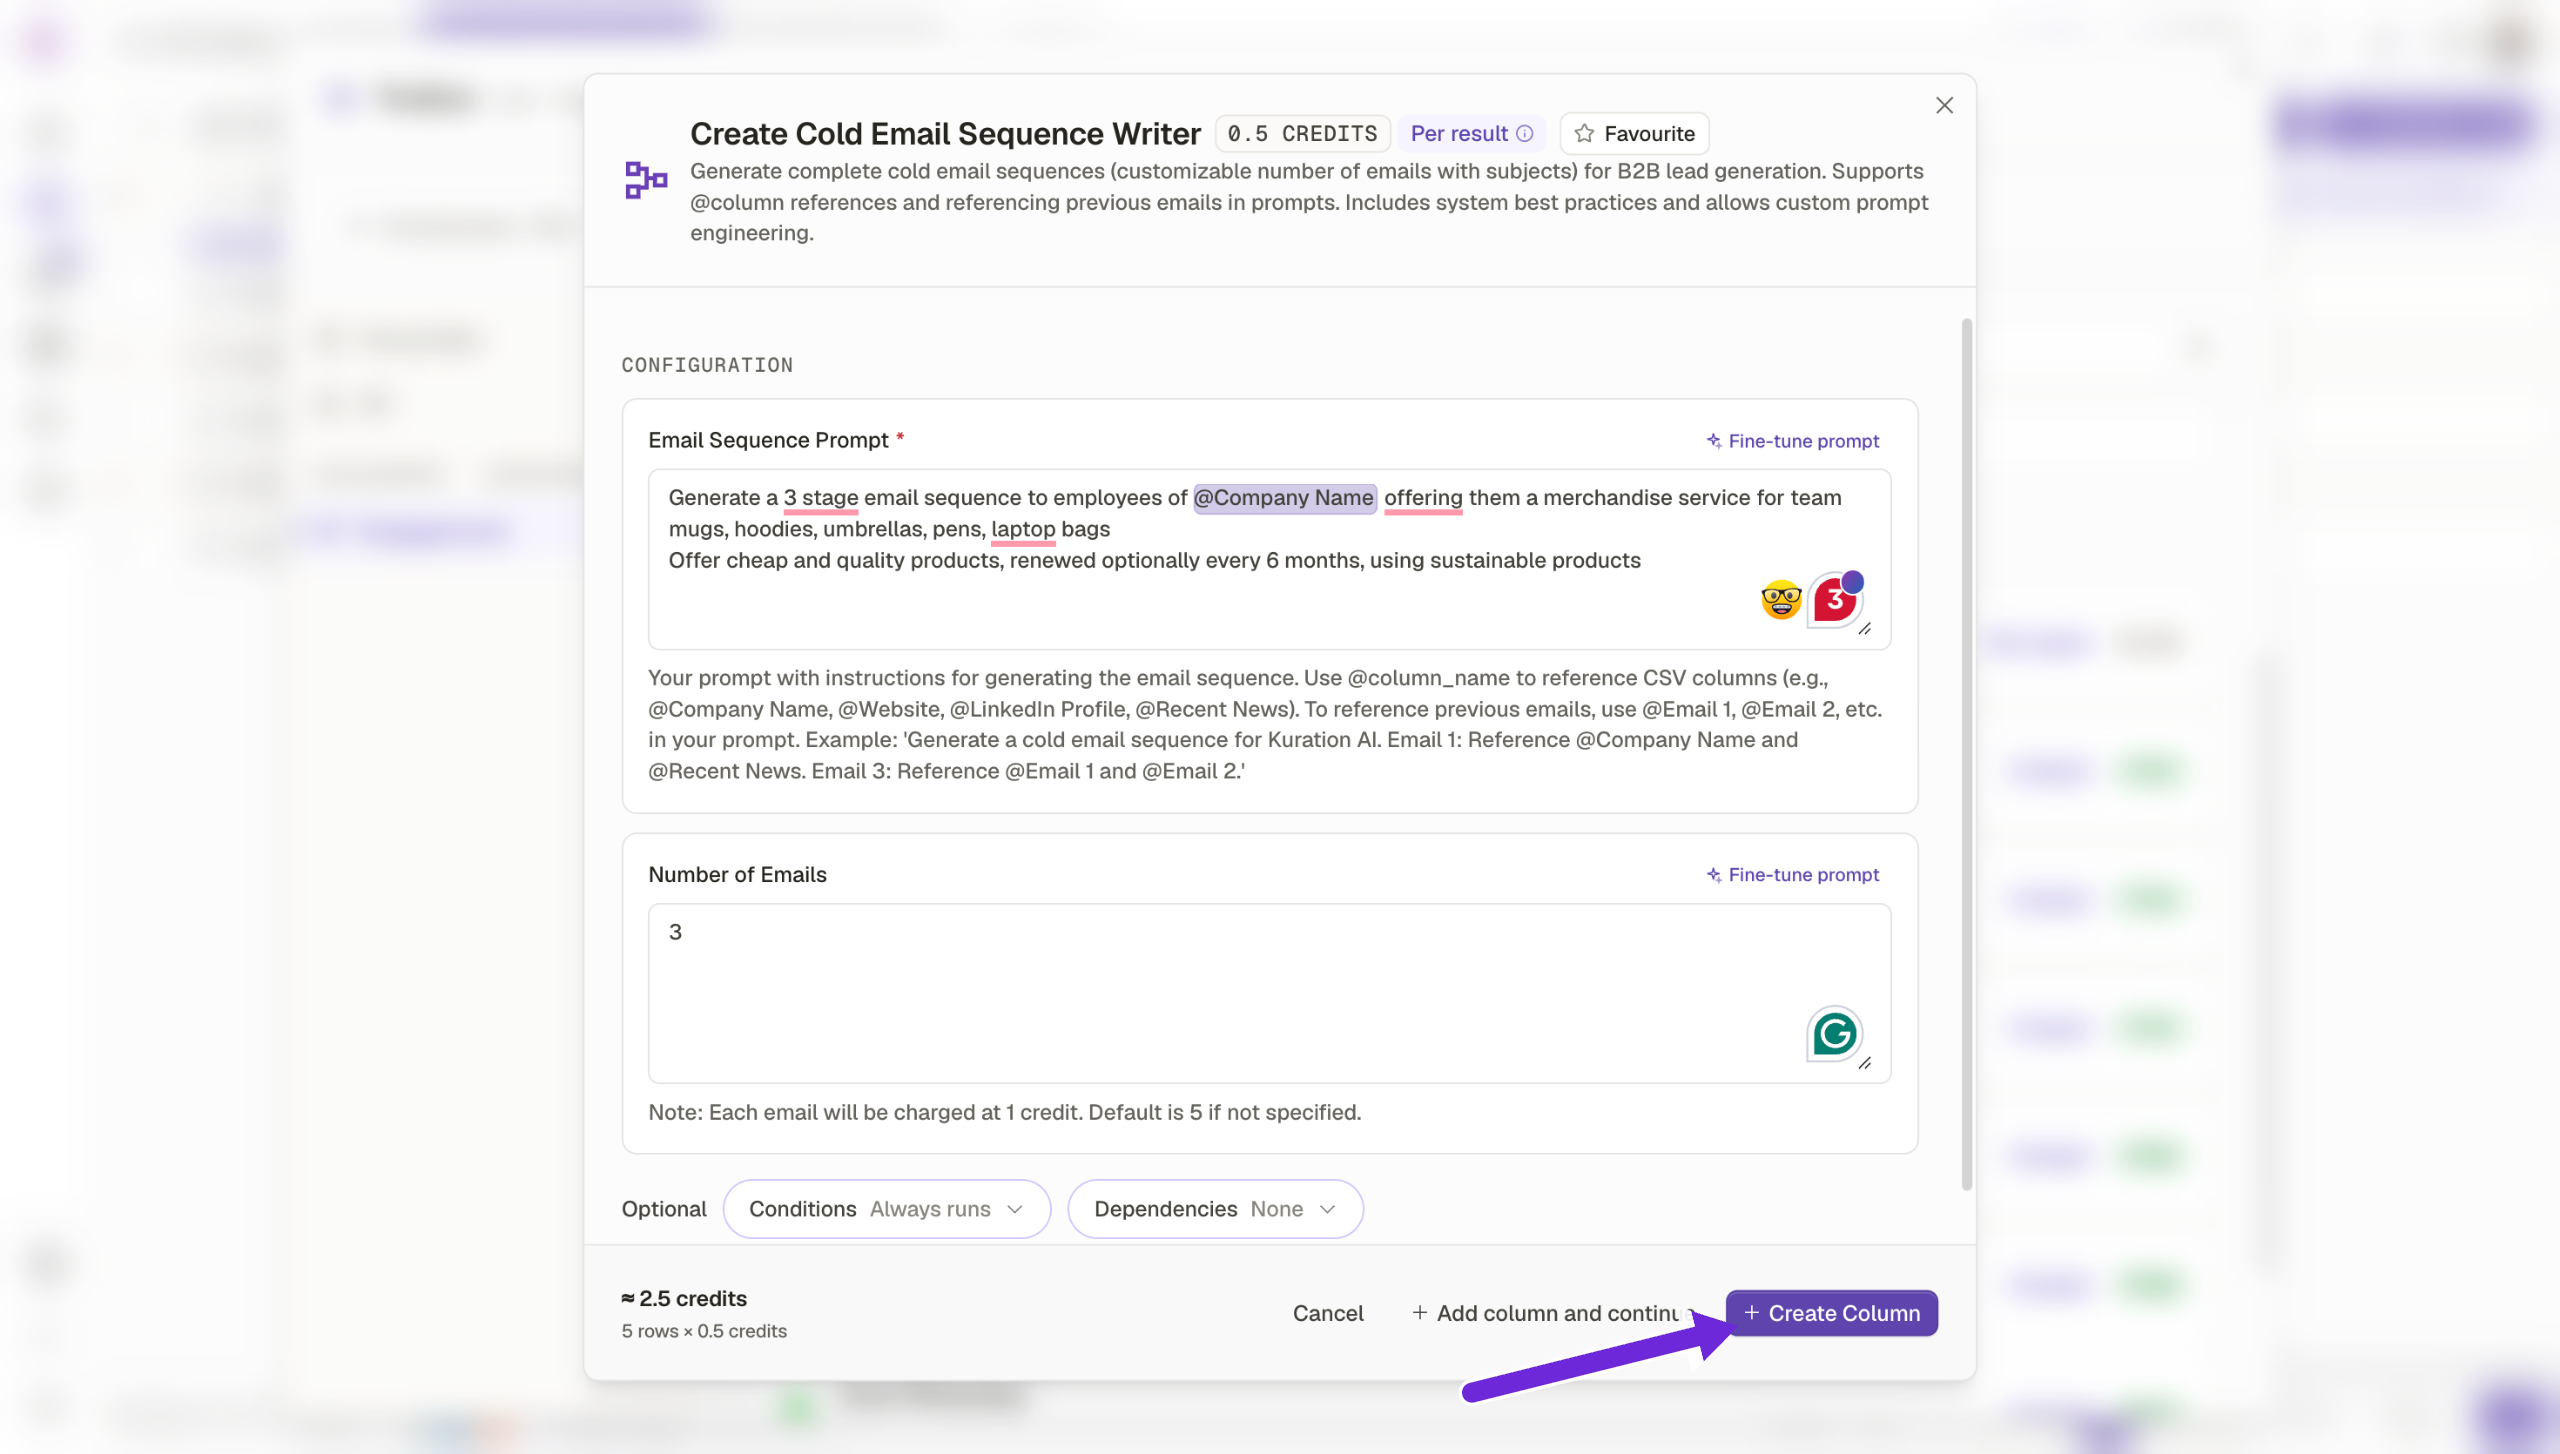
Create the column — this adds the email sequence writer ready to run.

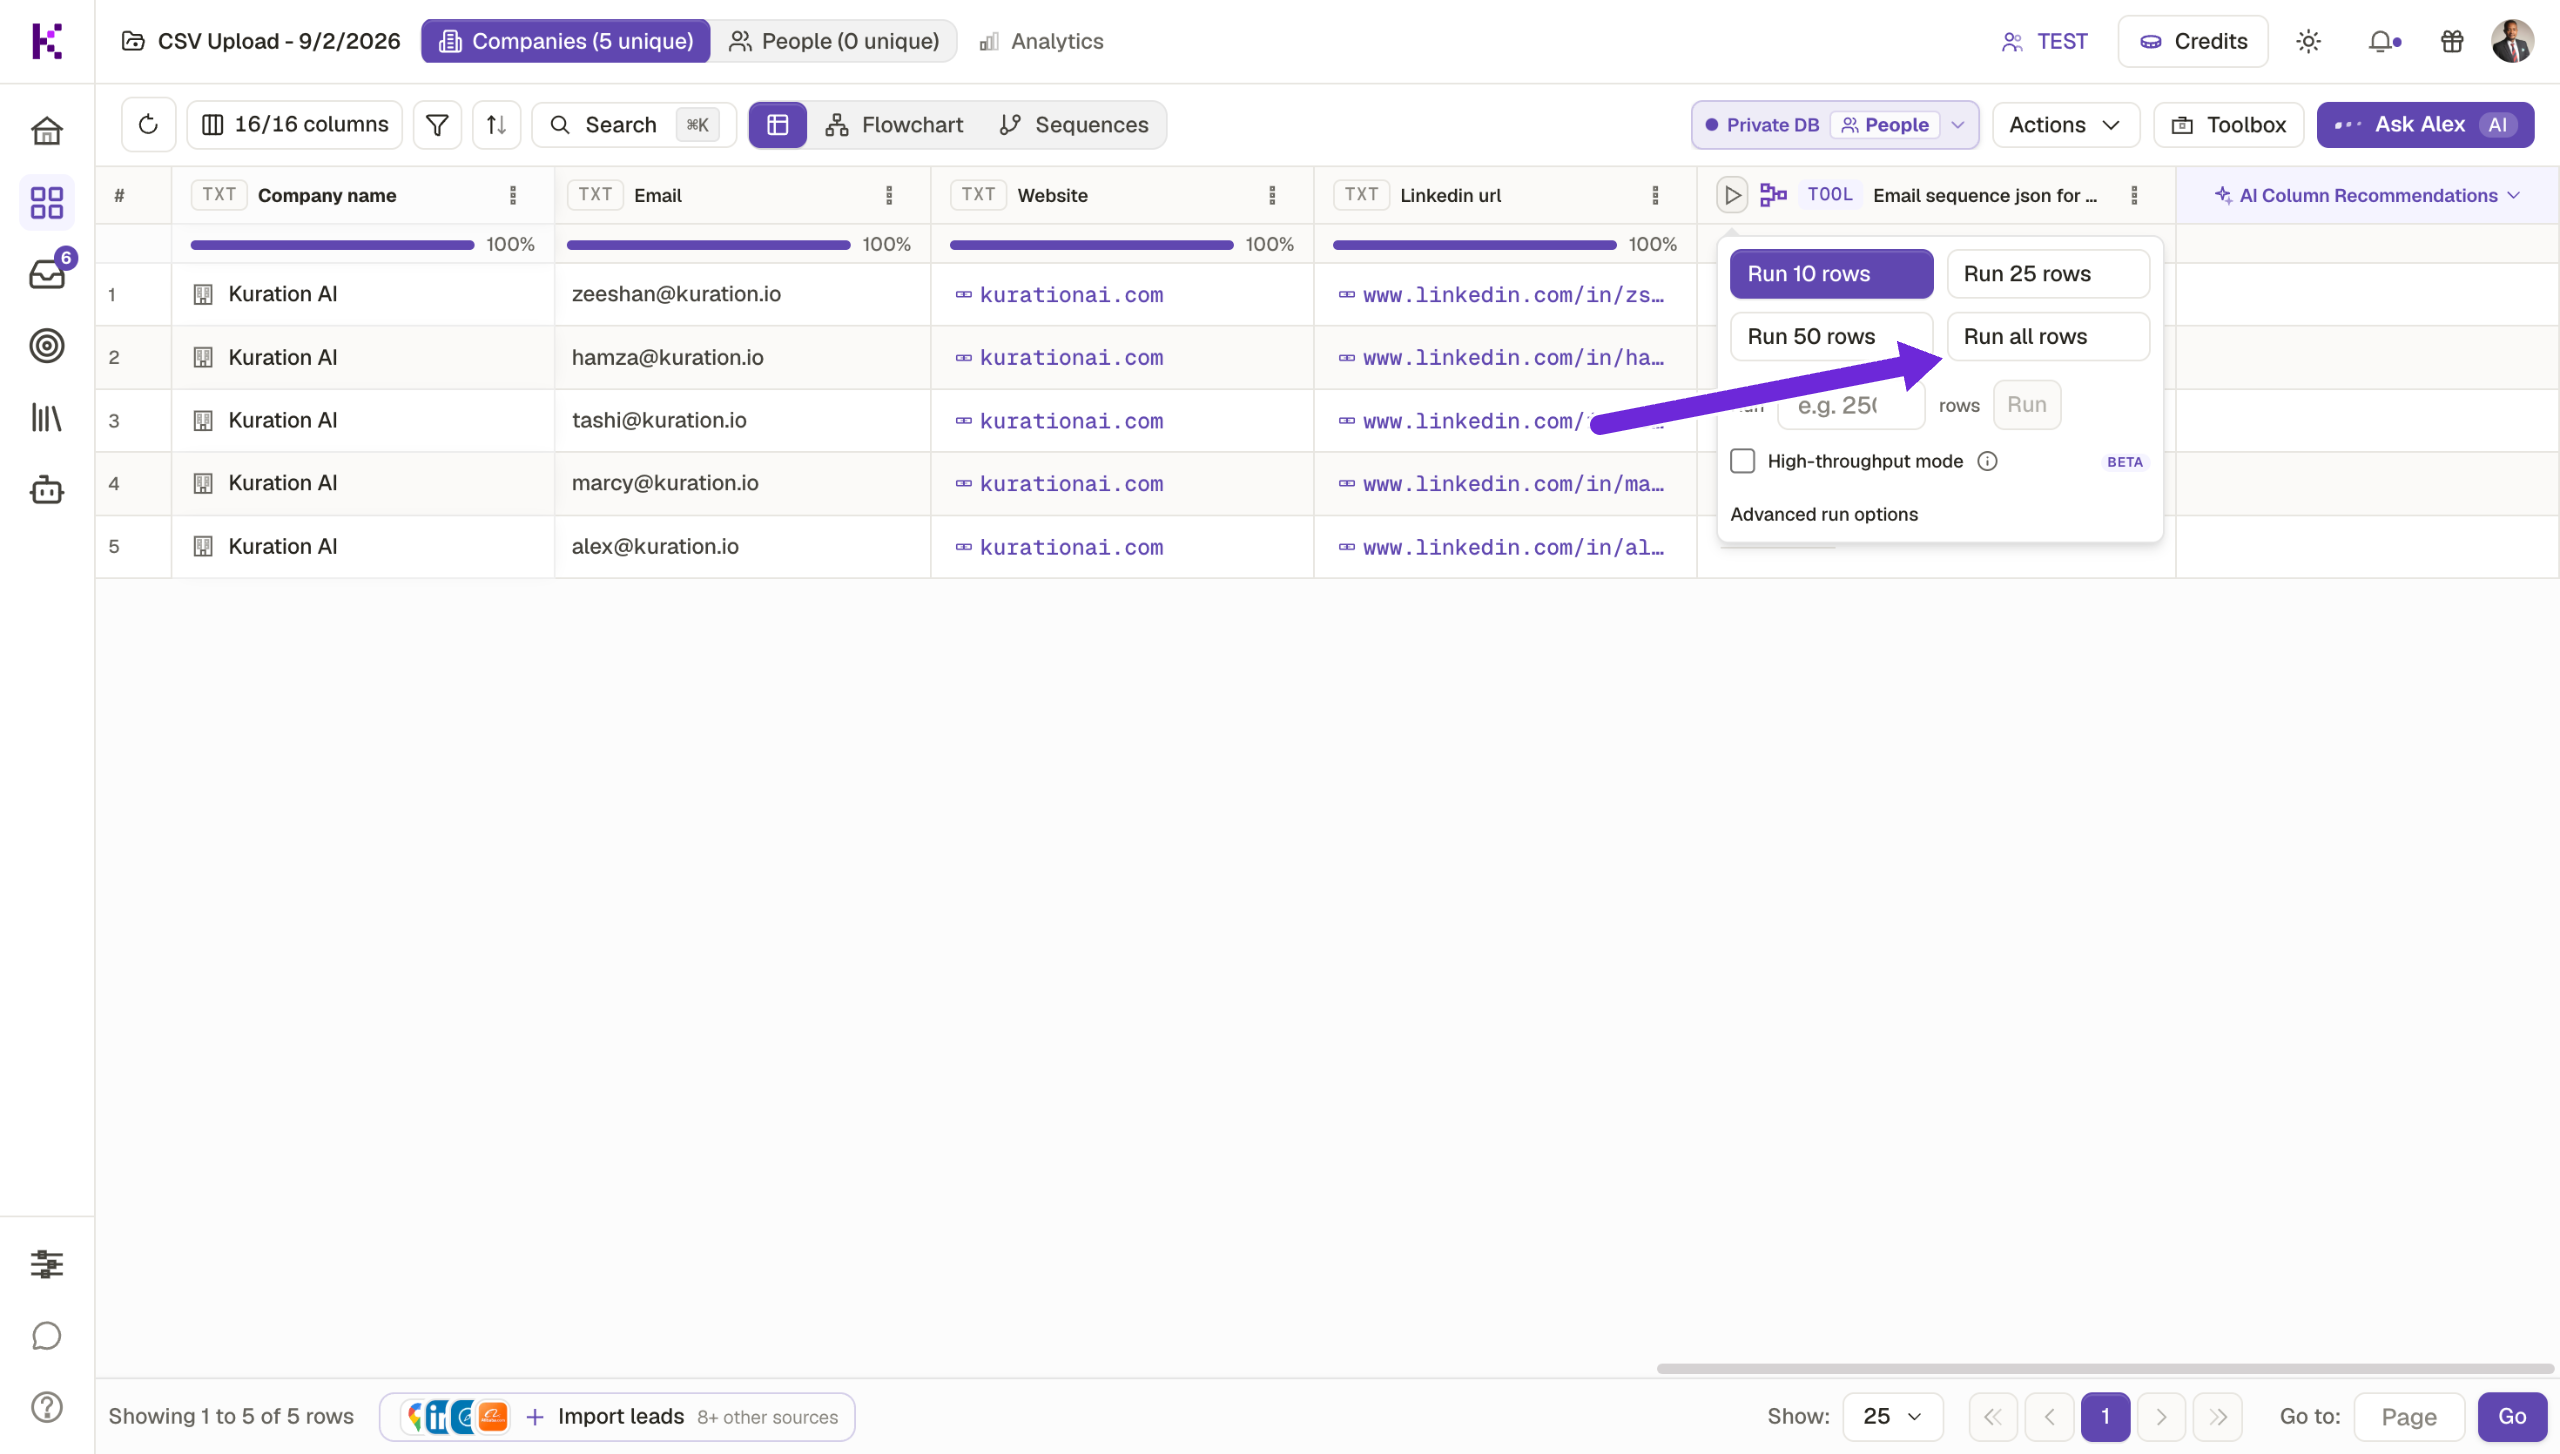
Run all rows to trigger Kuration AI to generate personalized email sequences for every lead at once.

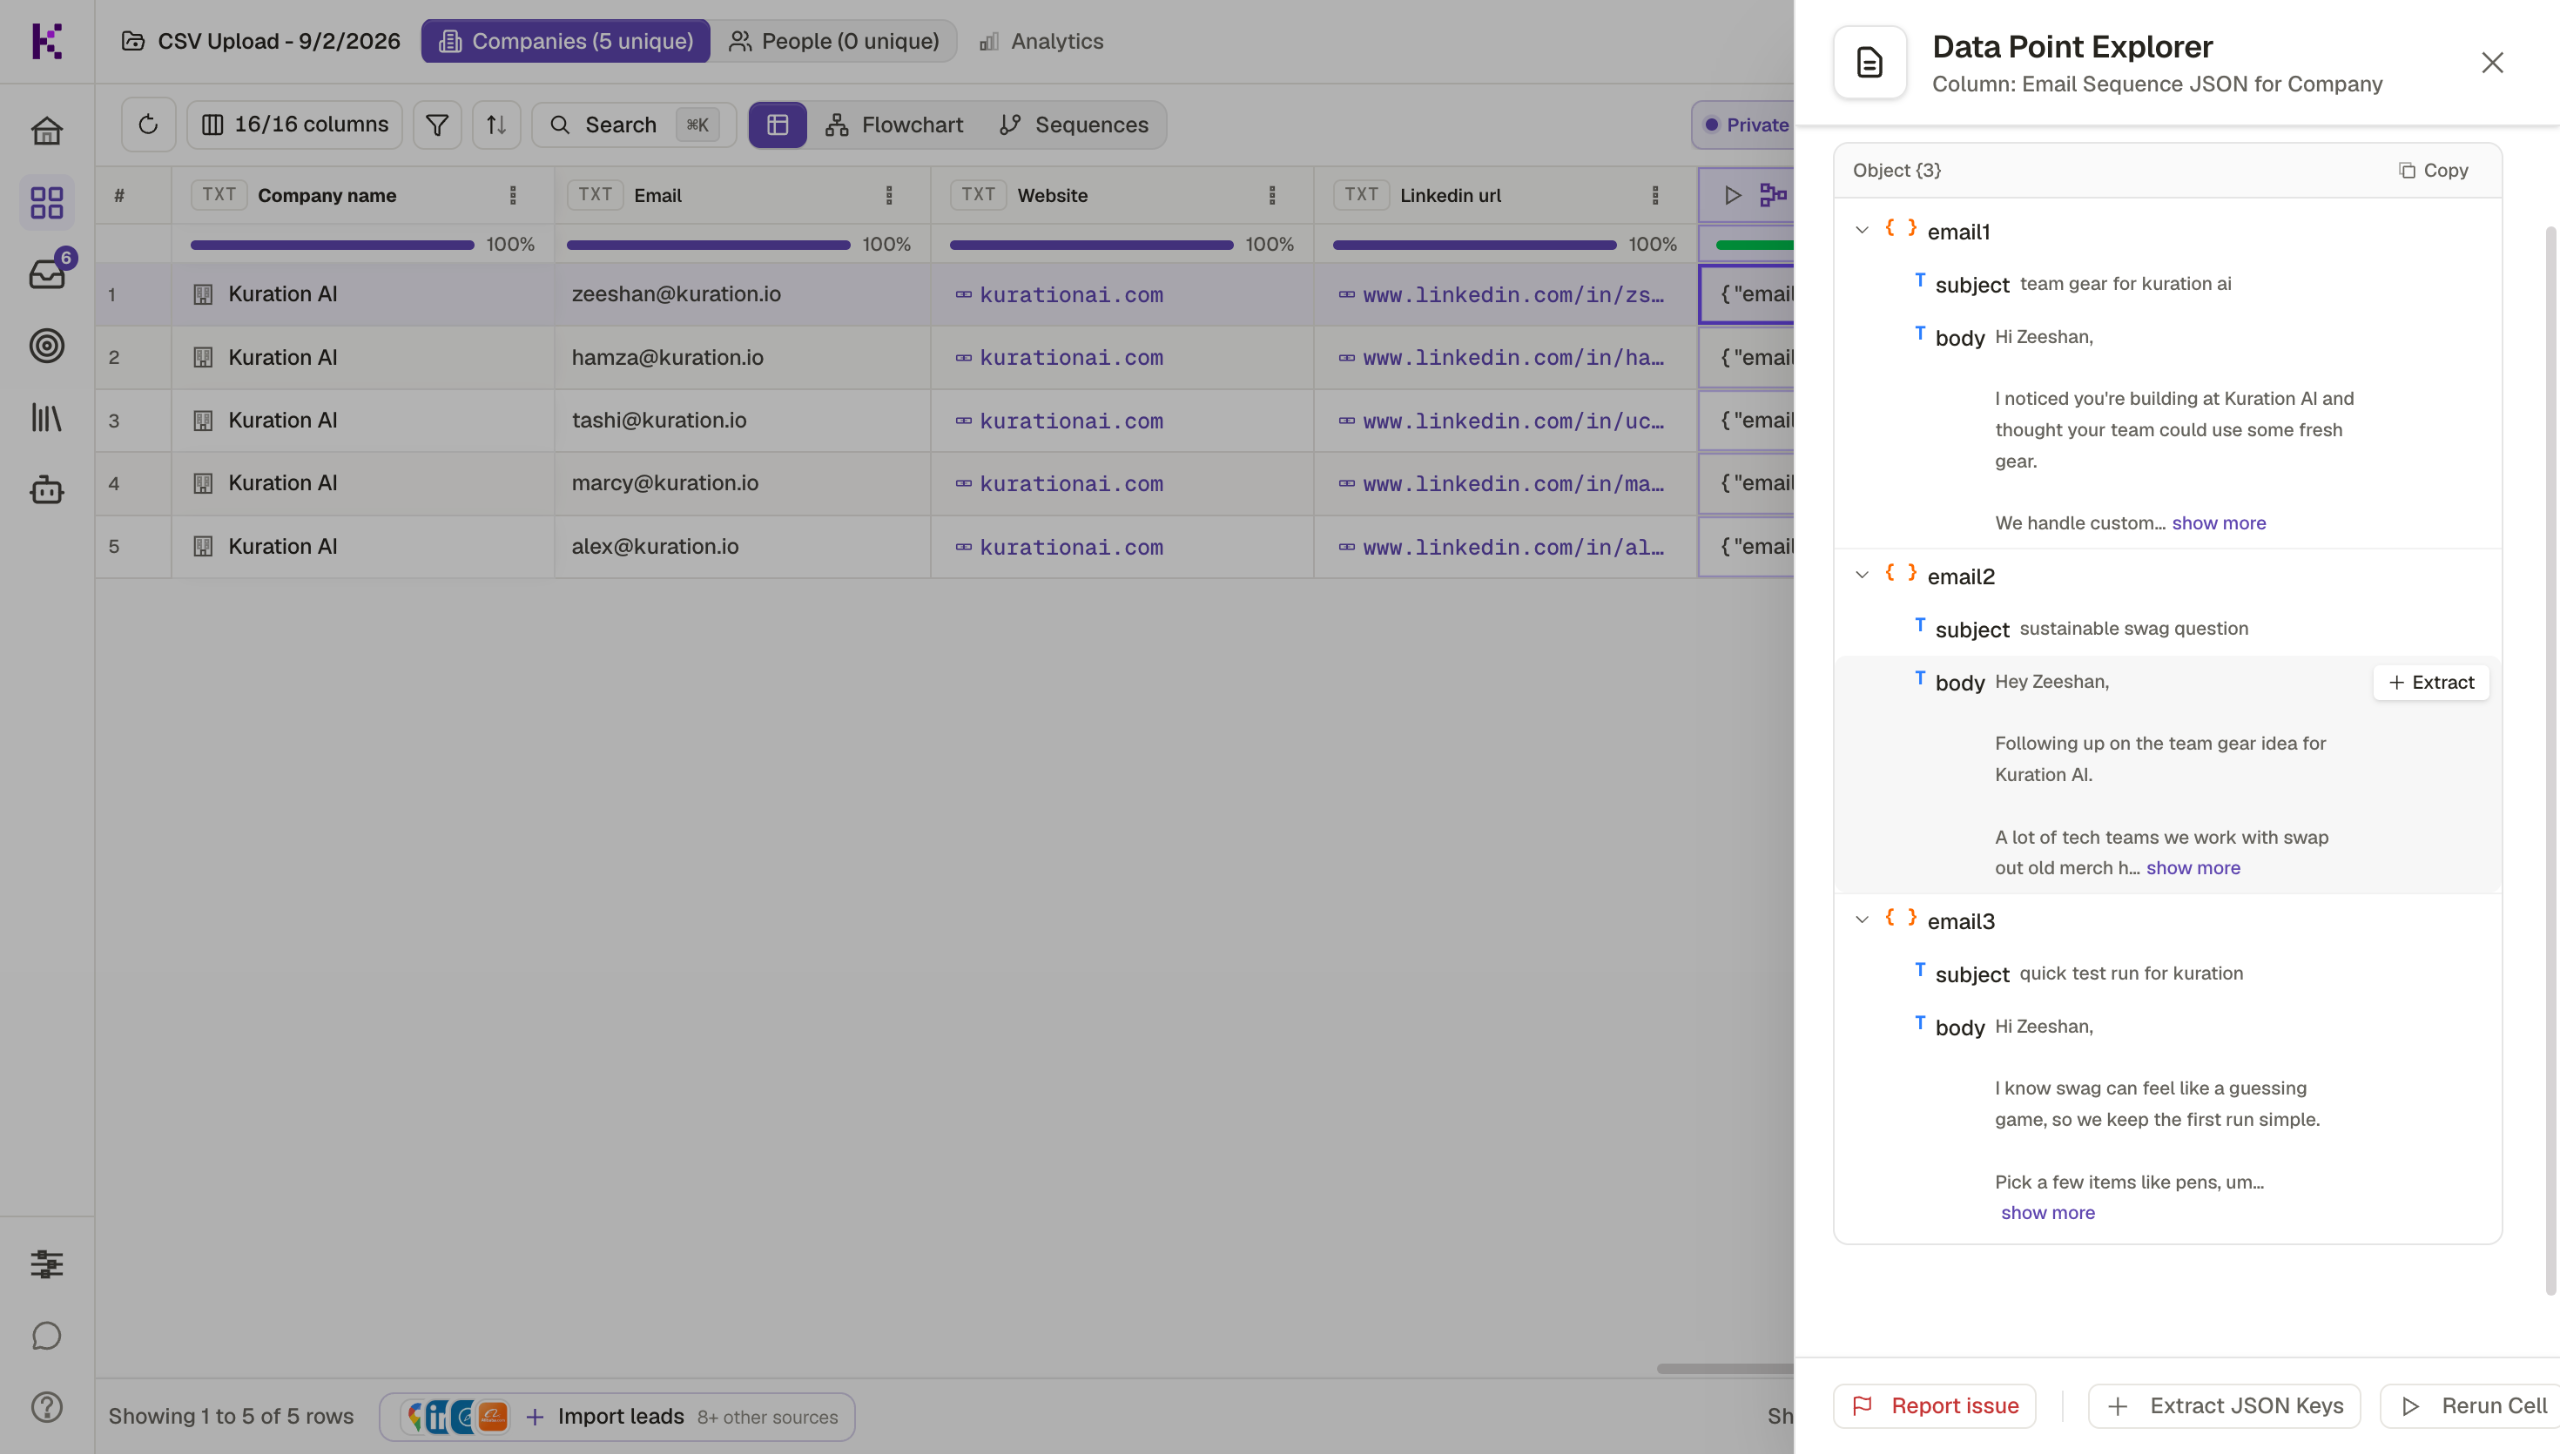
Here's the AI-generated output — three fully written, personalized emails ready to send, built from your lead's enriched profile.

Open the sequence output to review.

Return to the Toolbox to set up the delivery channel for your sequence.

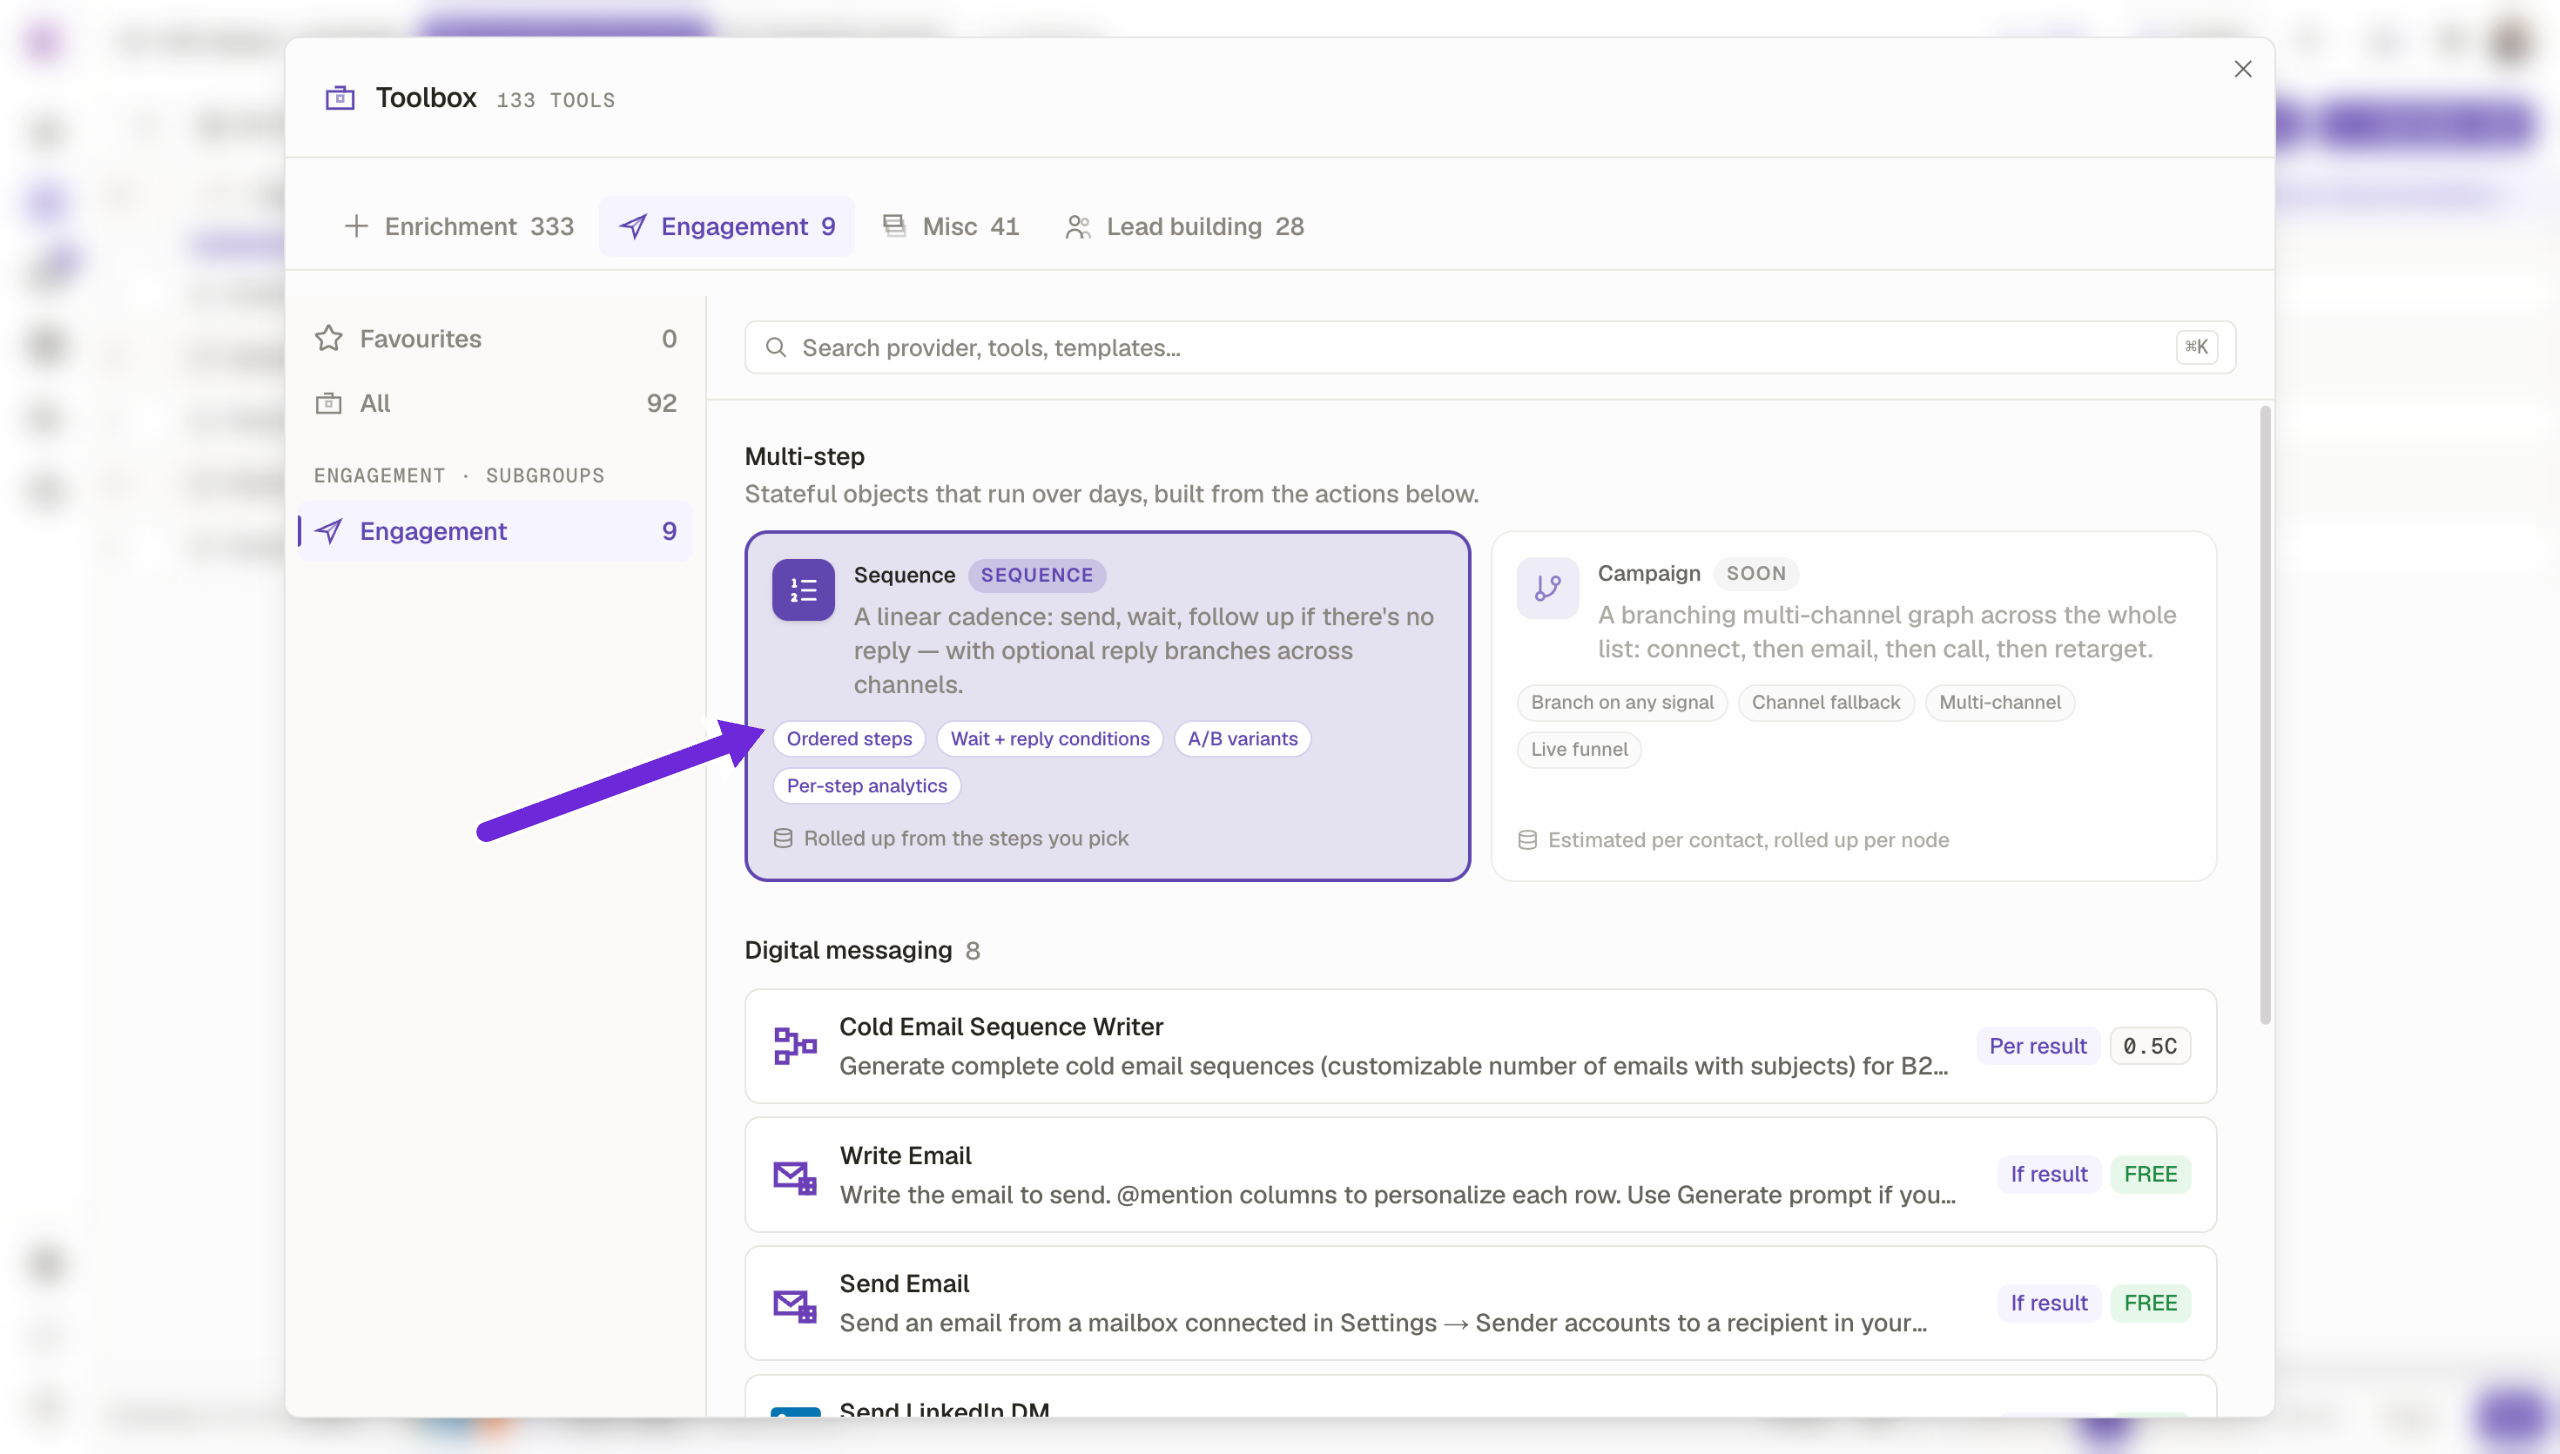
Choose the linear cadence — a structured send, wait, and follow-up flow that keeps outreach consistent without overwhelming leads.
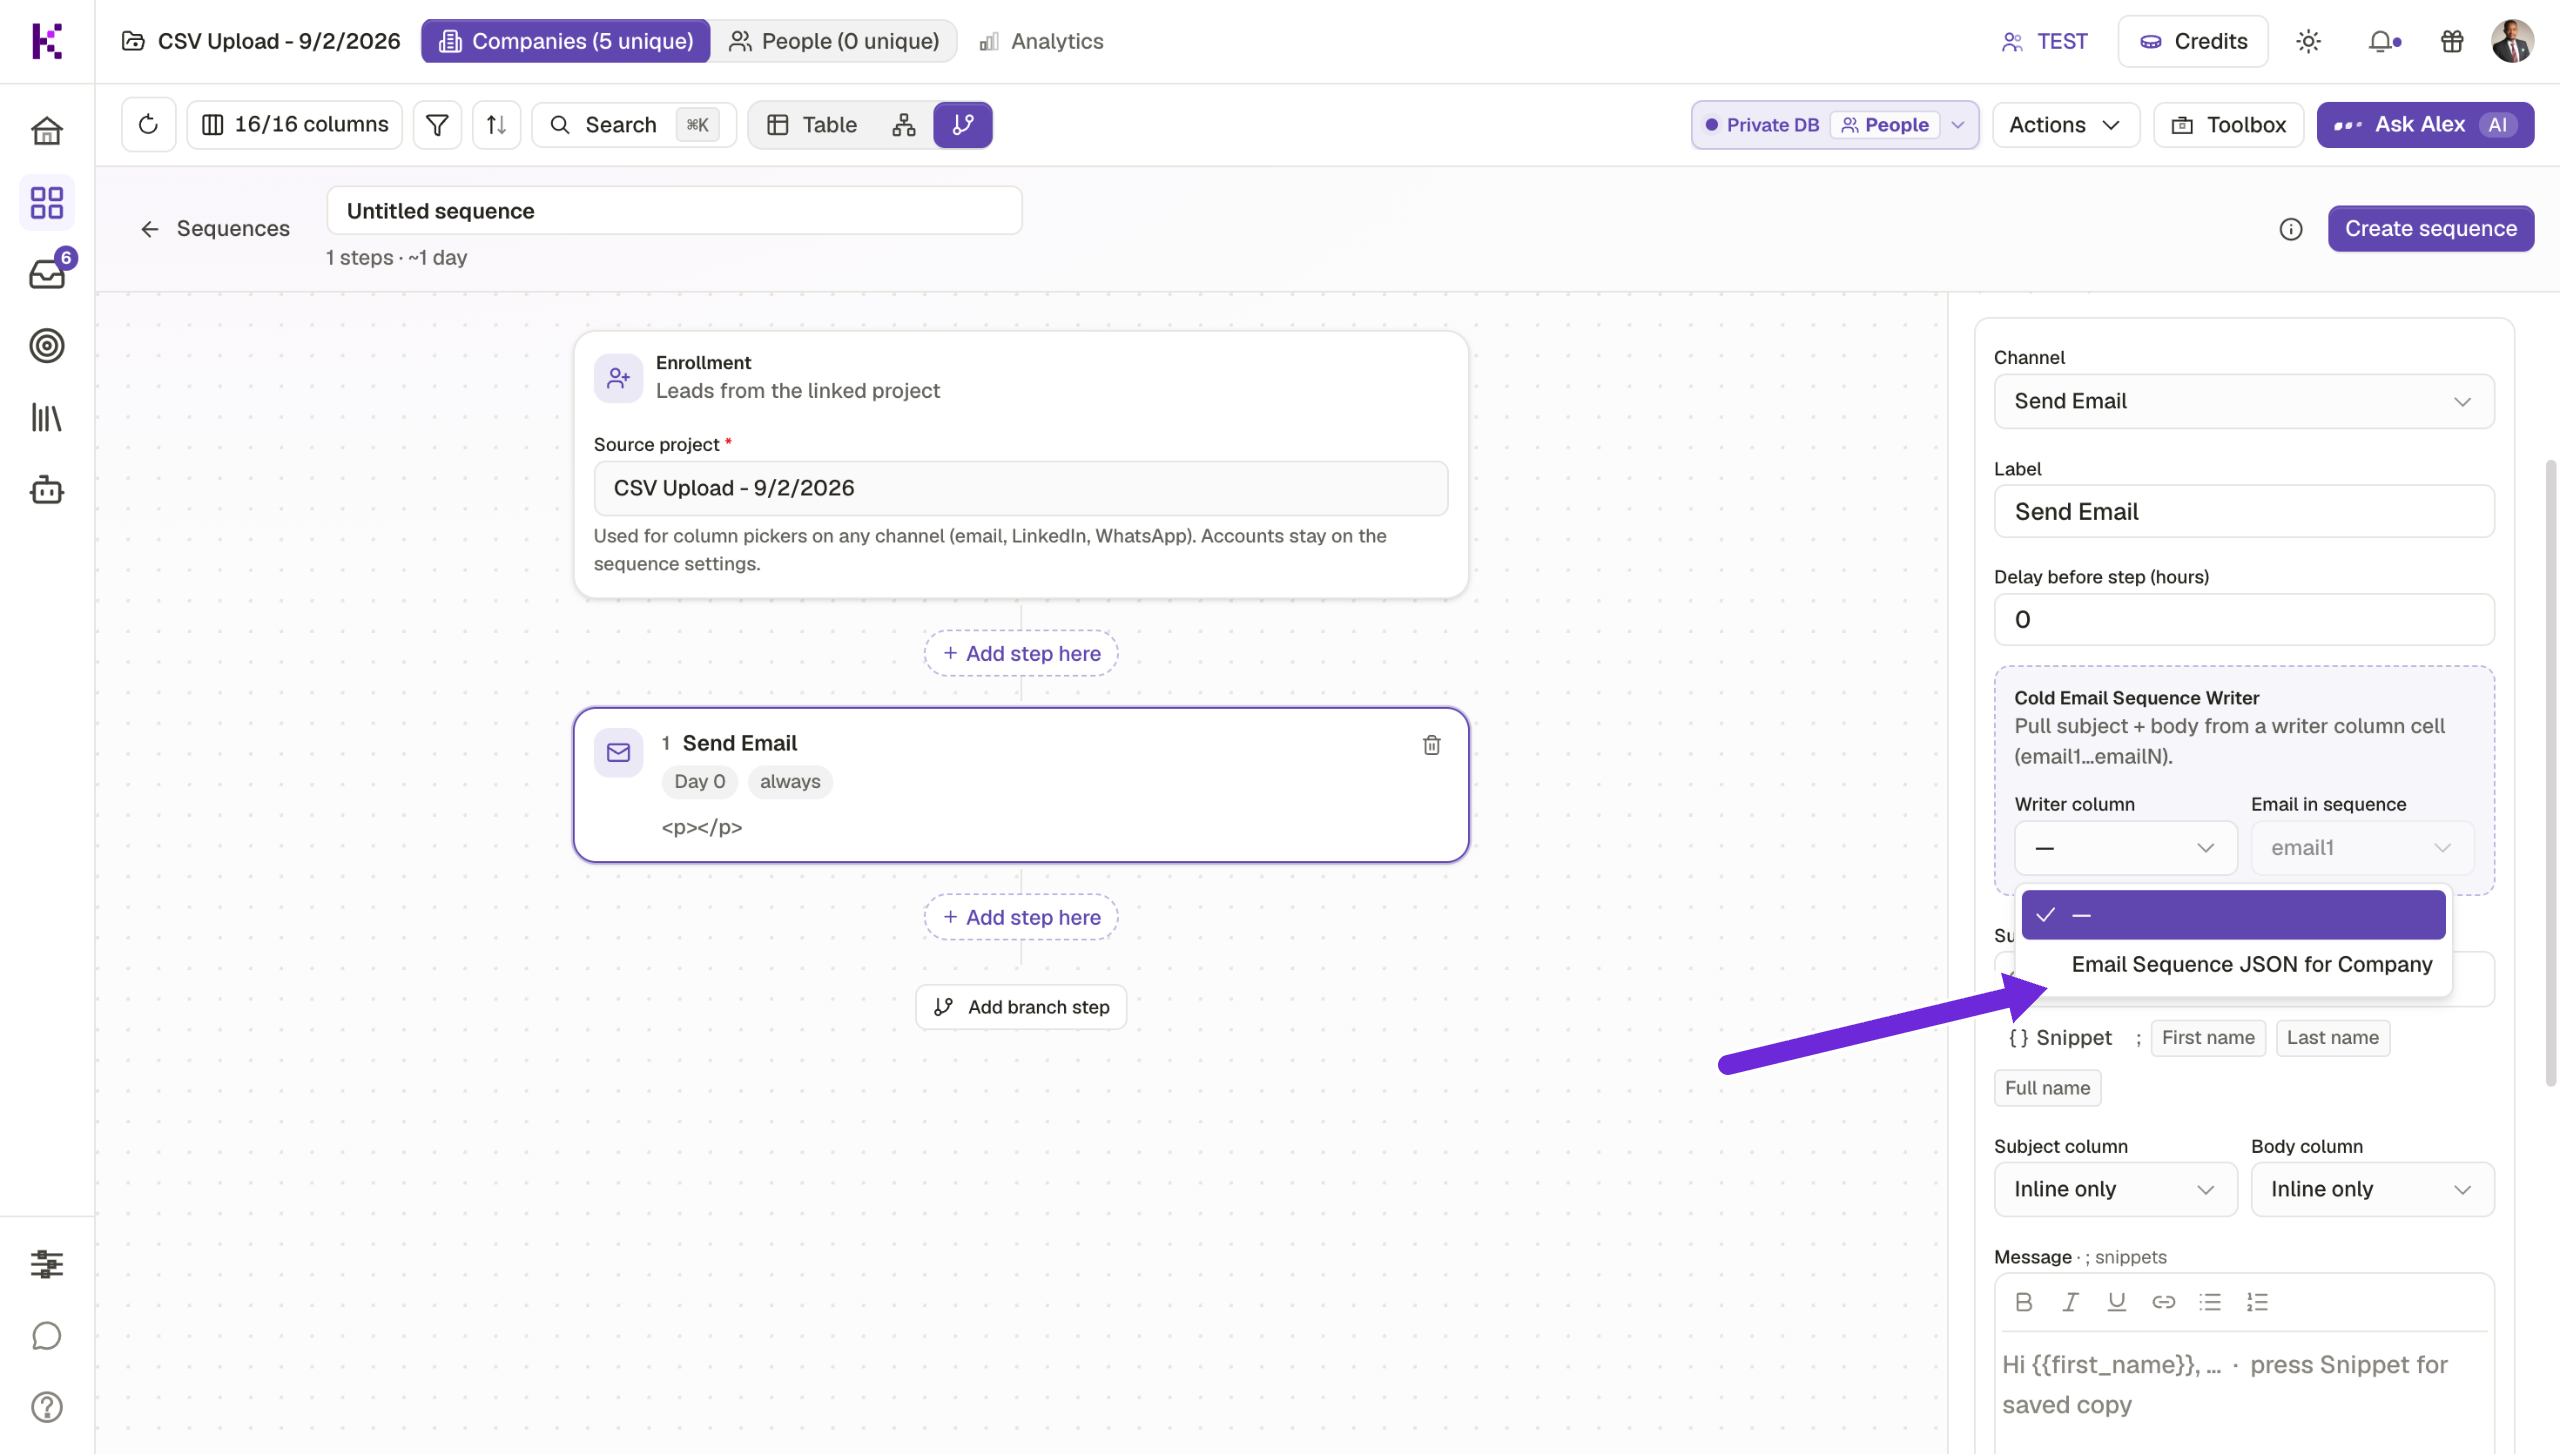
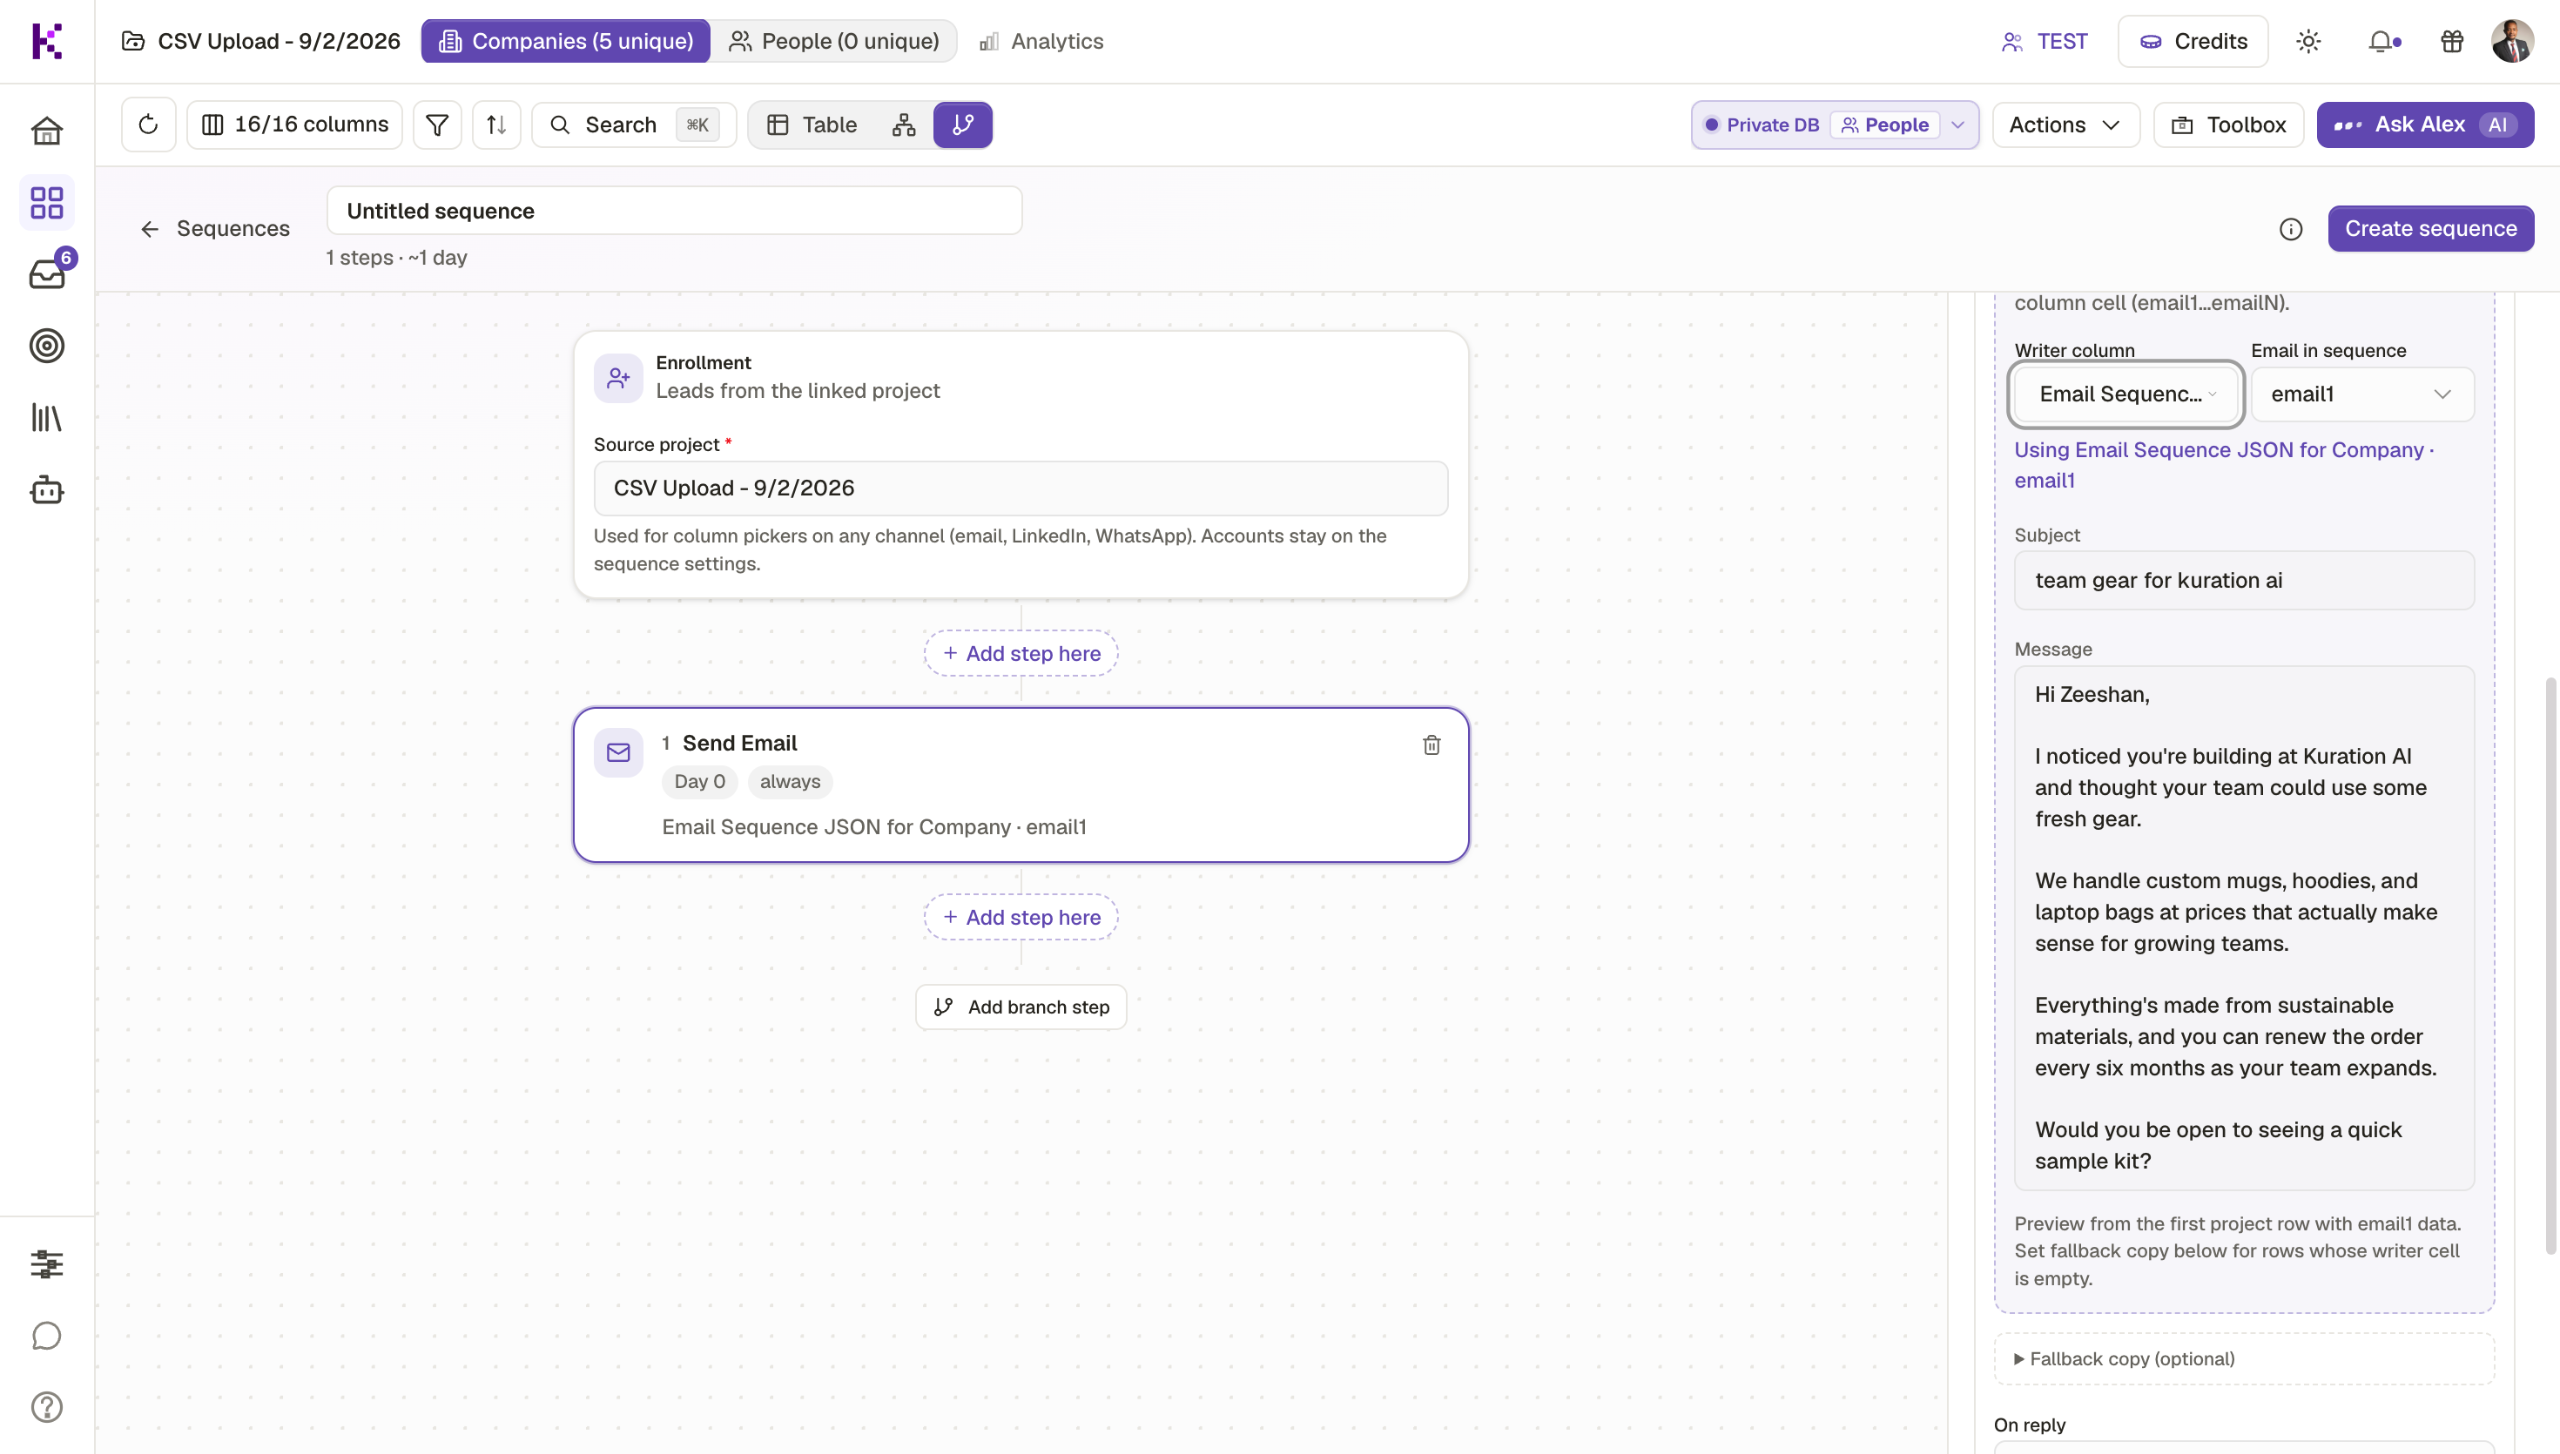
Map the first email to your AI-generated Email Sequence JSON — pulling the personalized content directly from your enriched data.

Confirm this step so the first email is queued and ready to send.

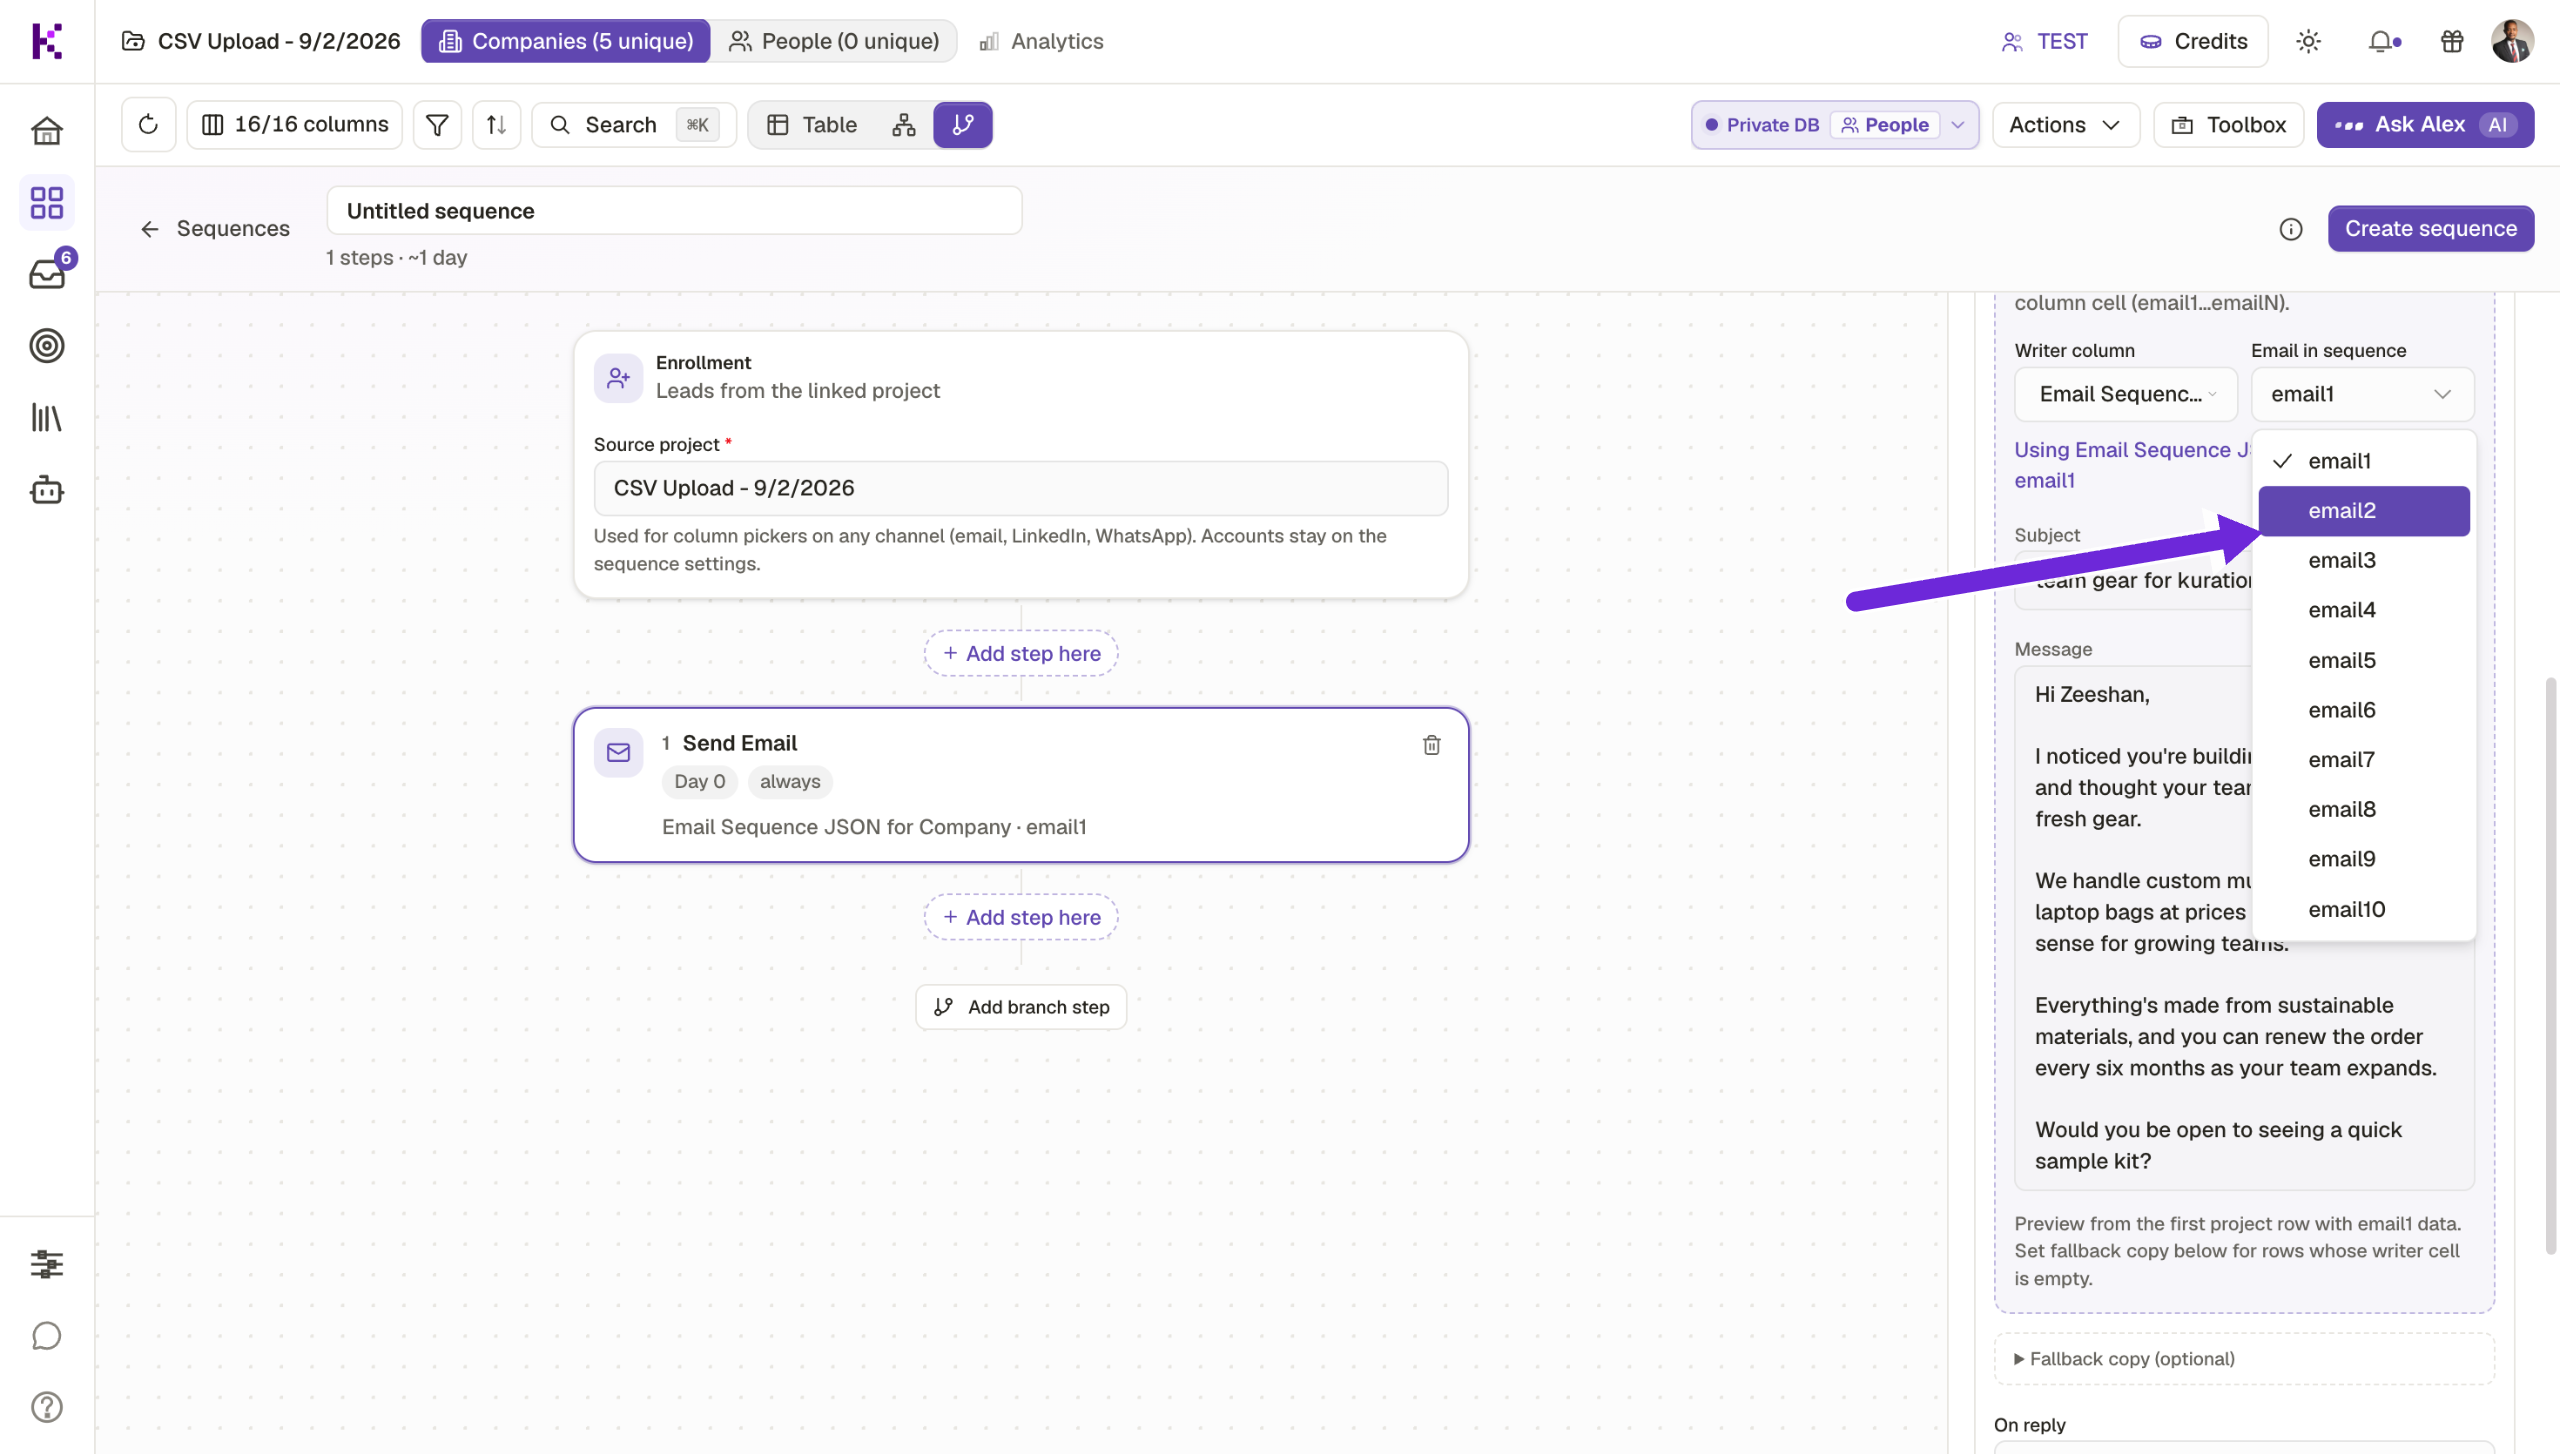
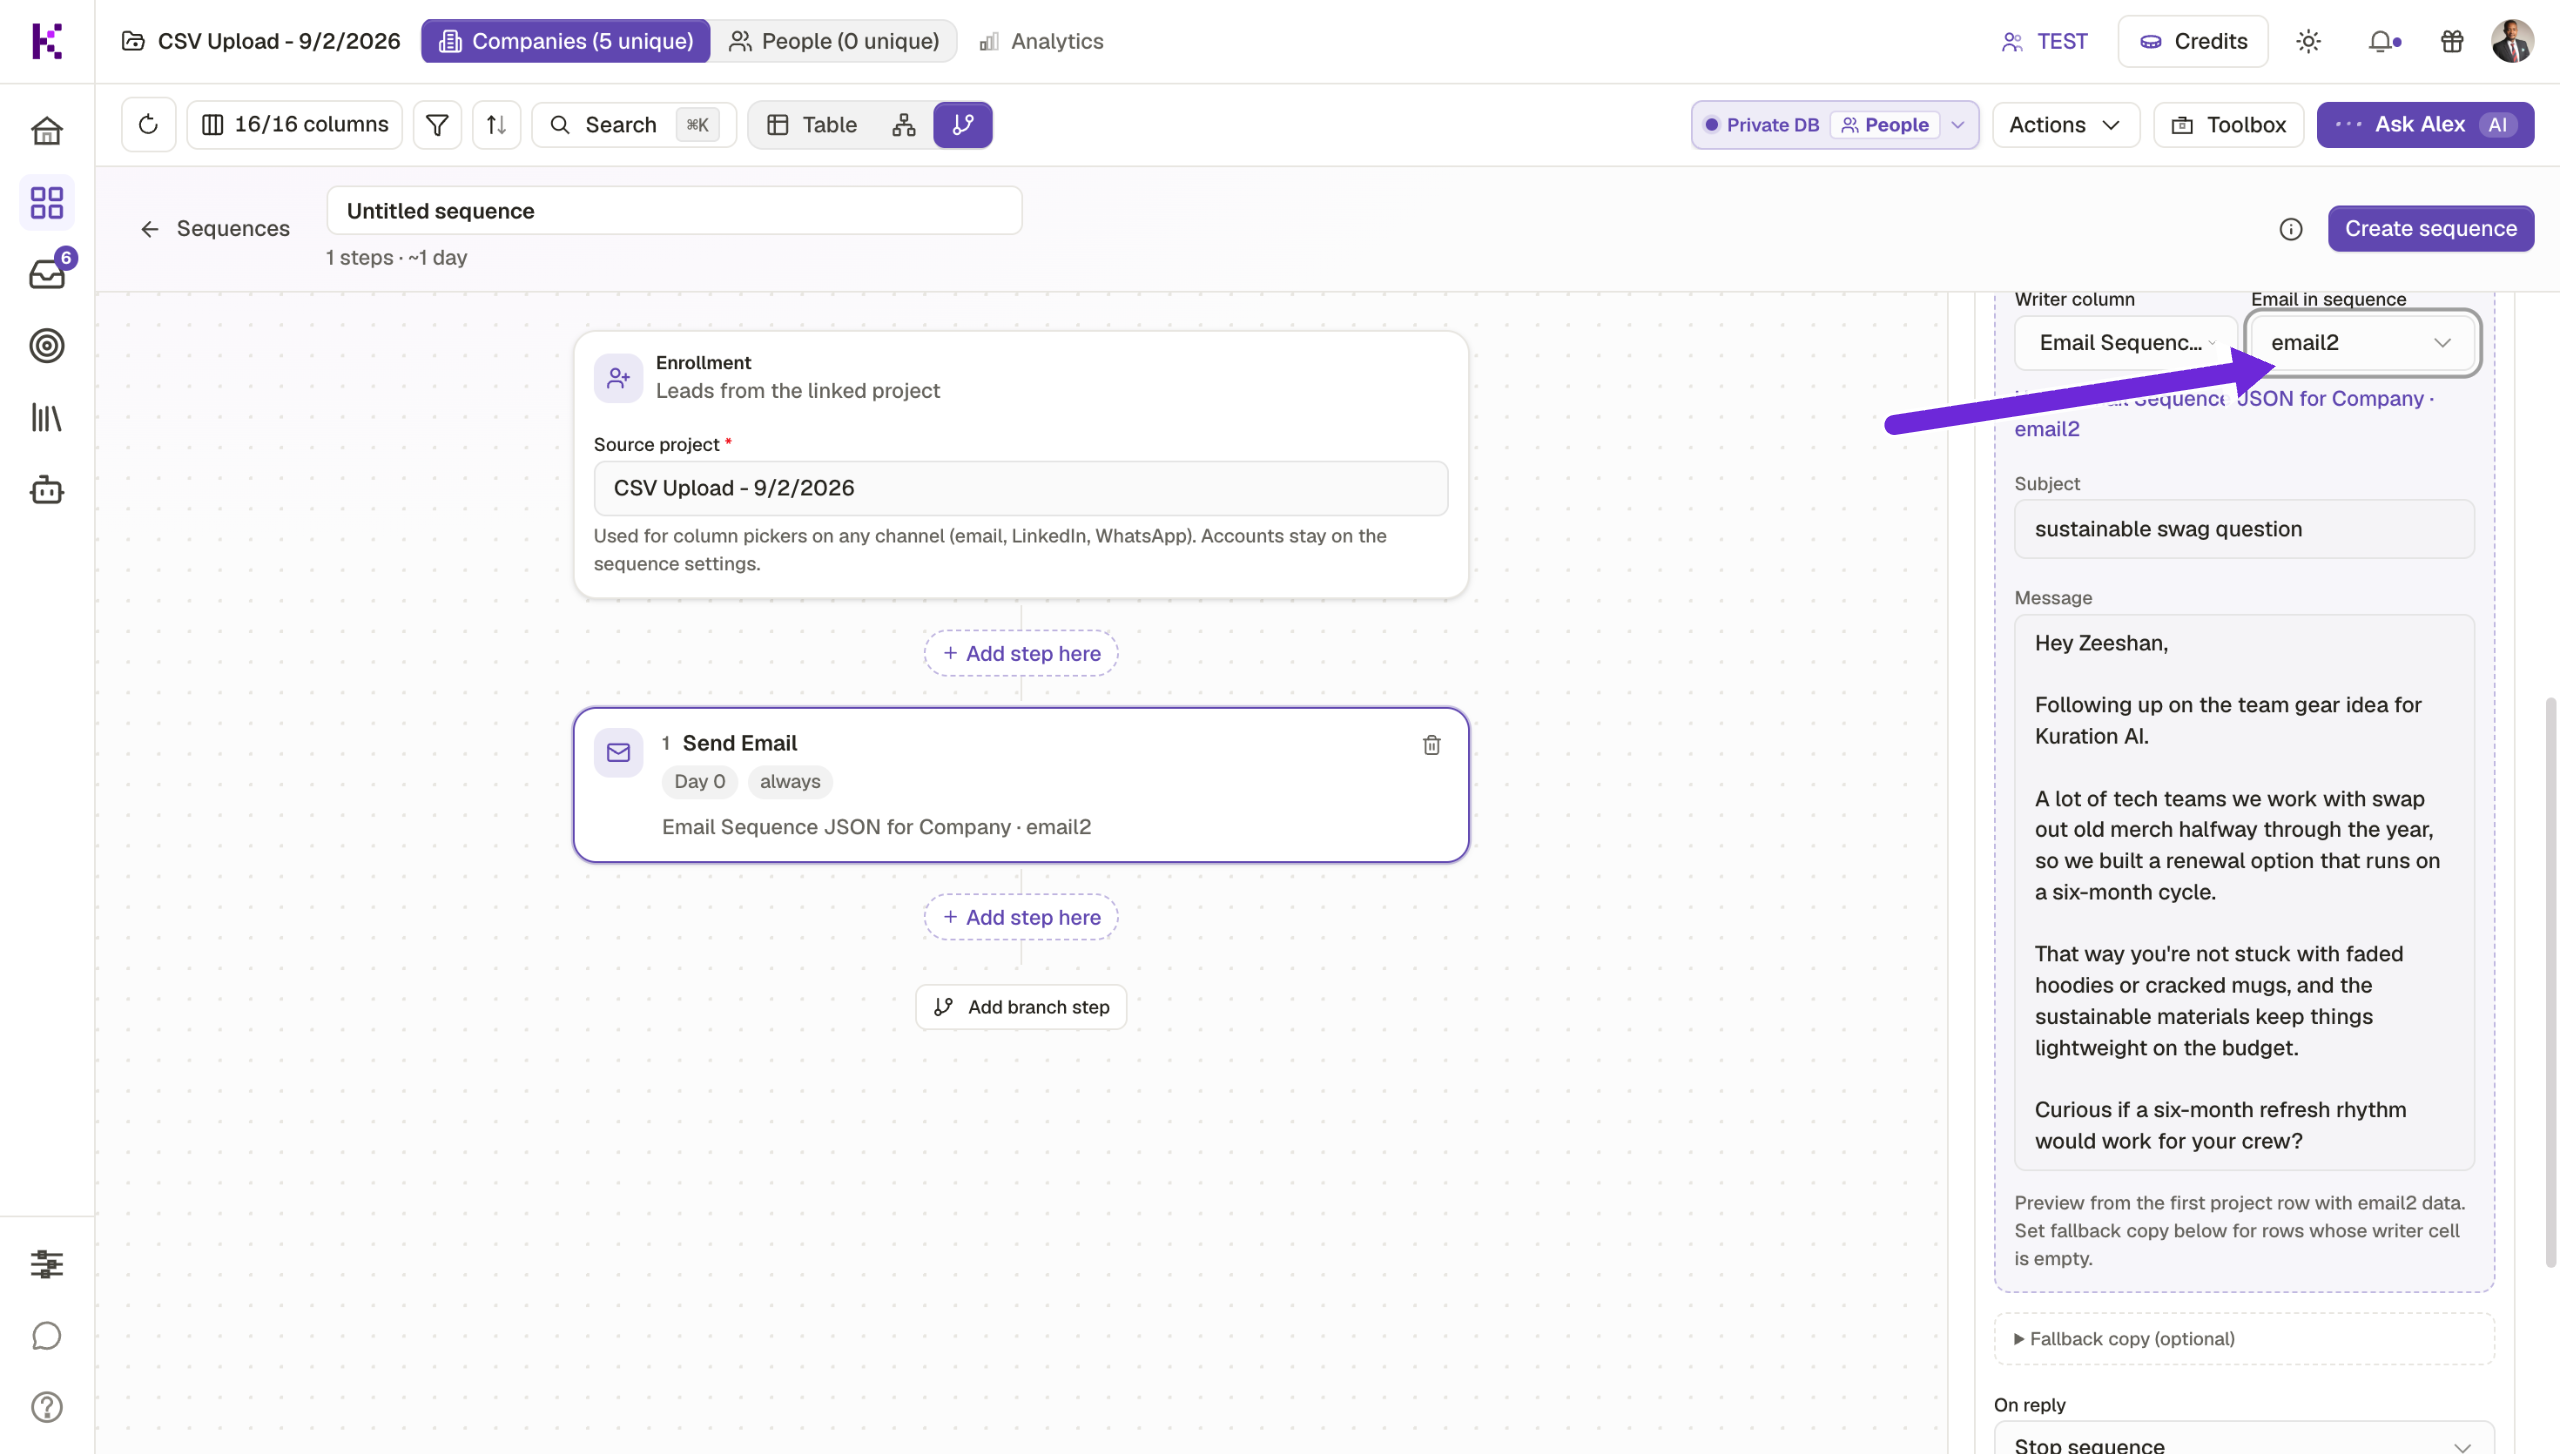
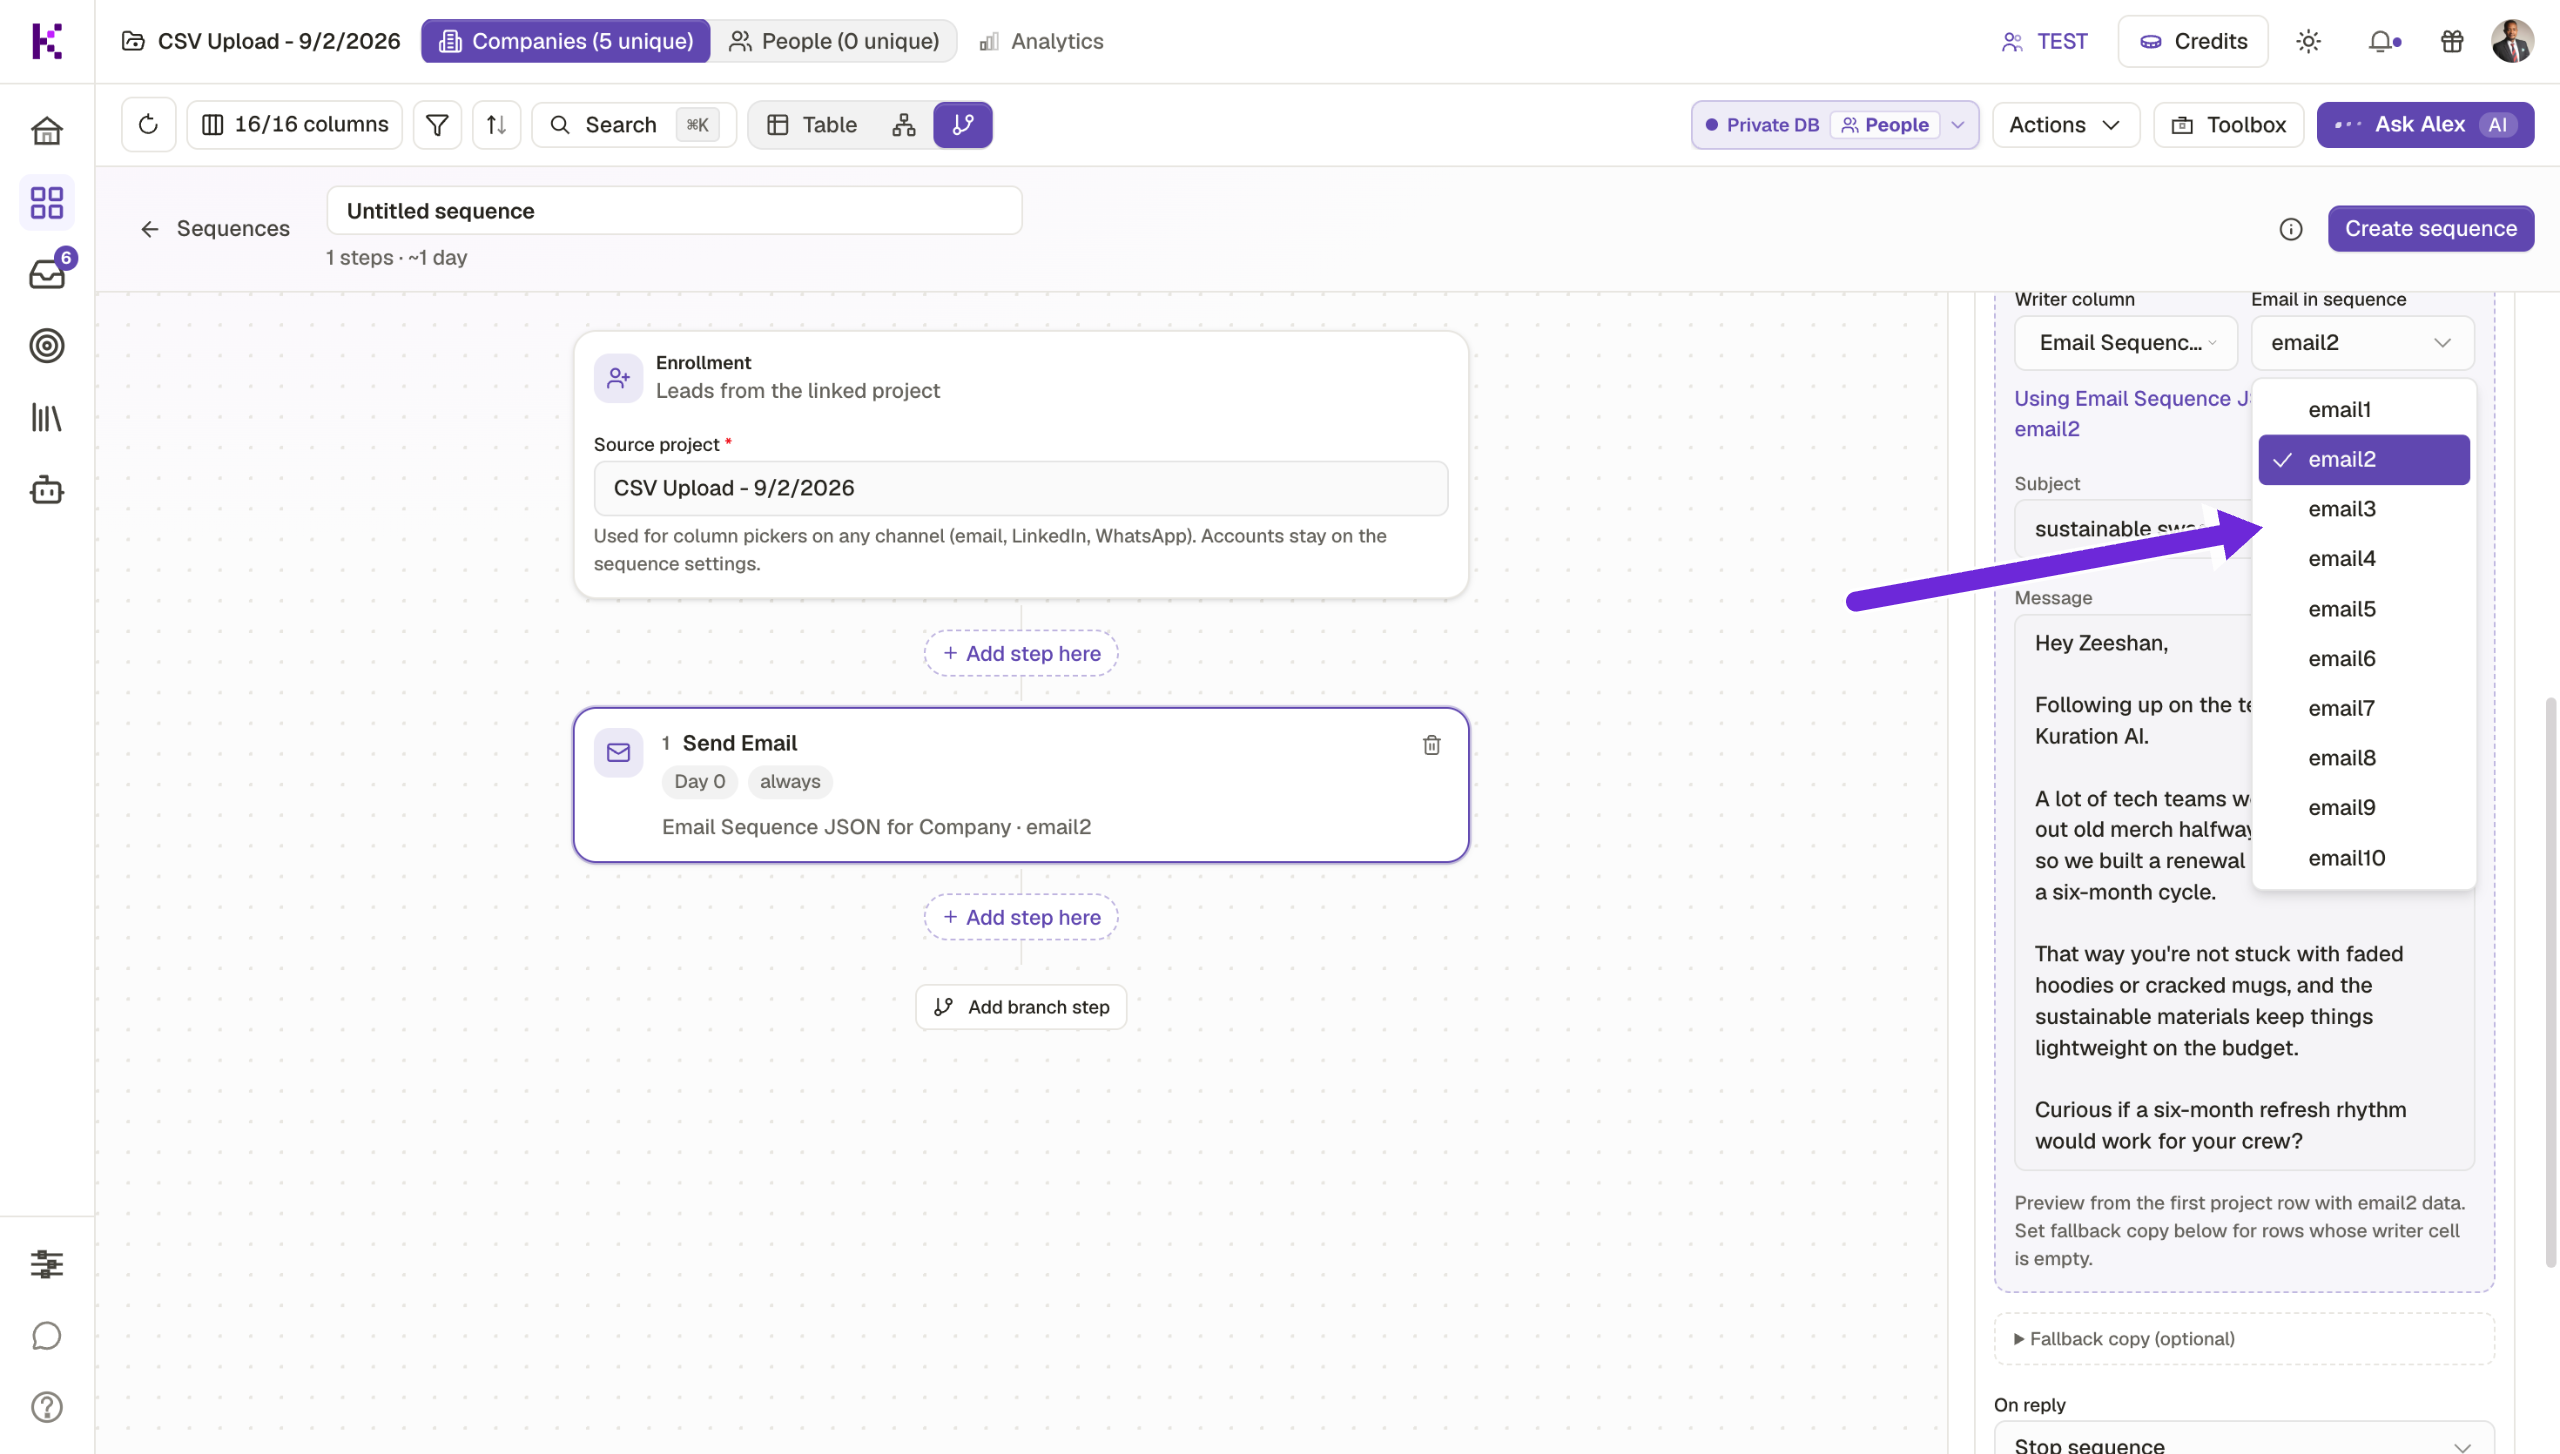
Map email2 to the second step — your follow-up is already written and waiting to go.

Confirm email2 is linked — your sequence is taking shape with zero manual writing required.

Add email3 — the final touchpoint that gives leads one last compelling reason to respond.

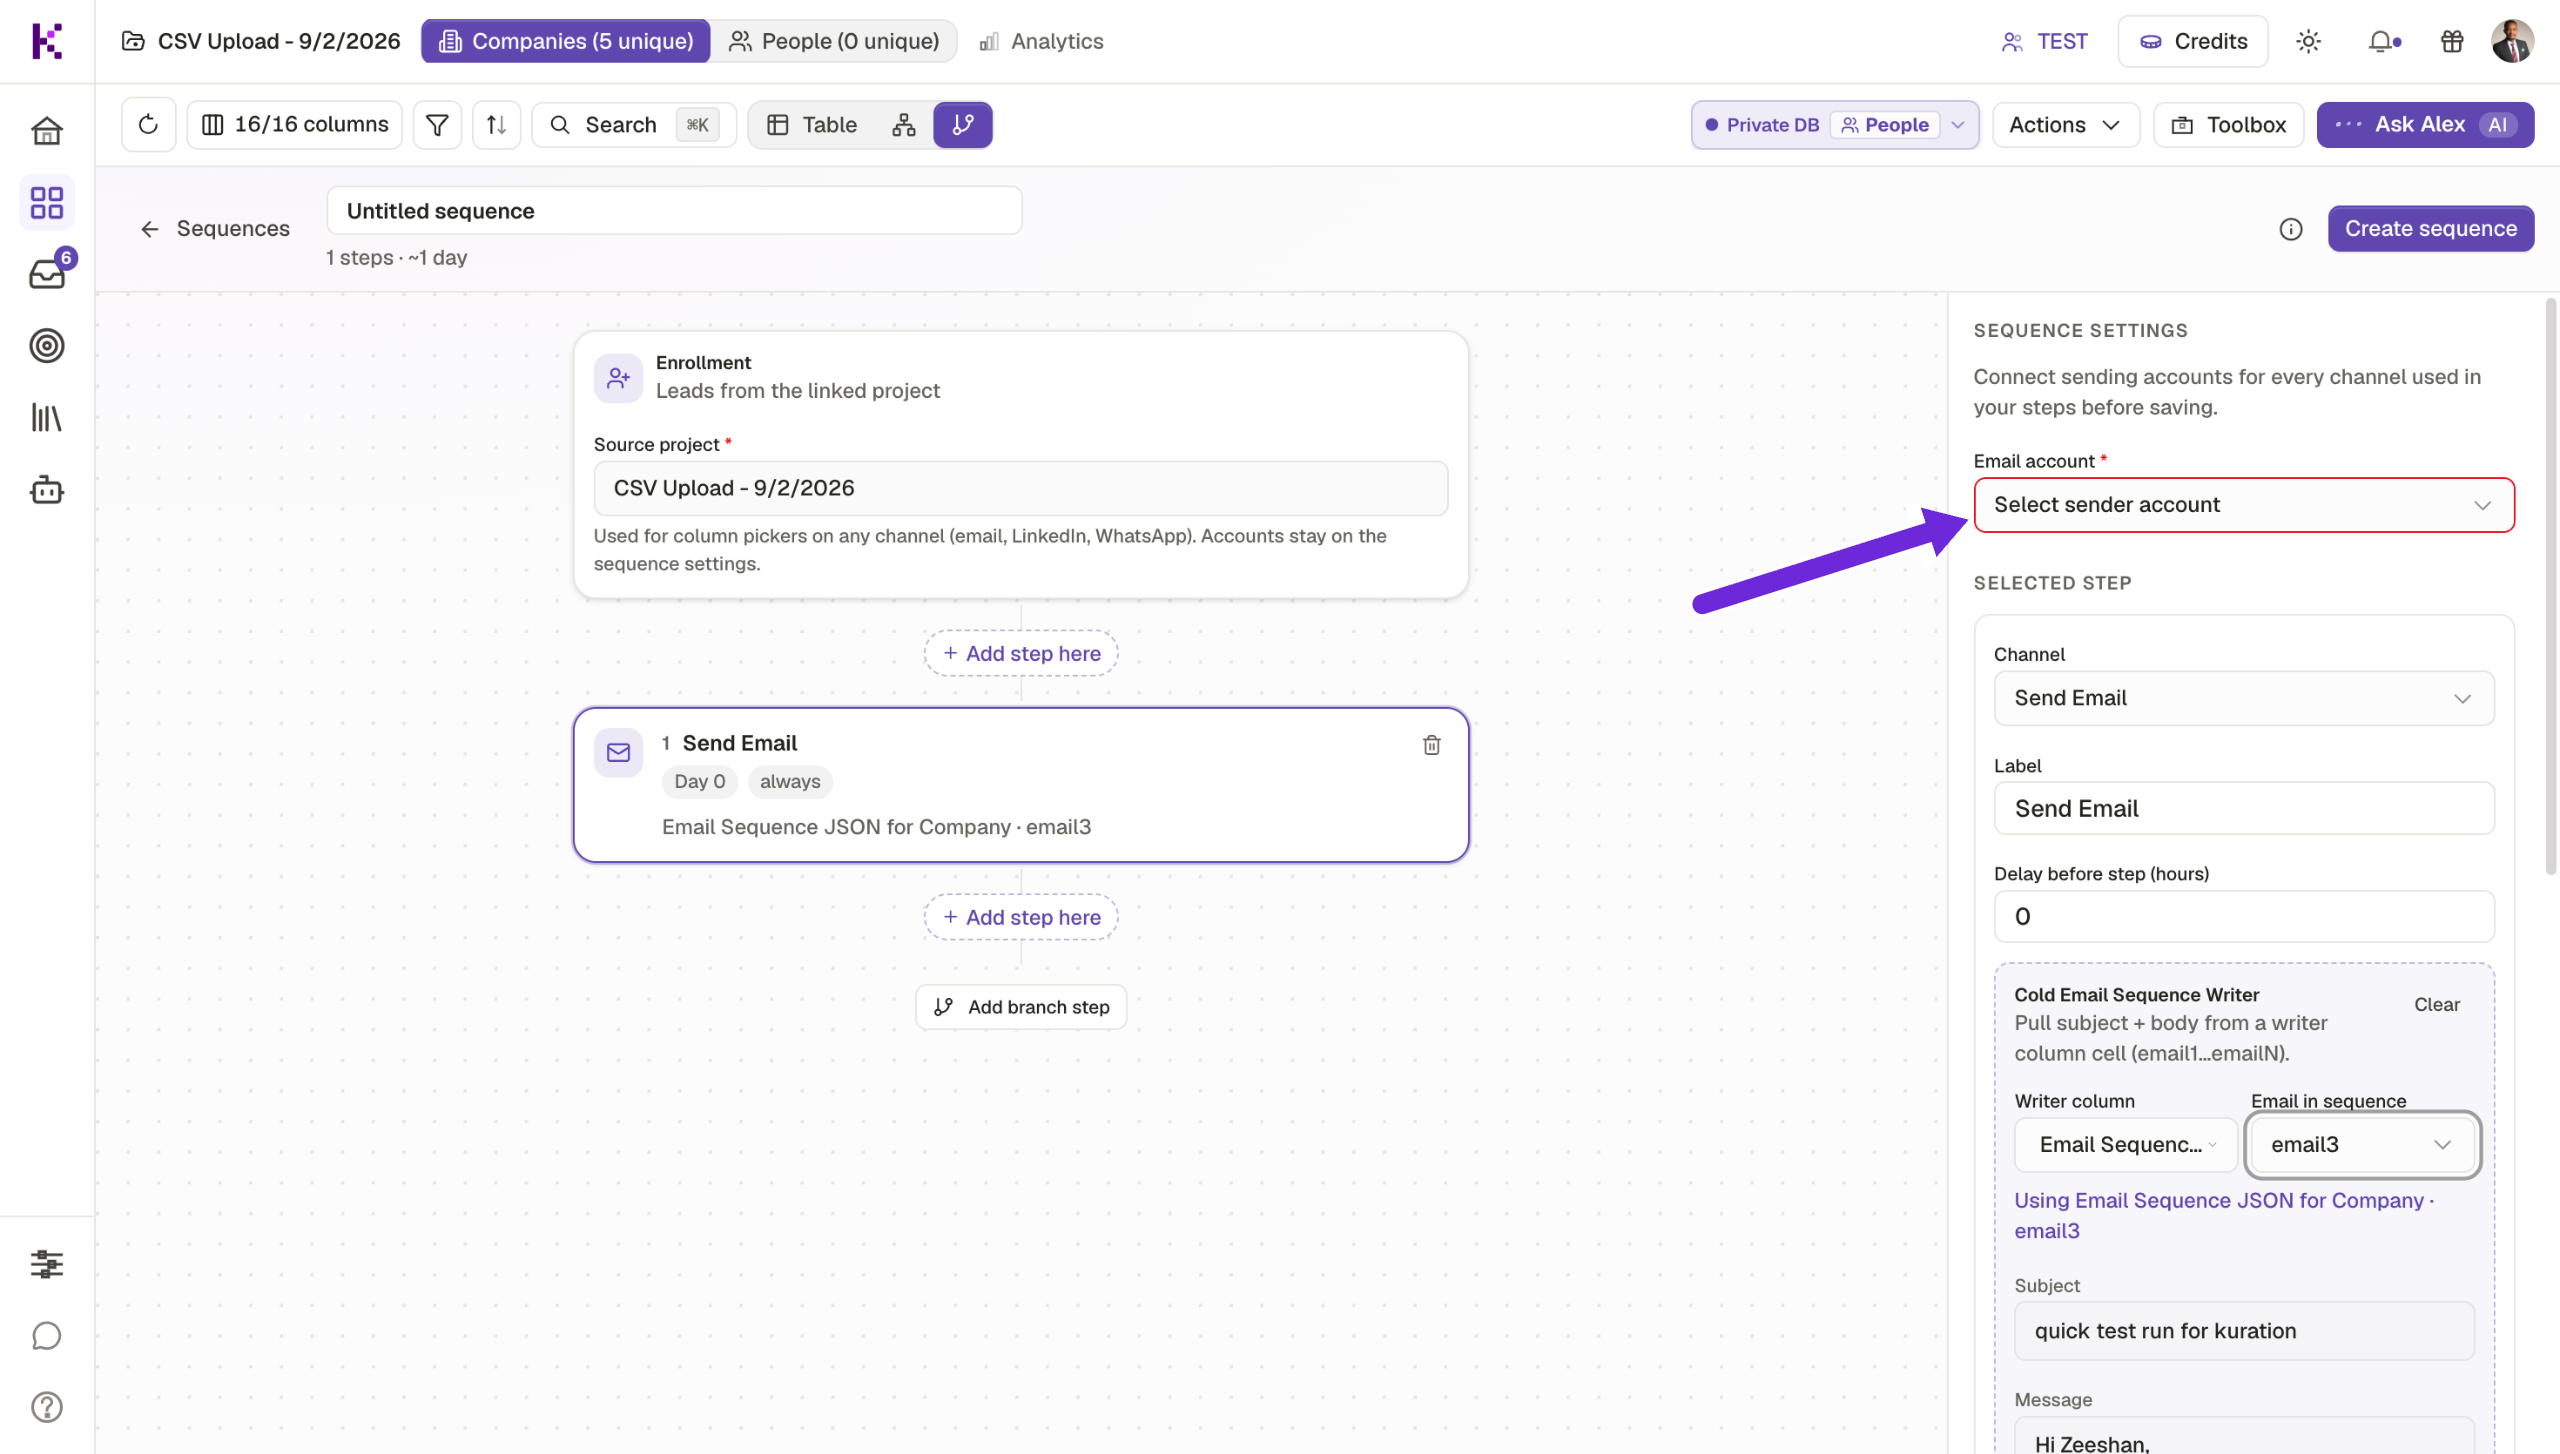
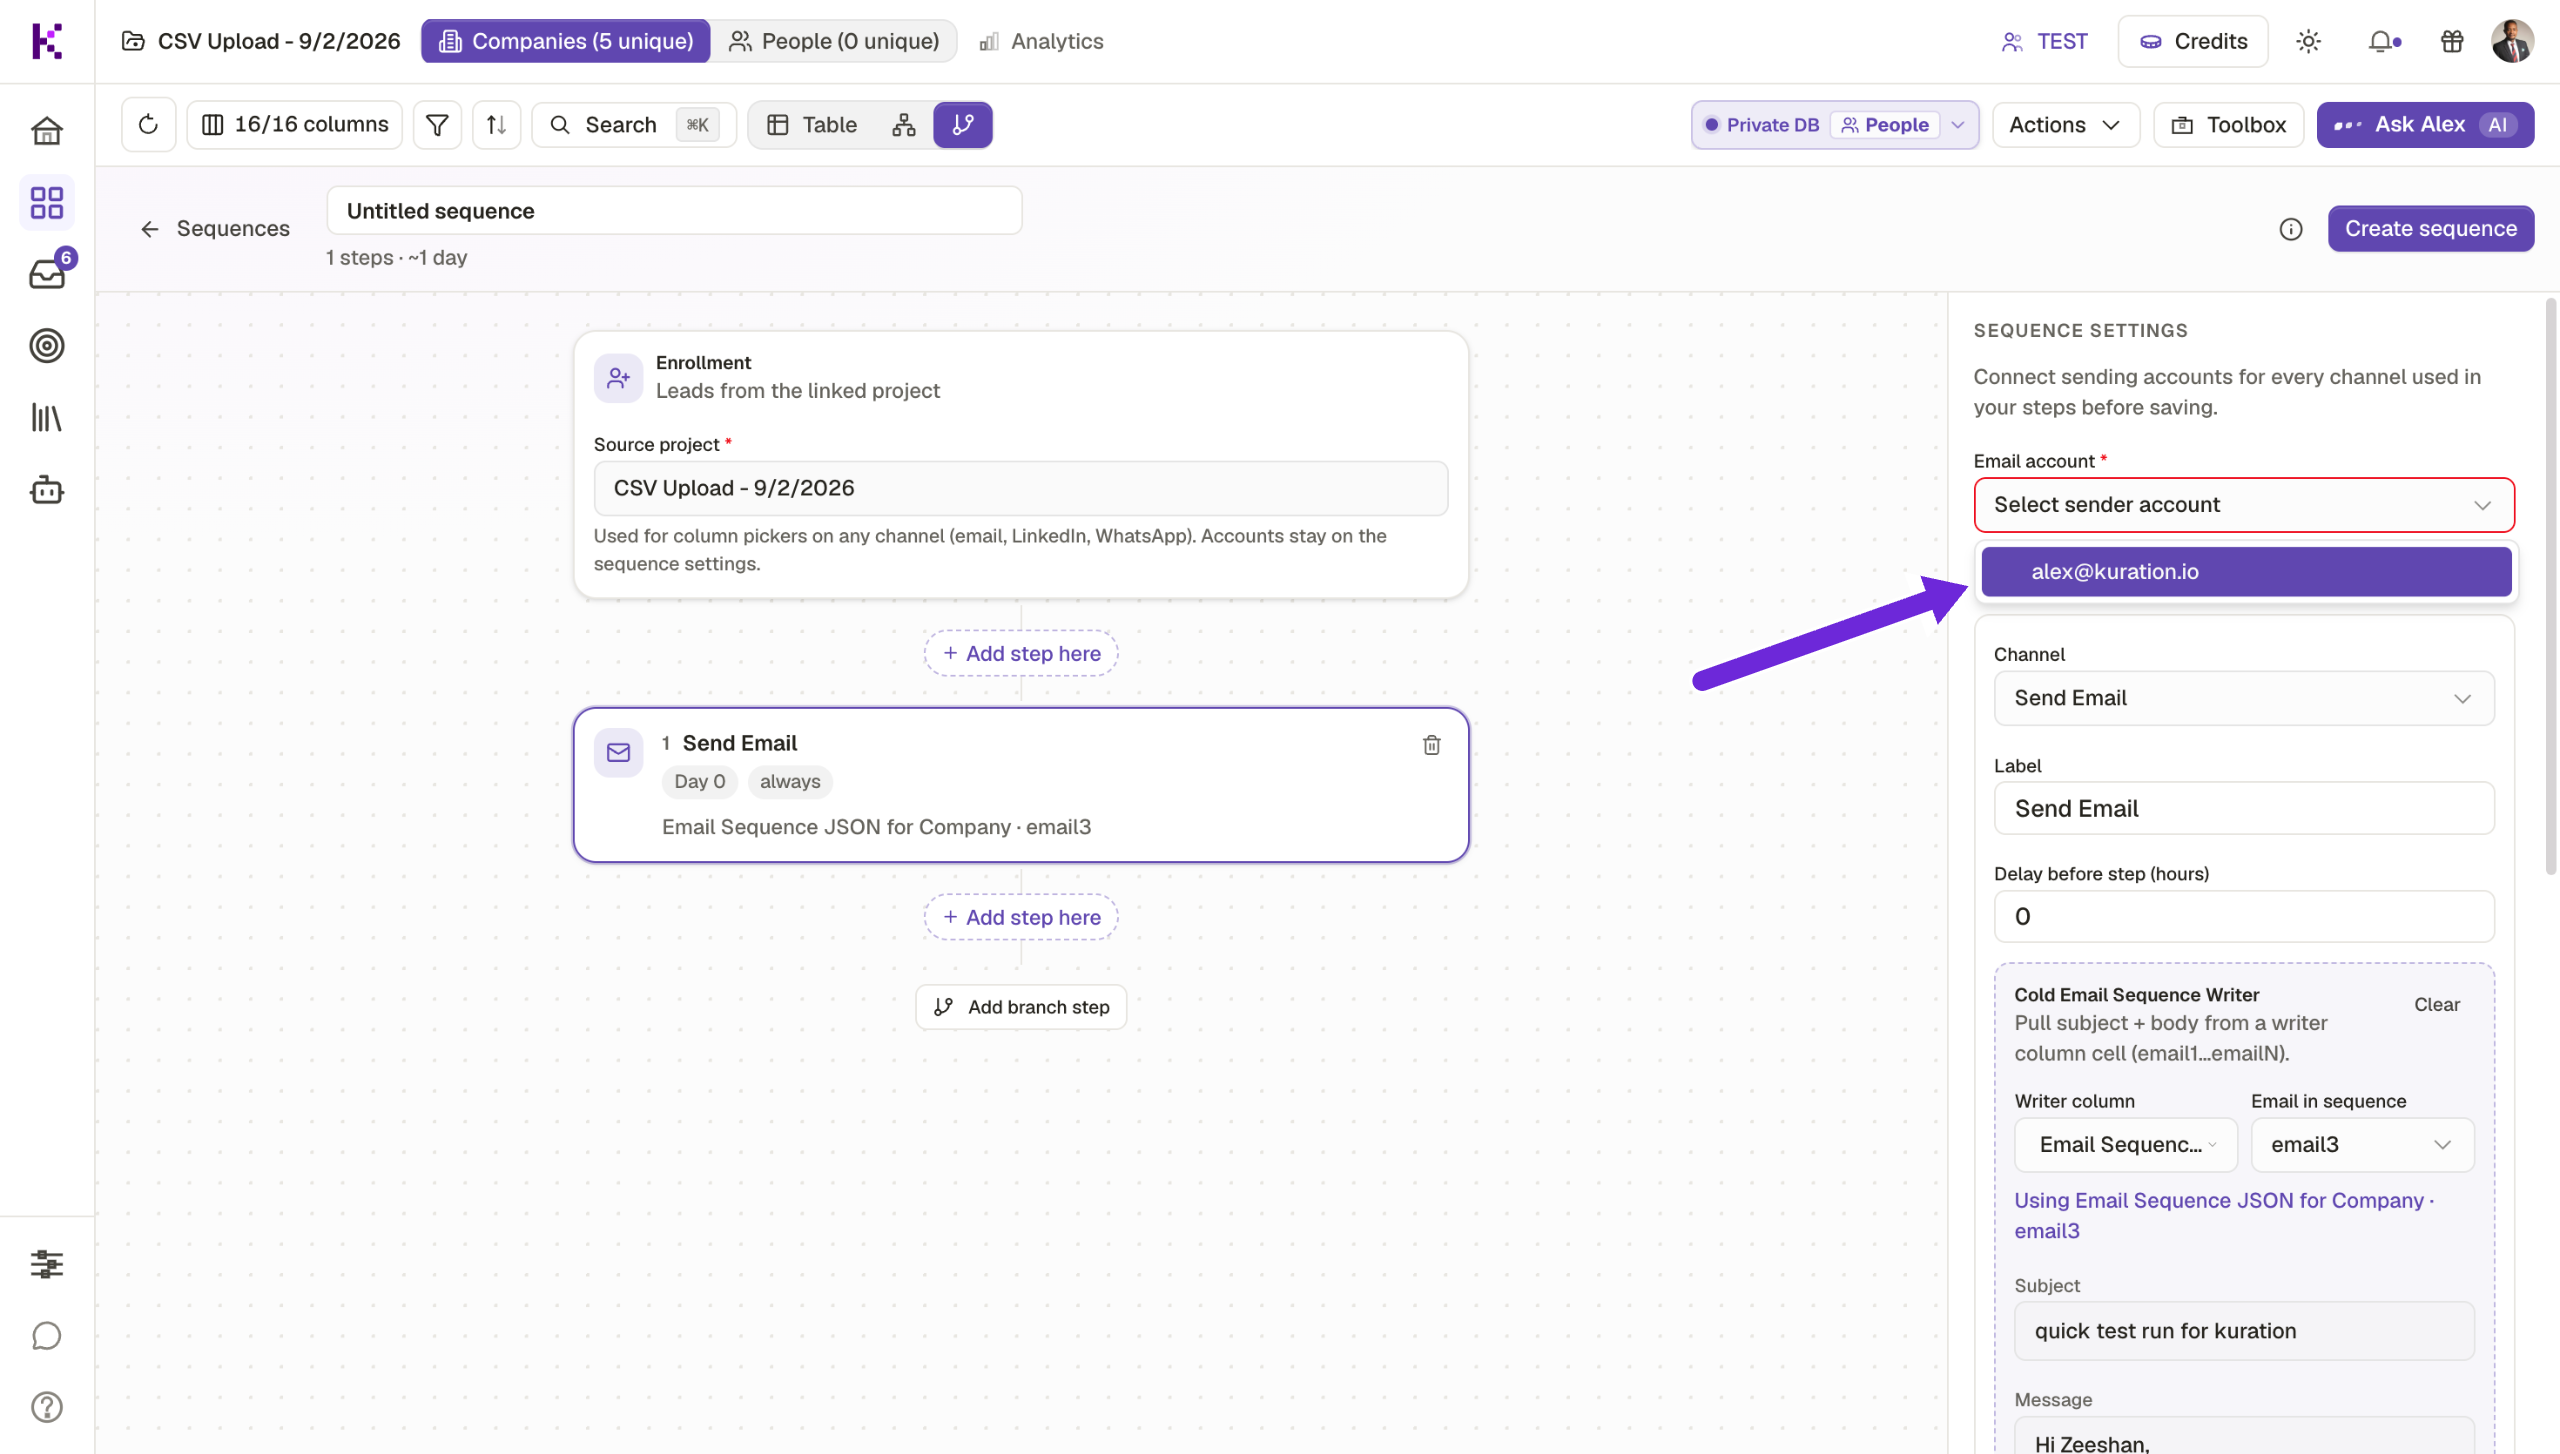
Choose which sender account delivers this sequence — keeping your outreach professional and trackable.

Select your sender address — outreach now goes out under a real, trusted identity.

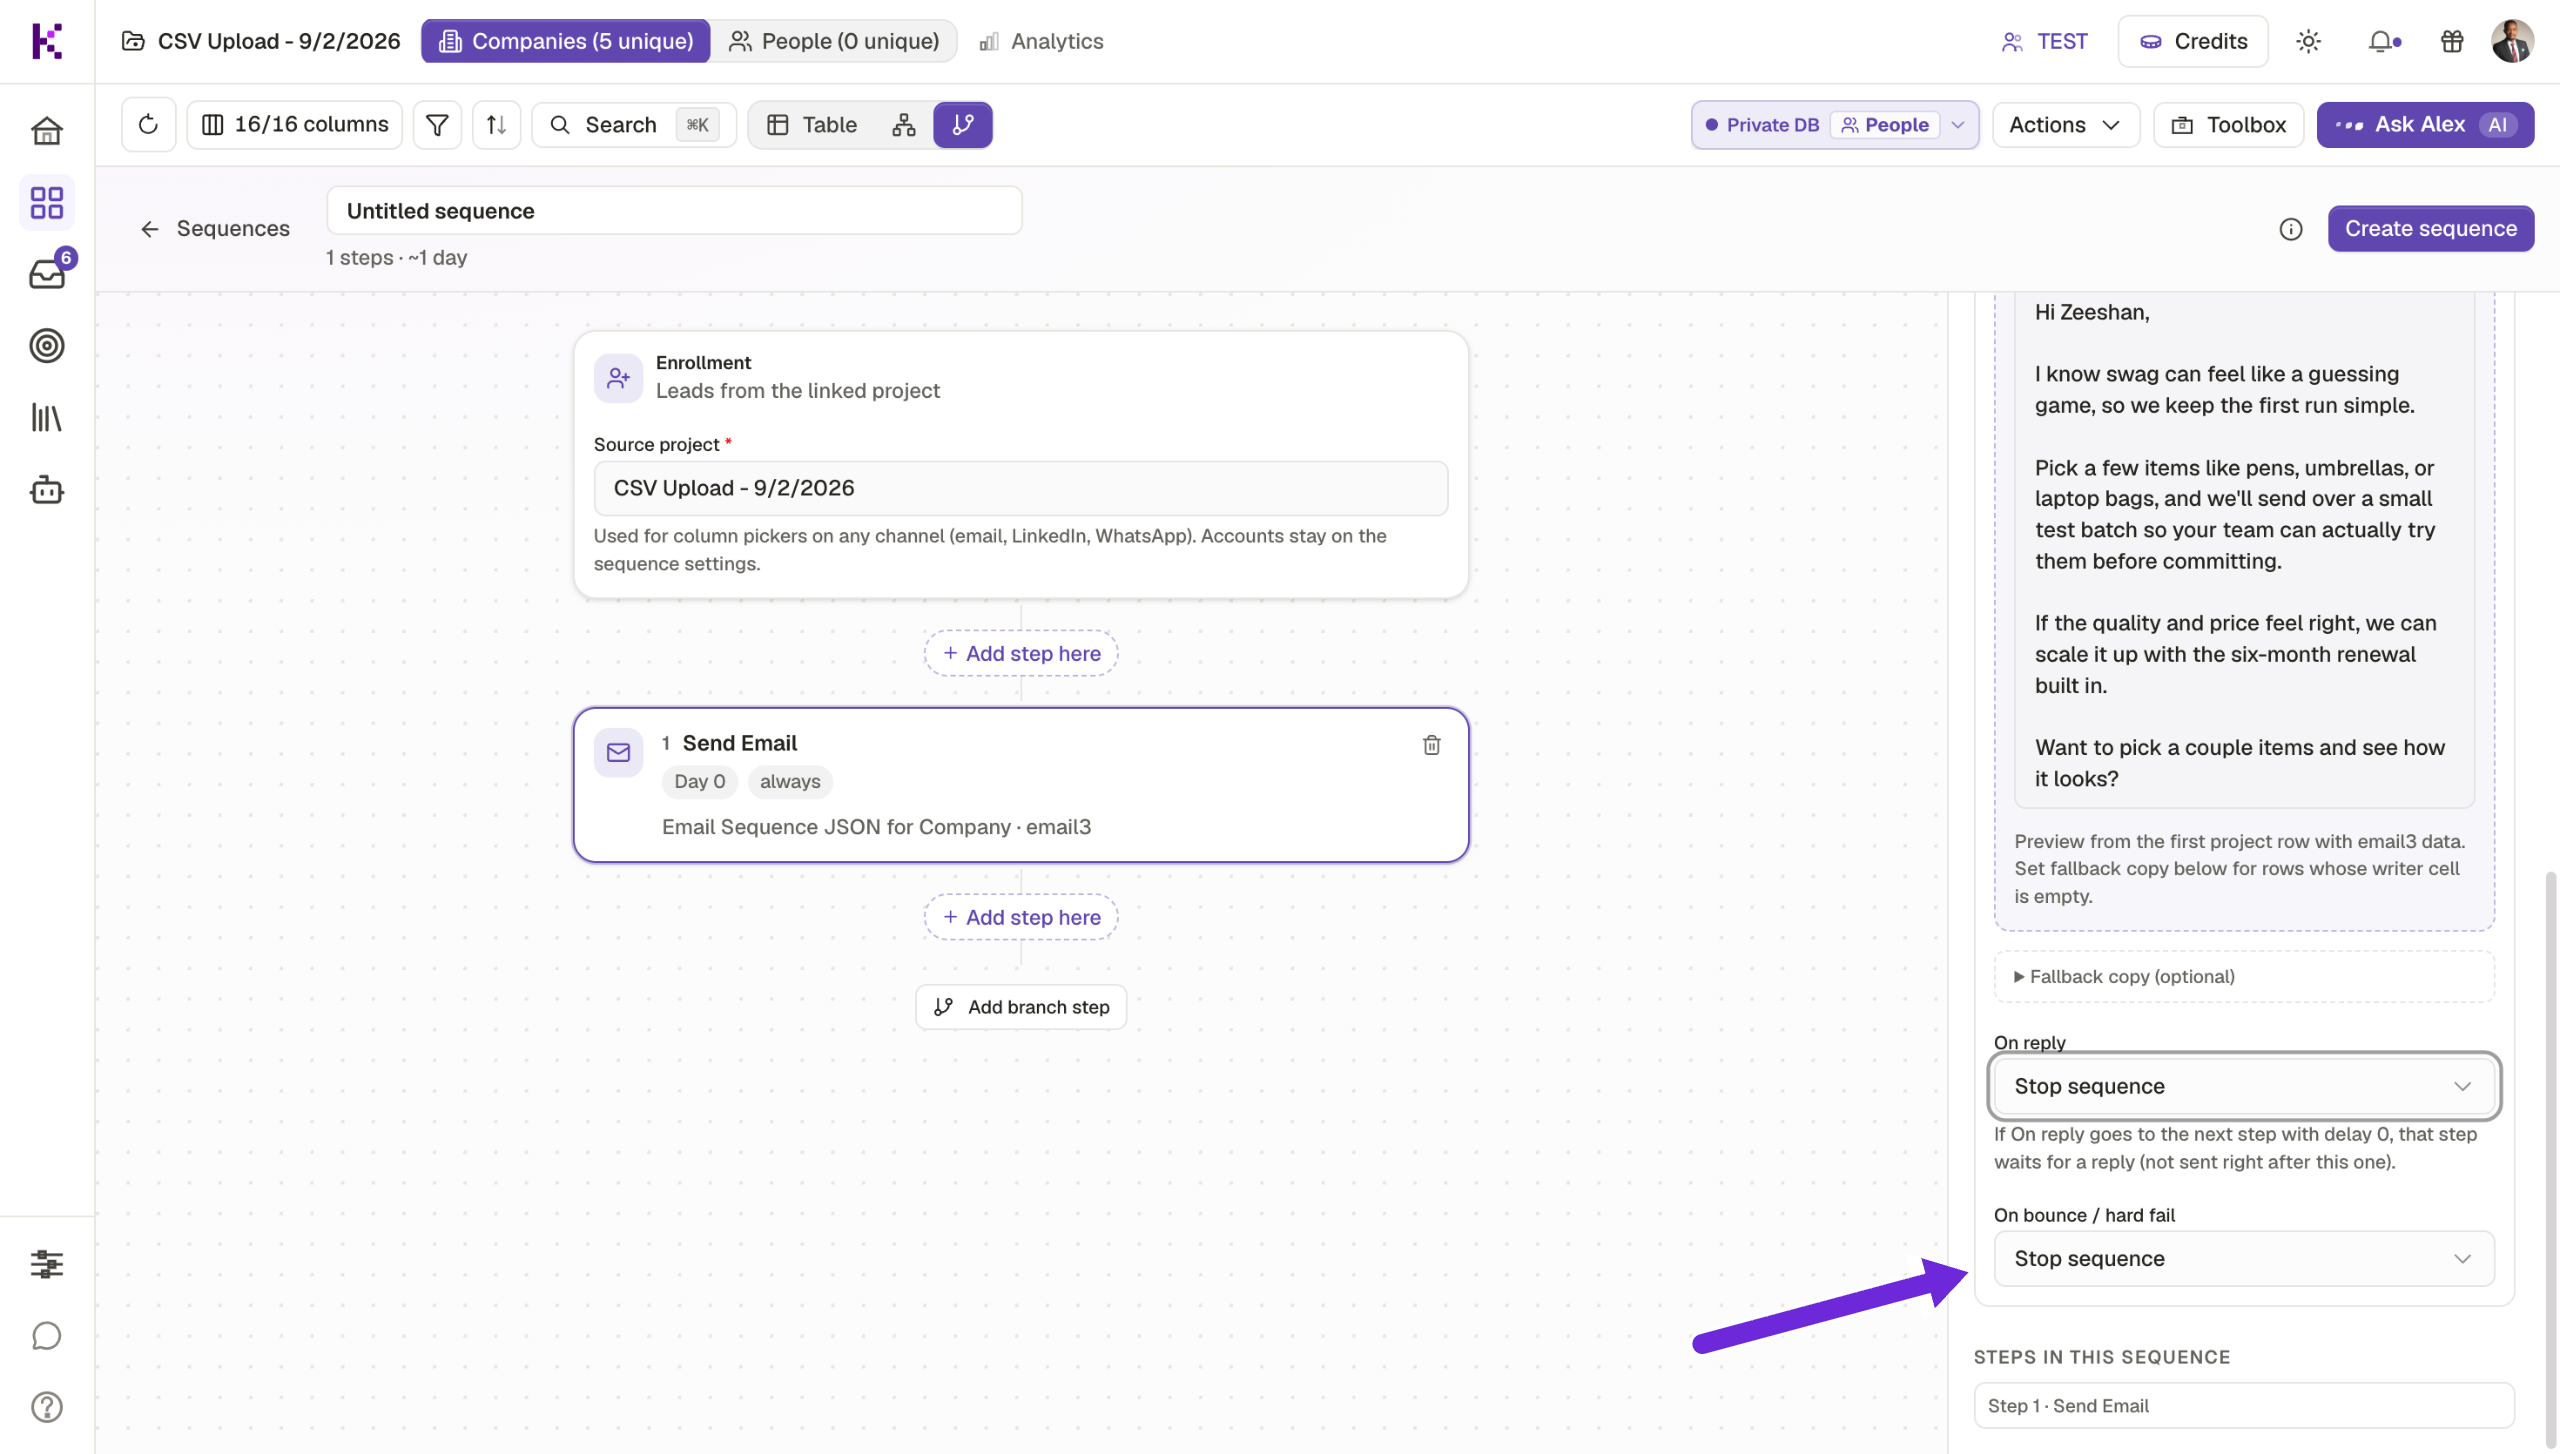
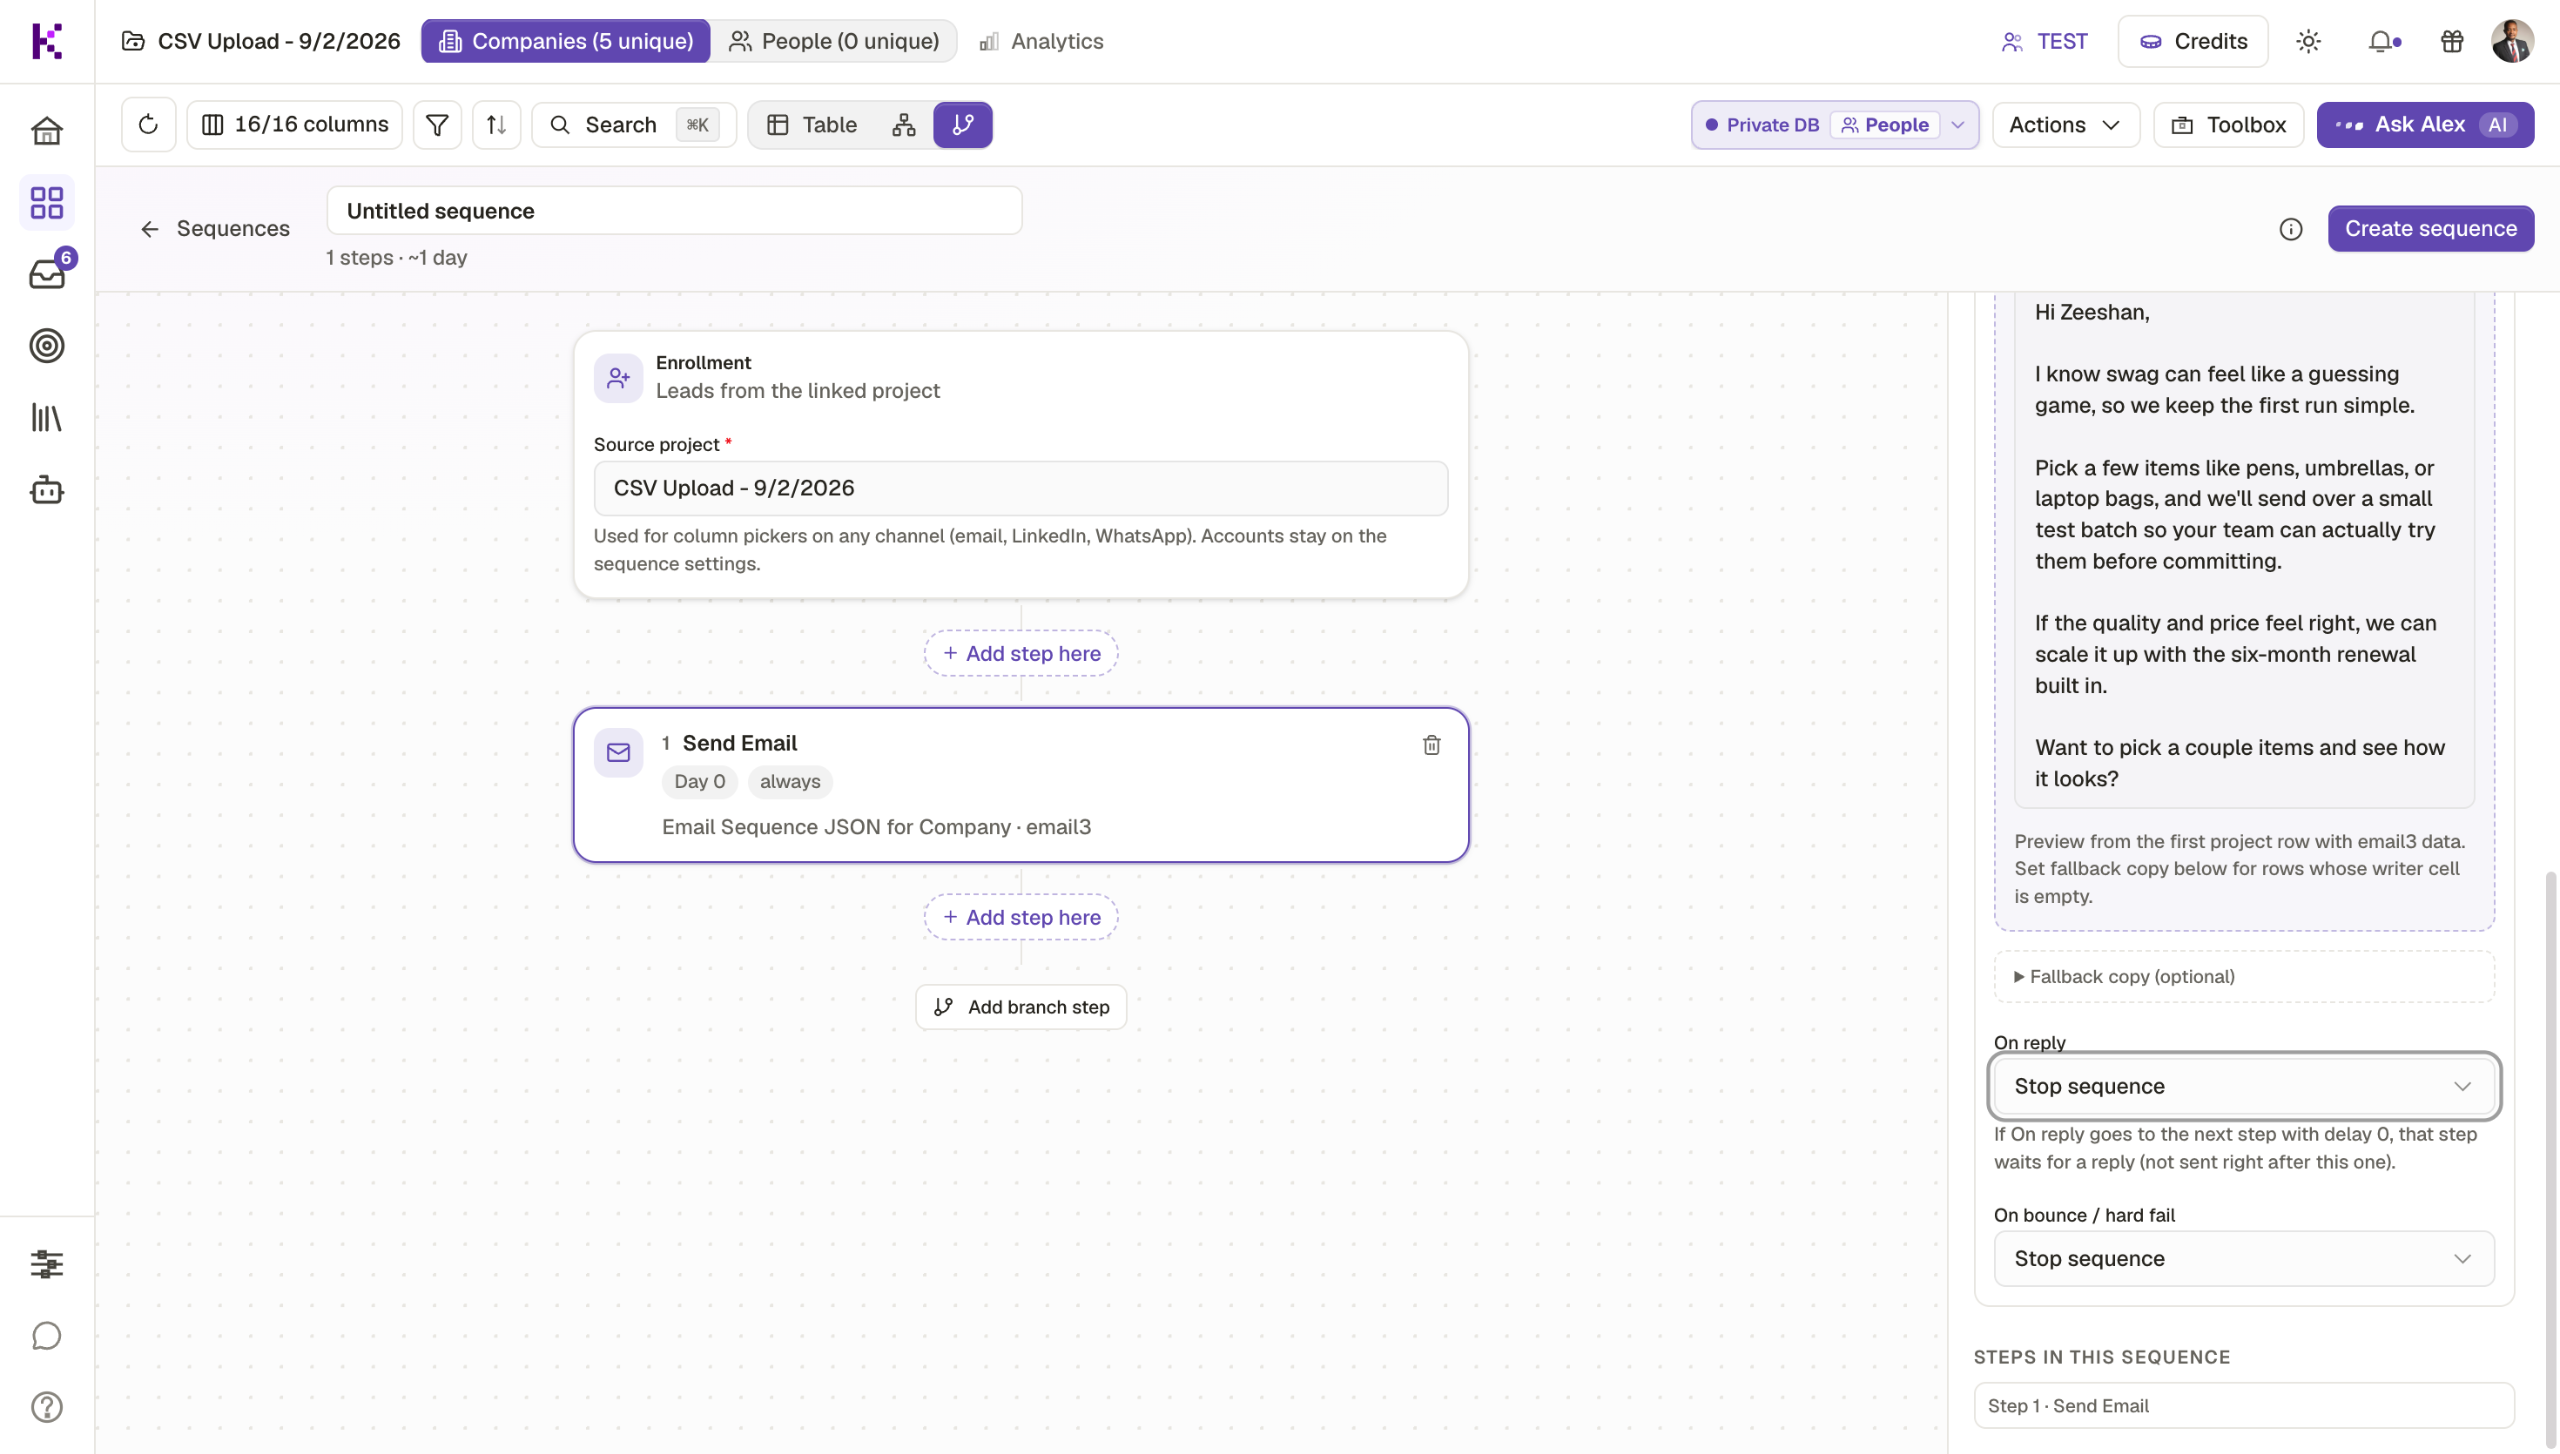
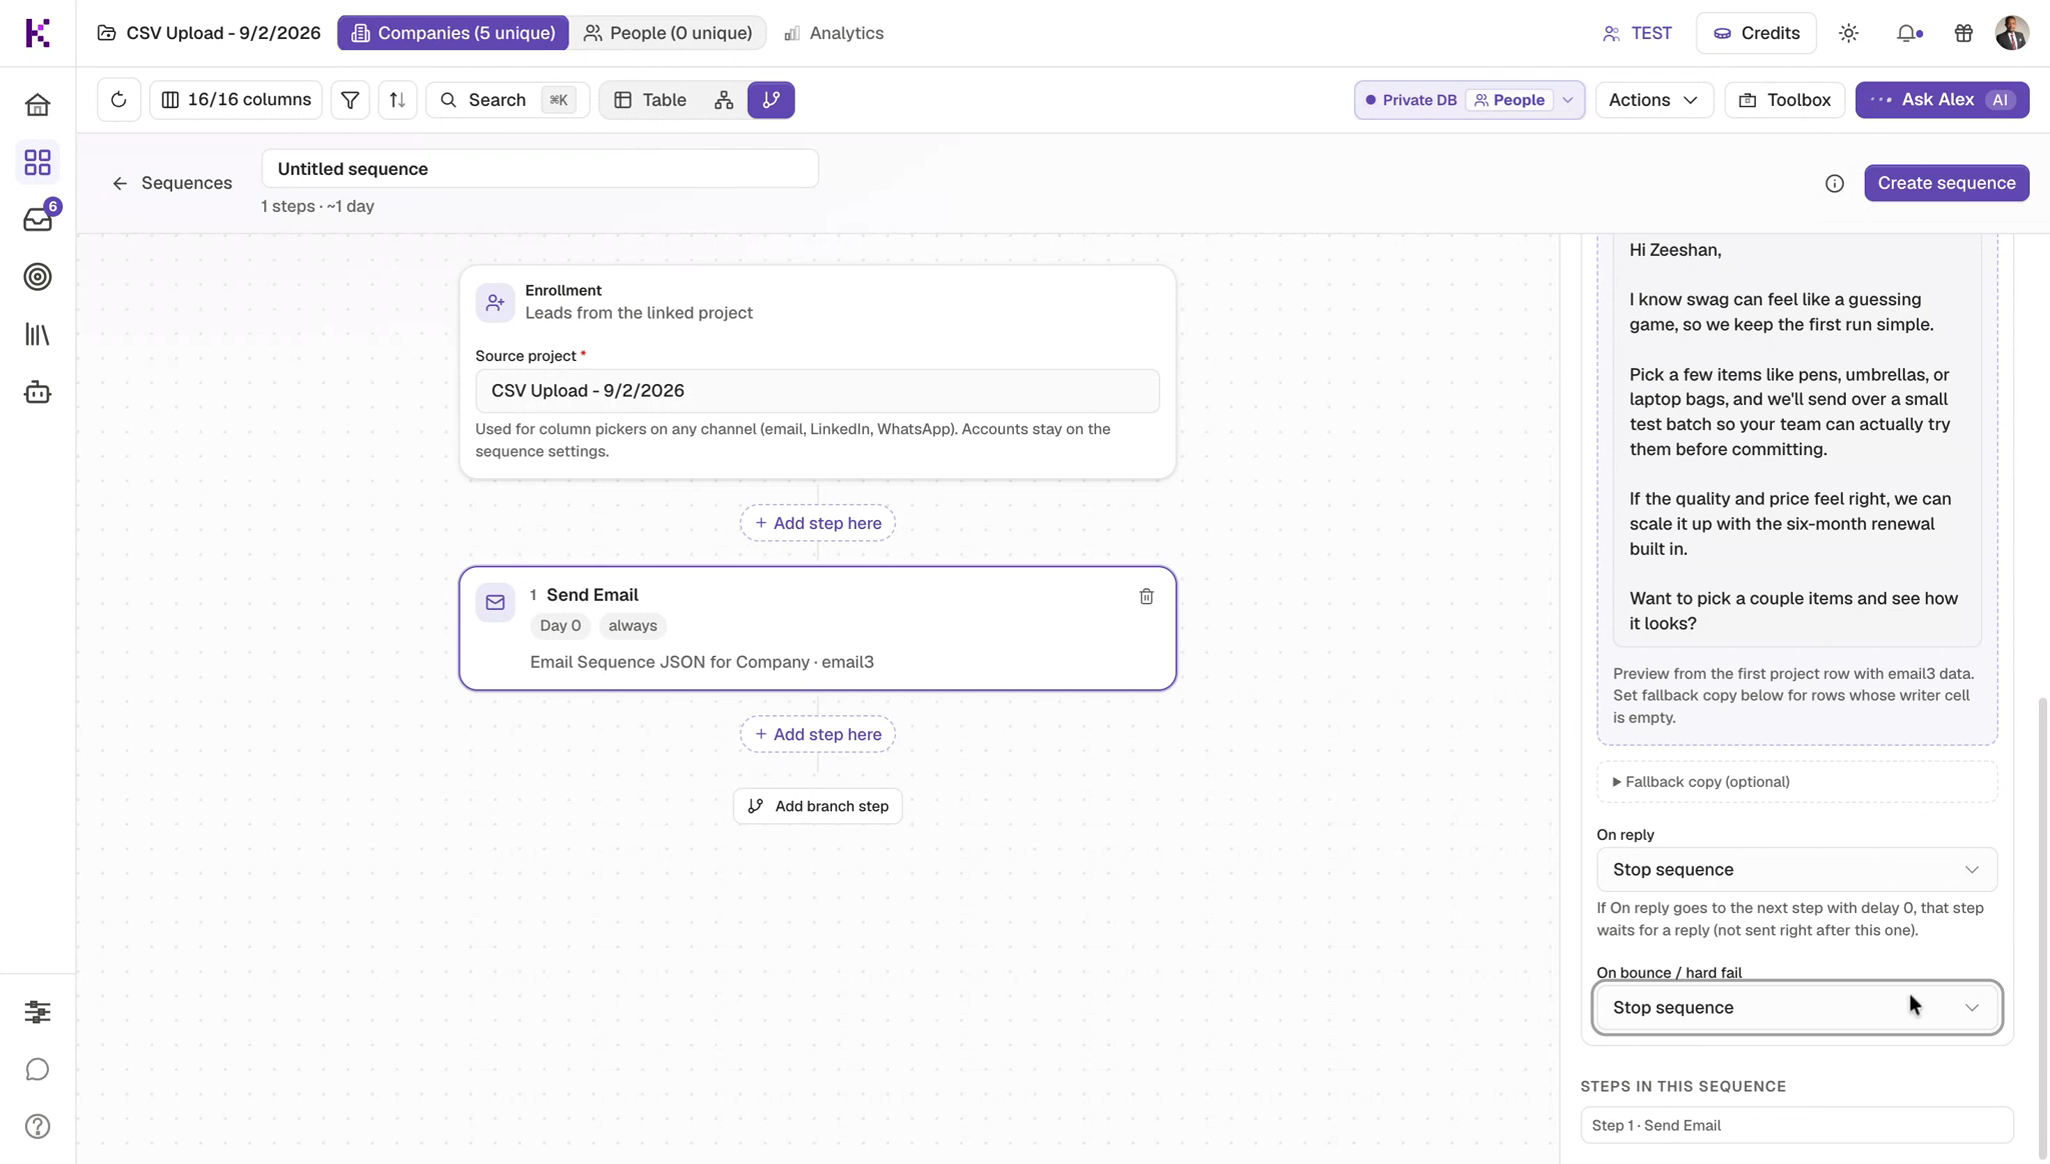
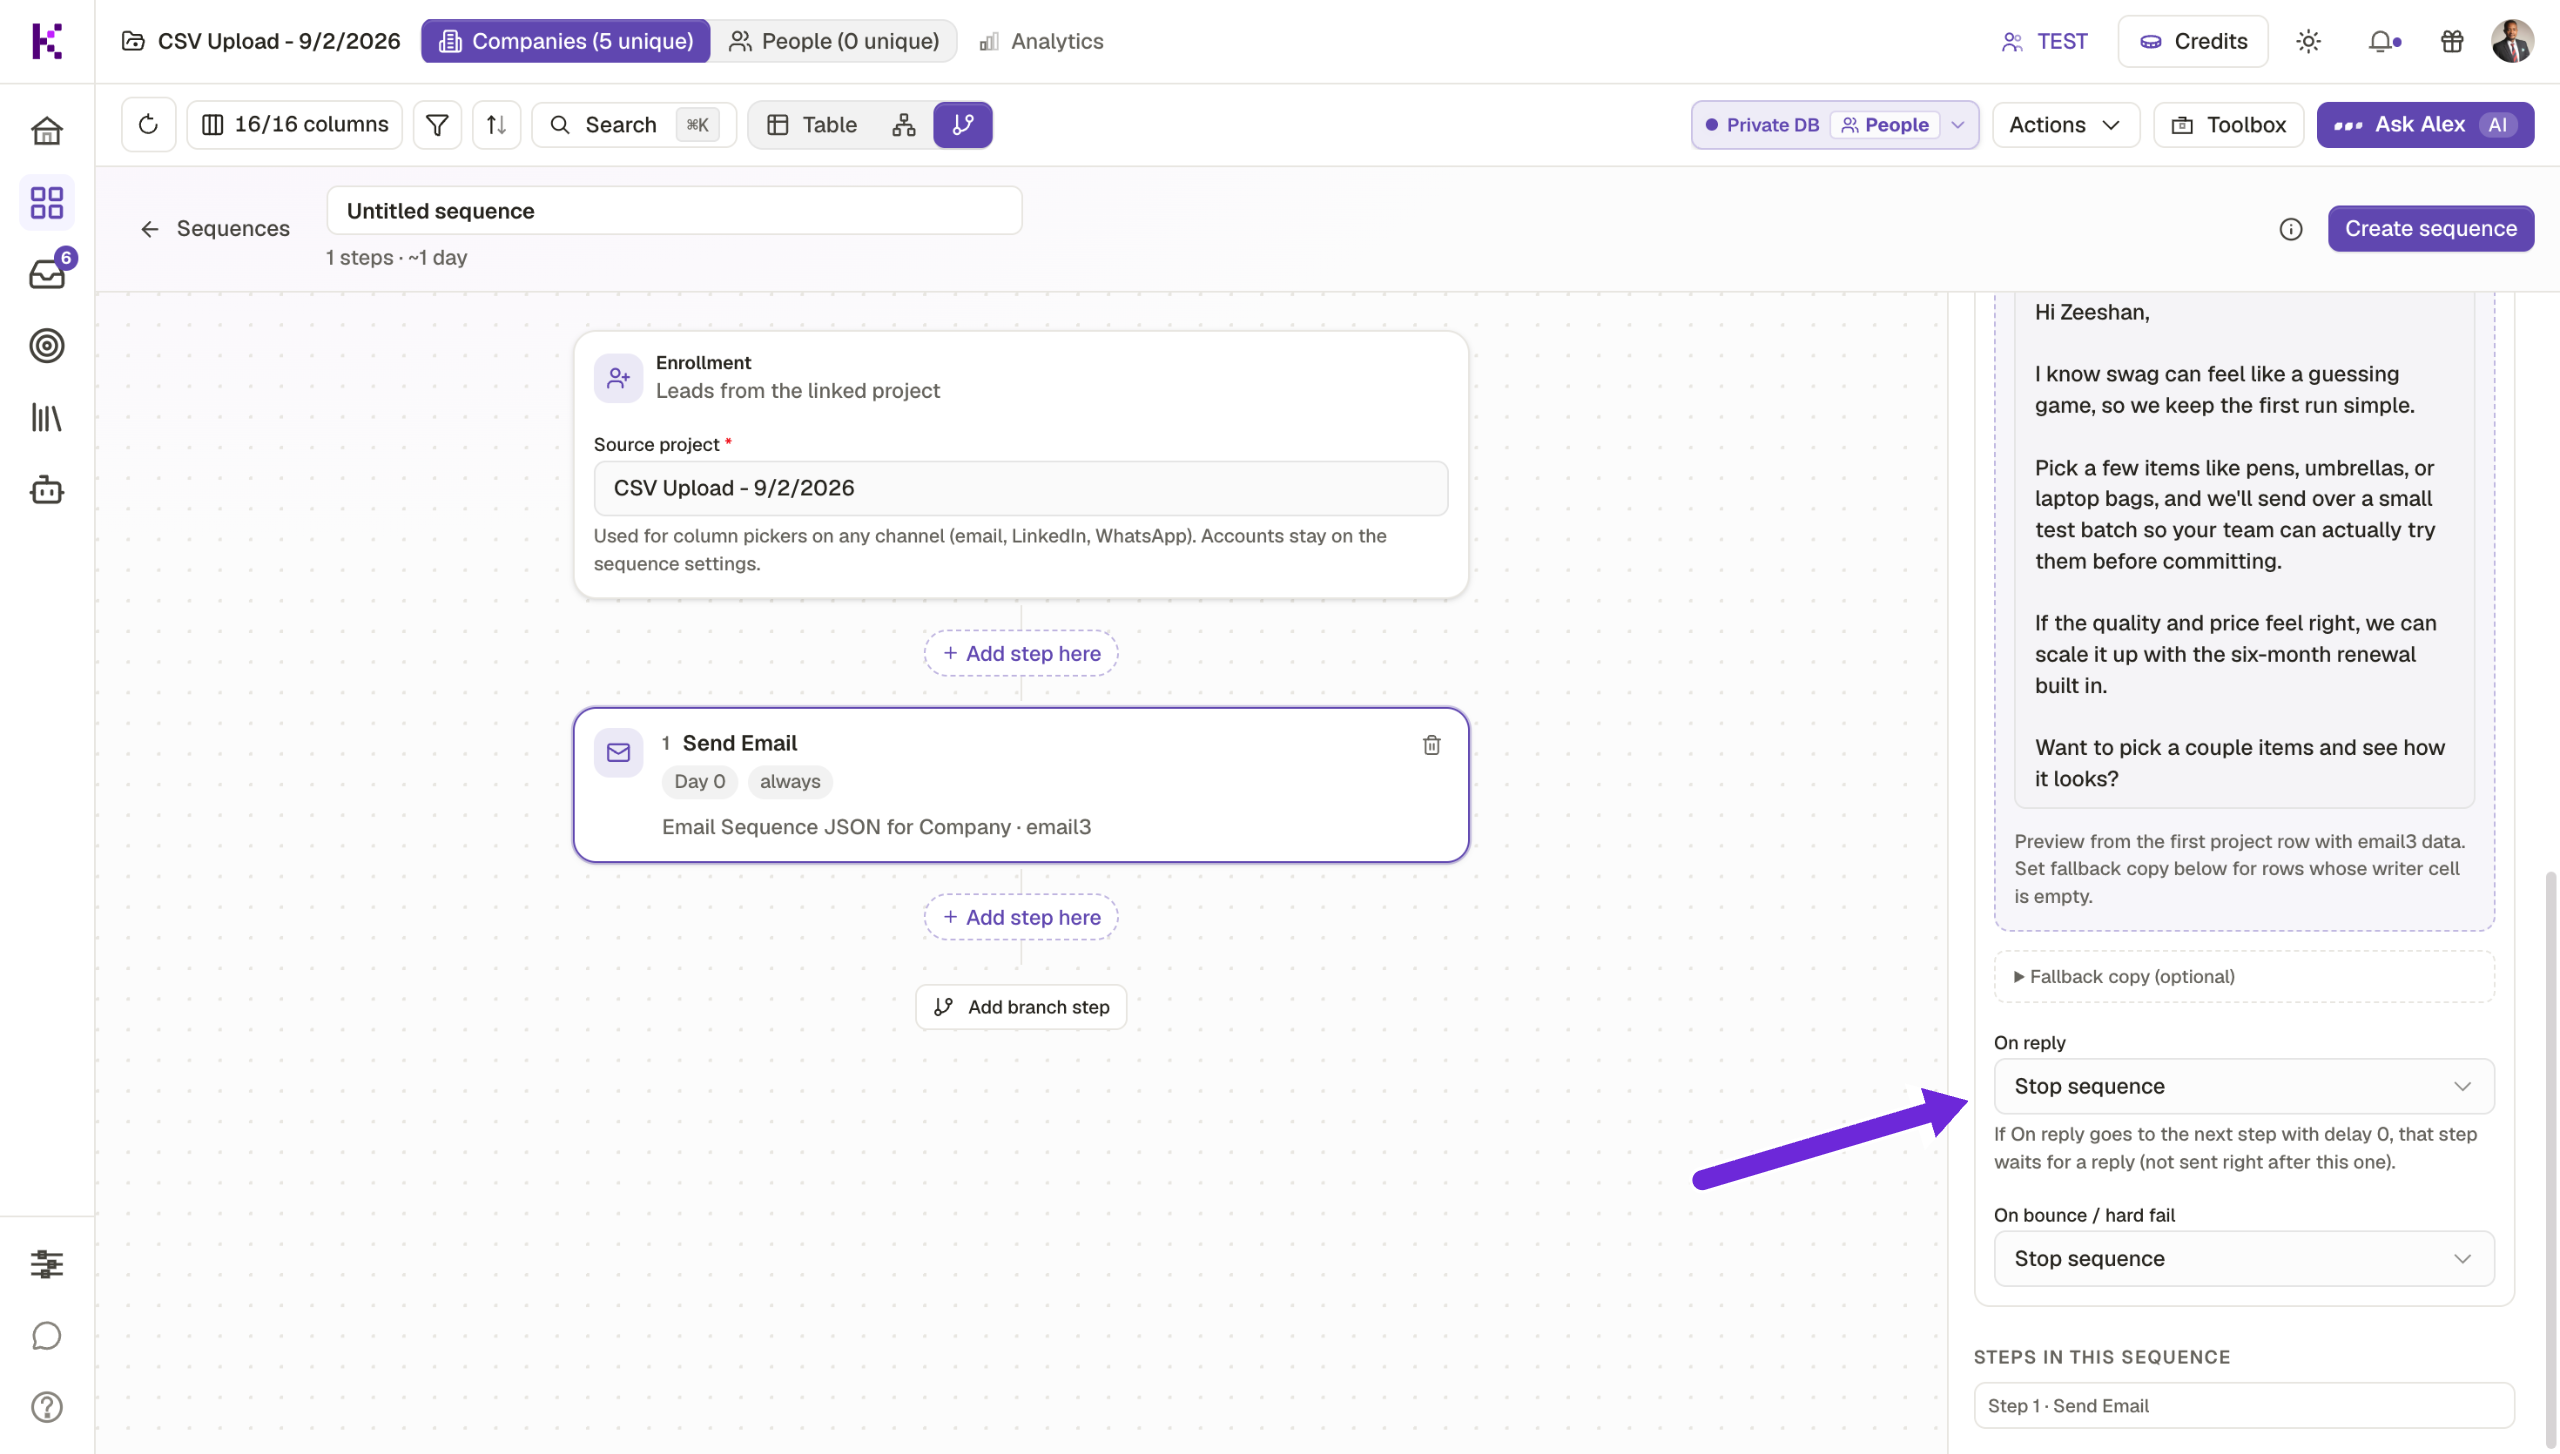
Define what happens when a lead replies — stopping the sequence automatically keeps your outreach respectful and smart.

You can also protect your sender reputation, stop sequences when an email bounces.

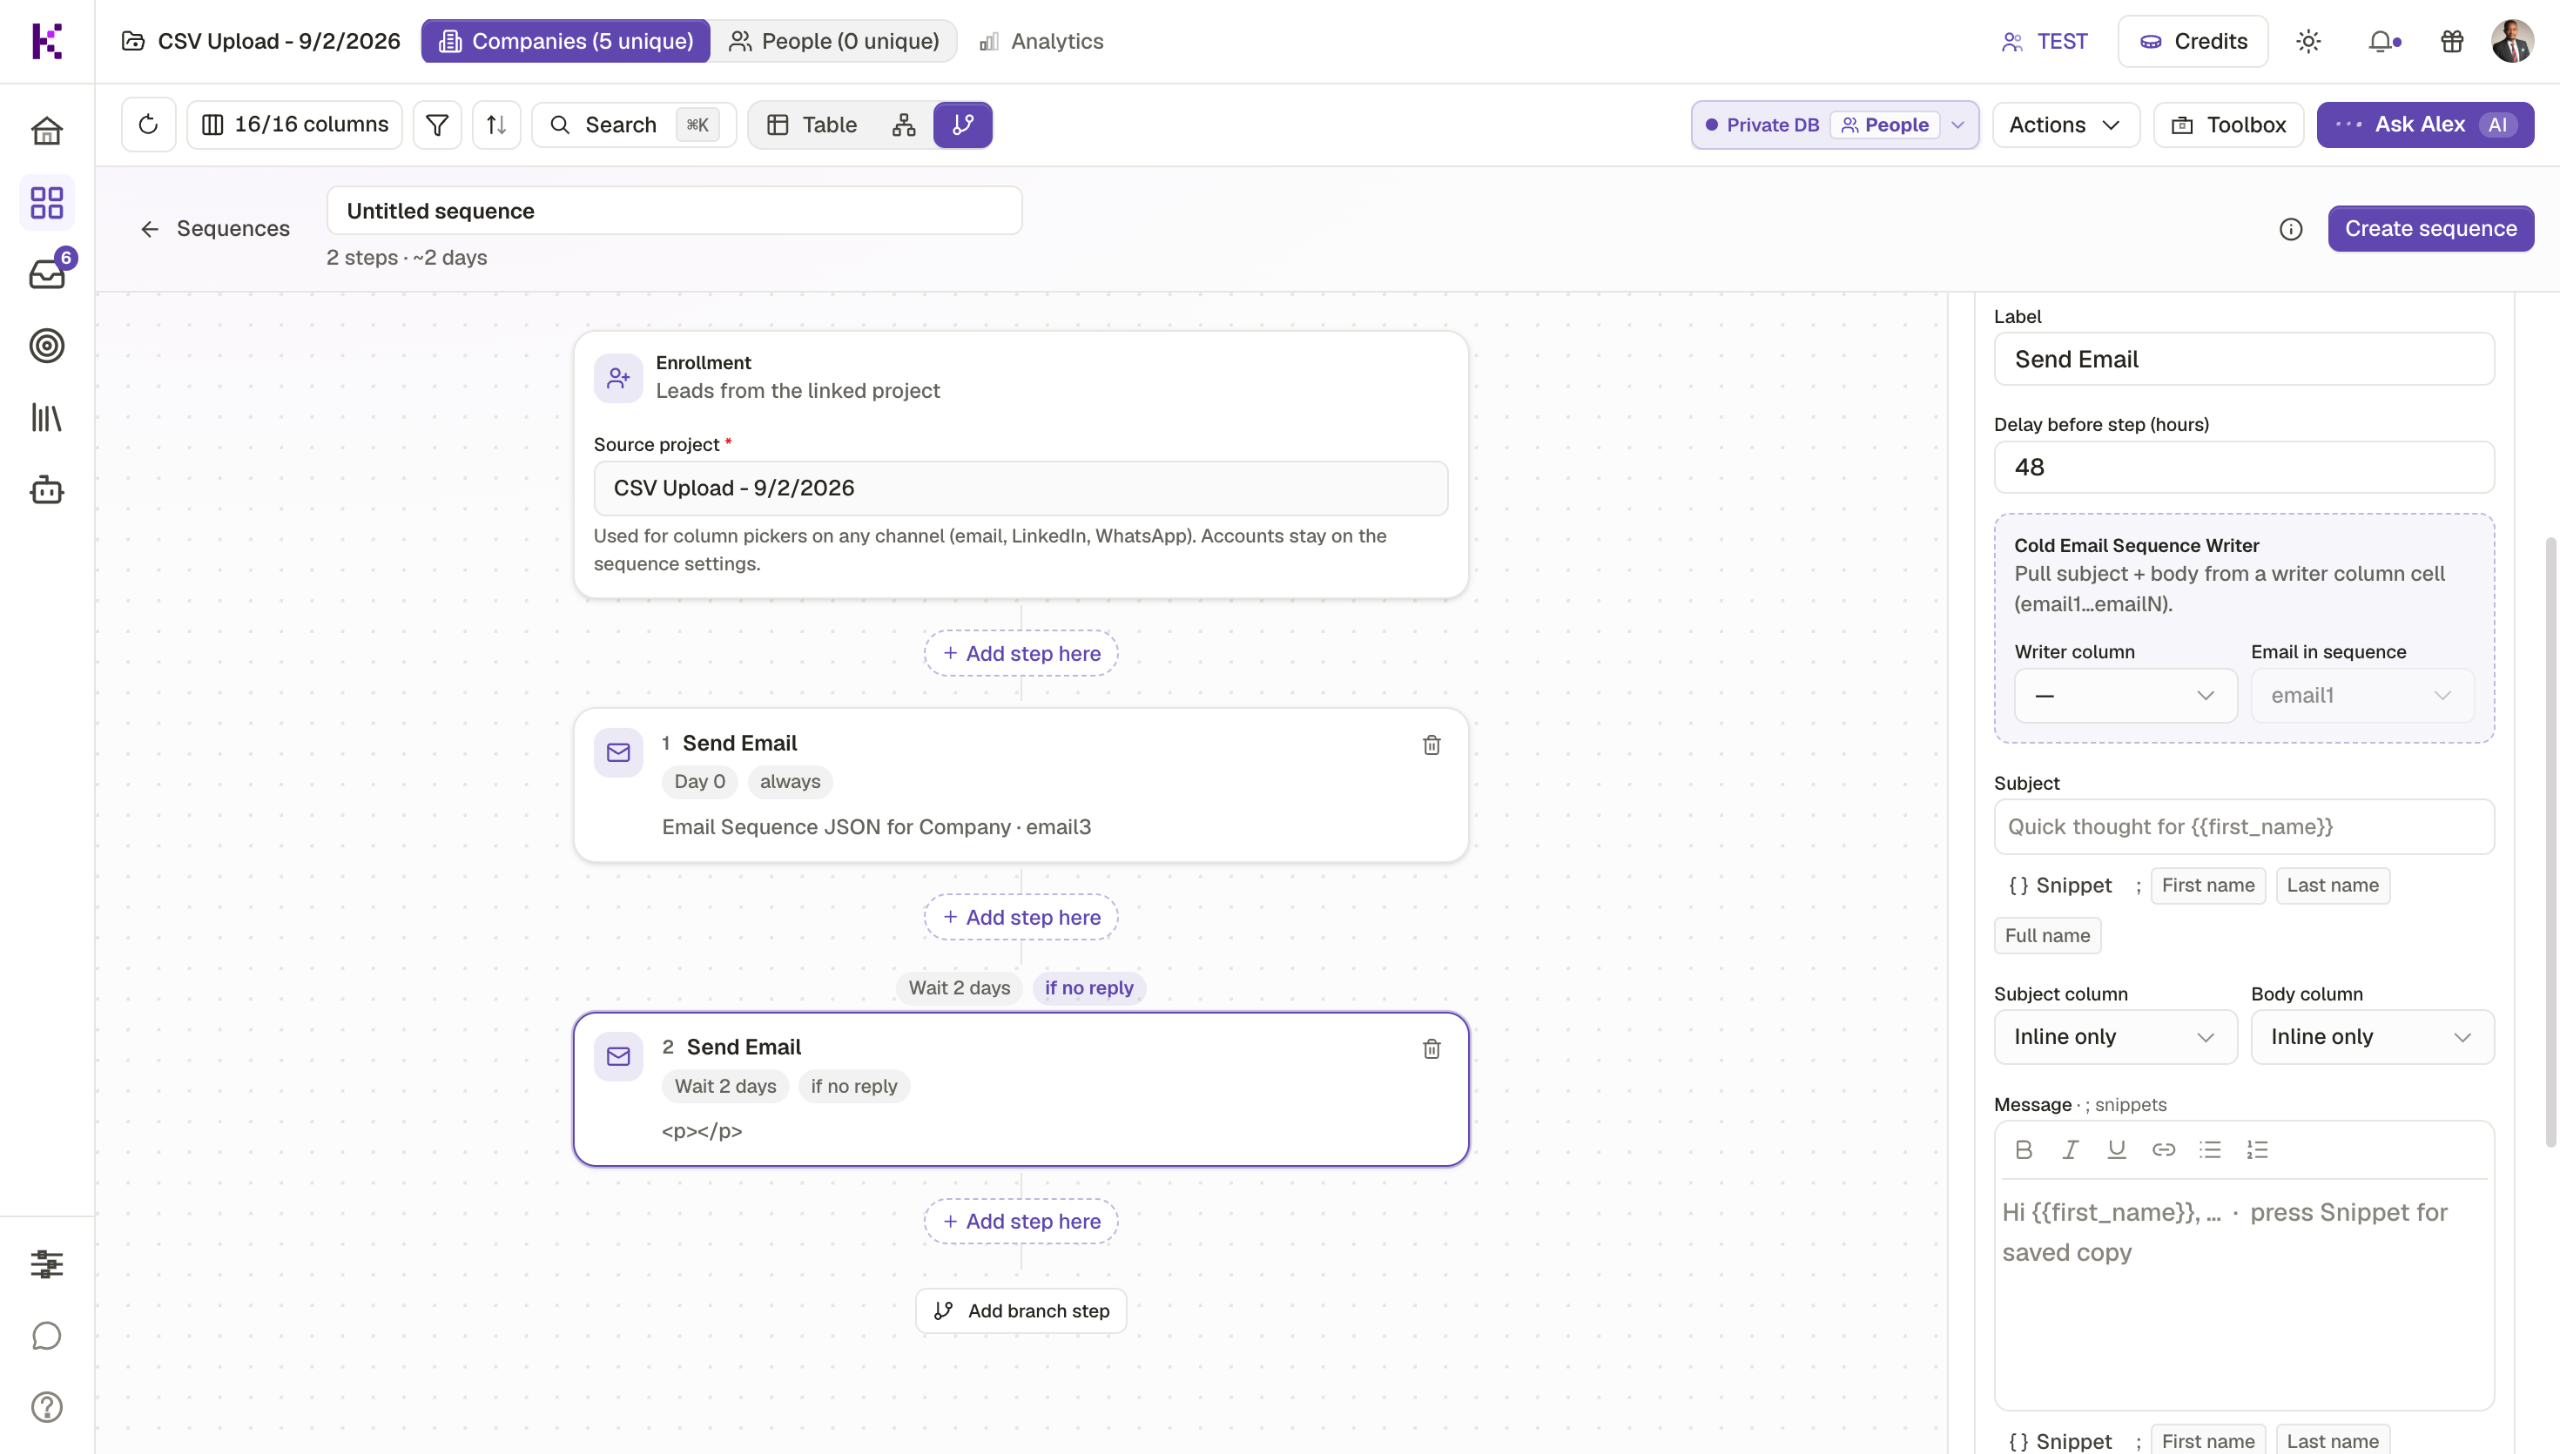
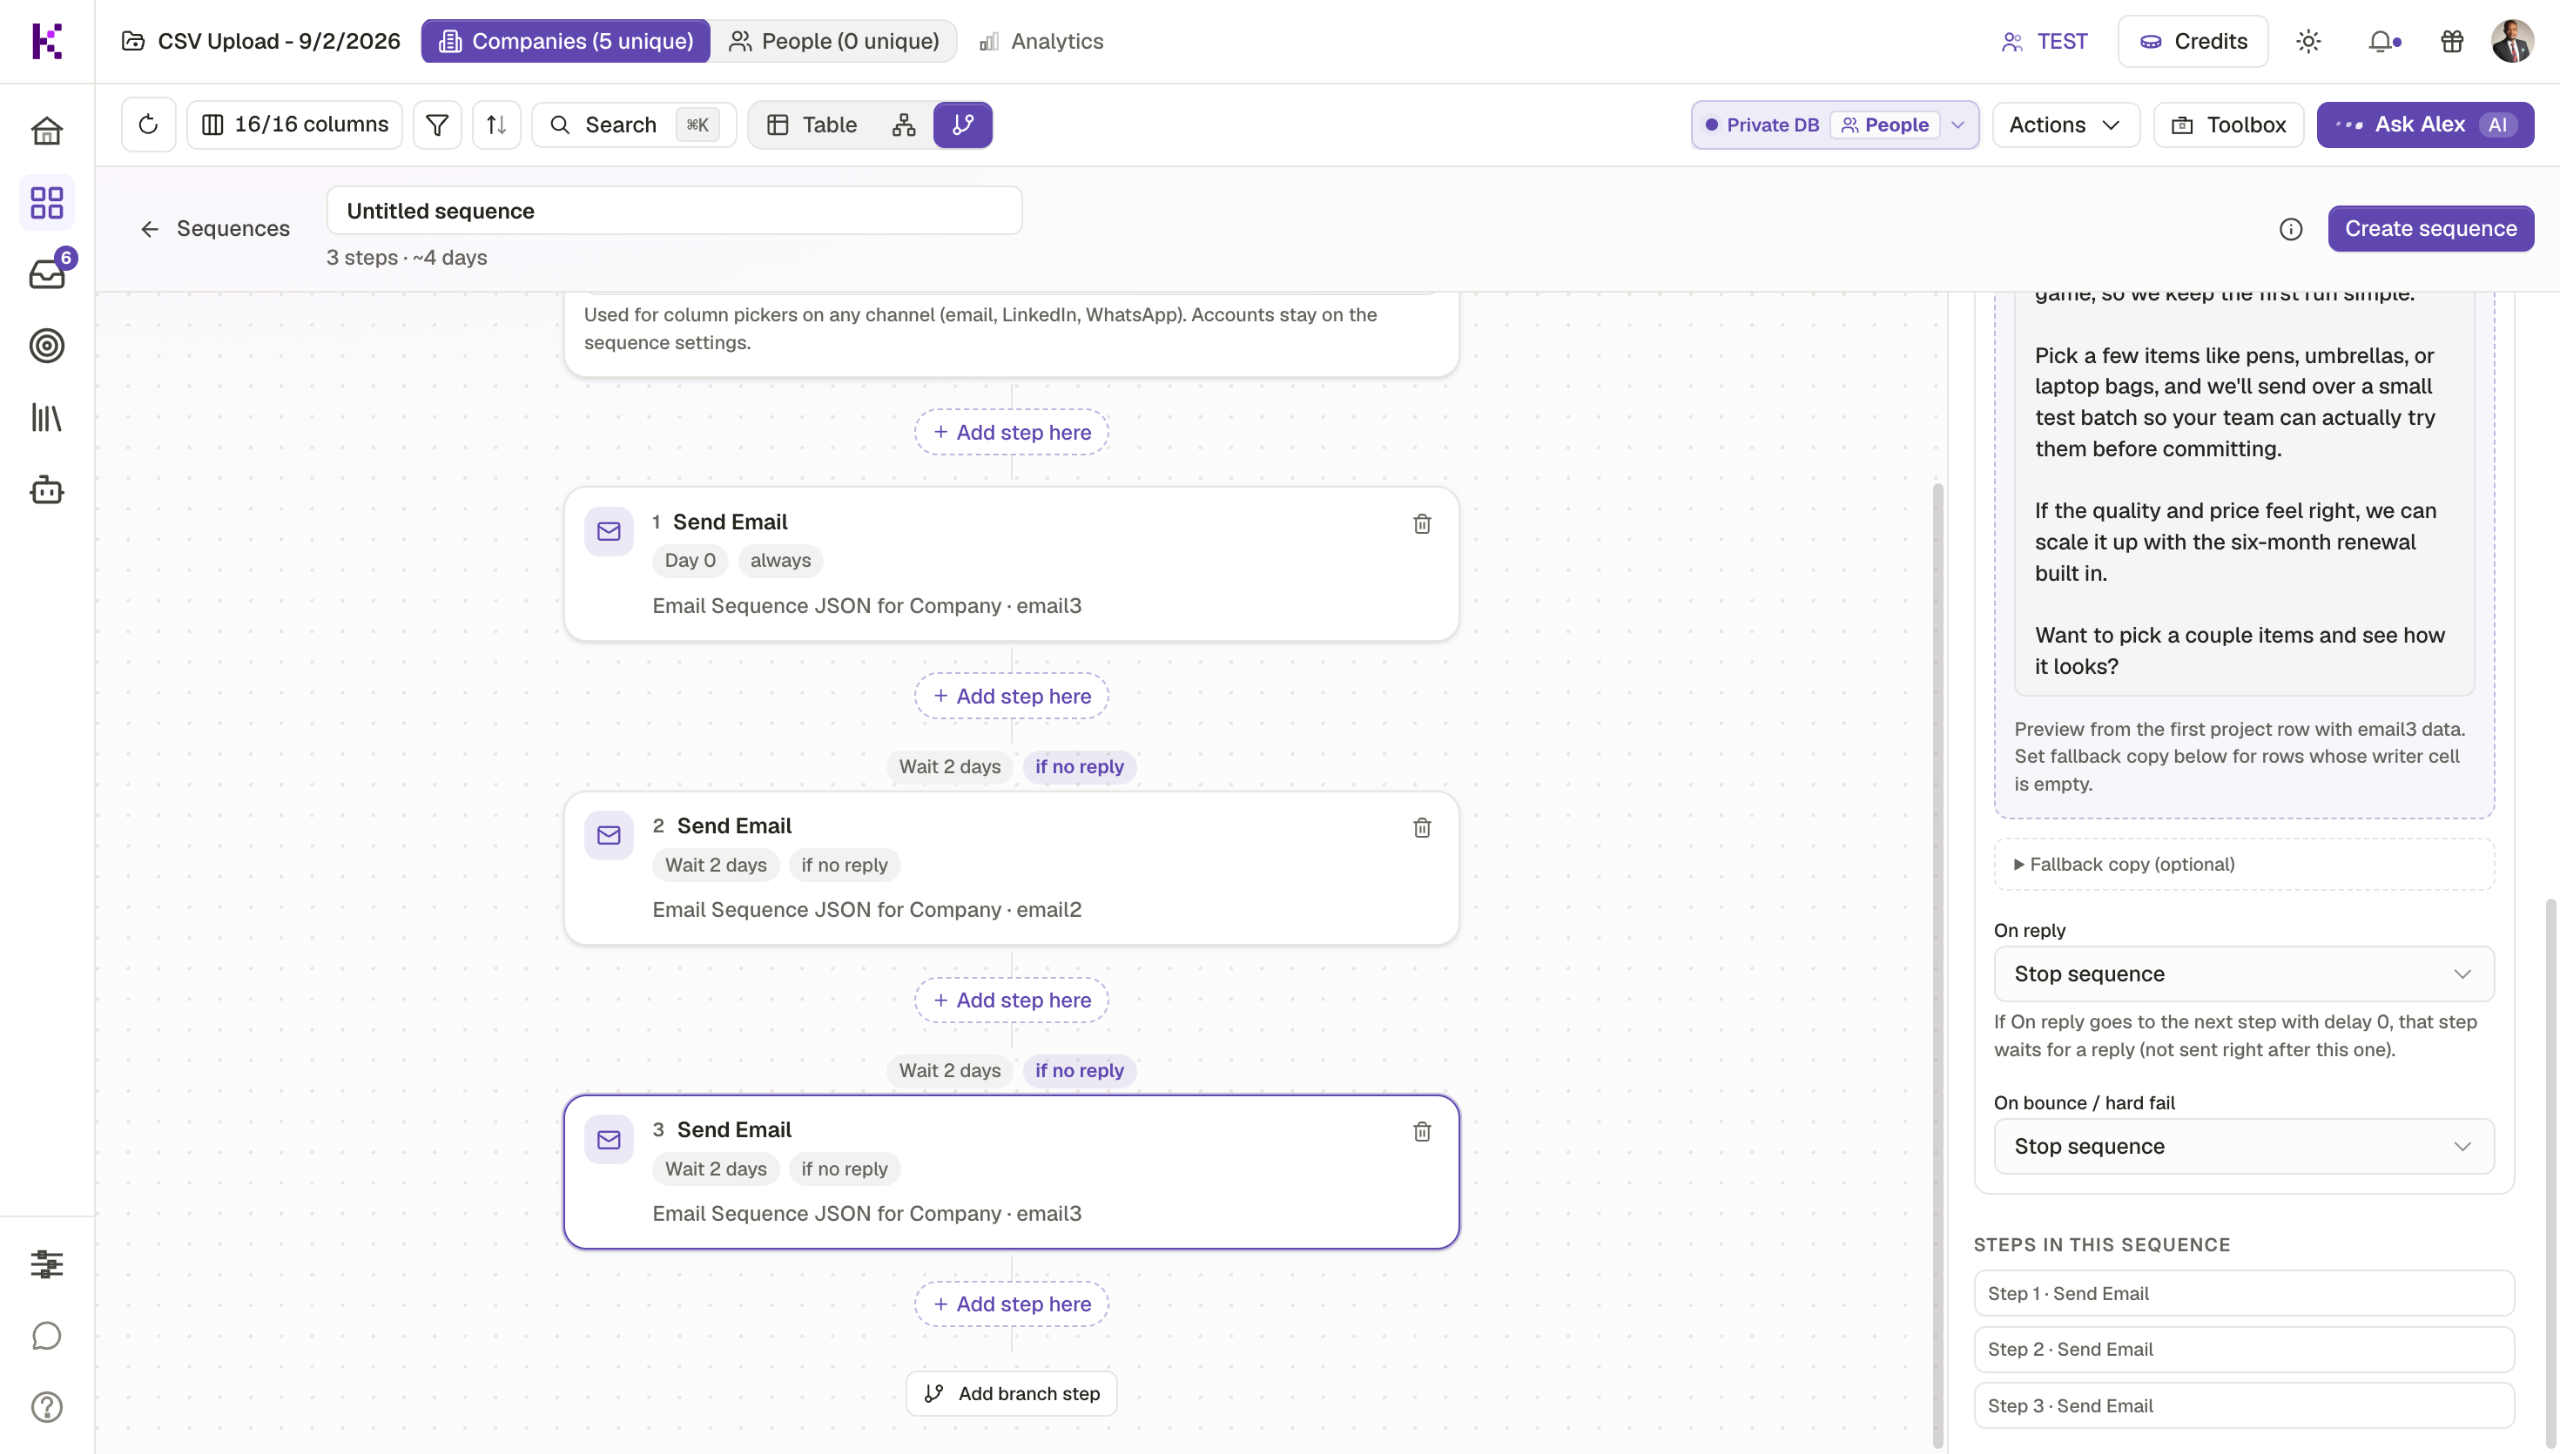
Review the complete sequence structure before adding any additional steps.


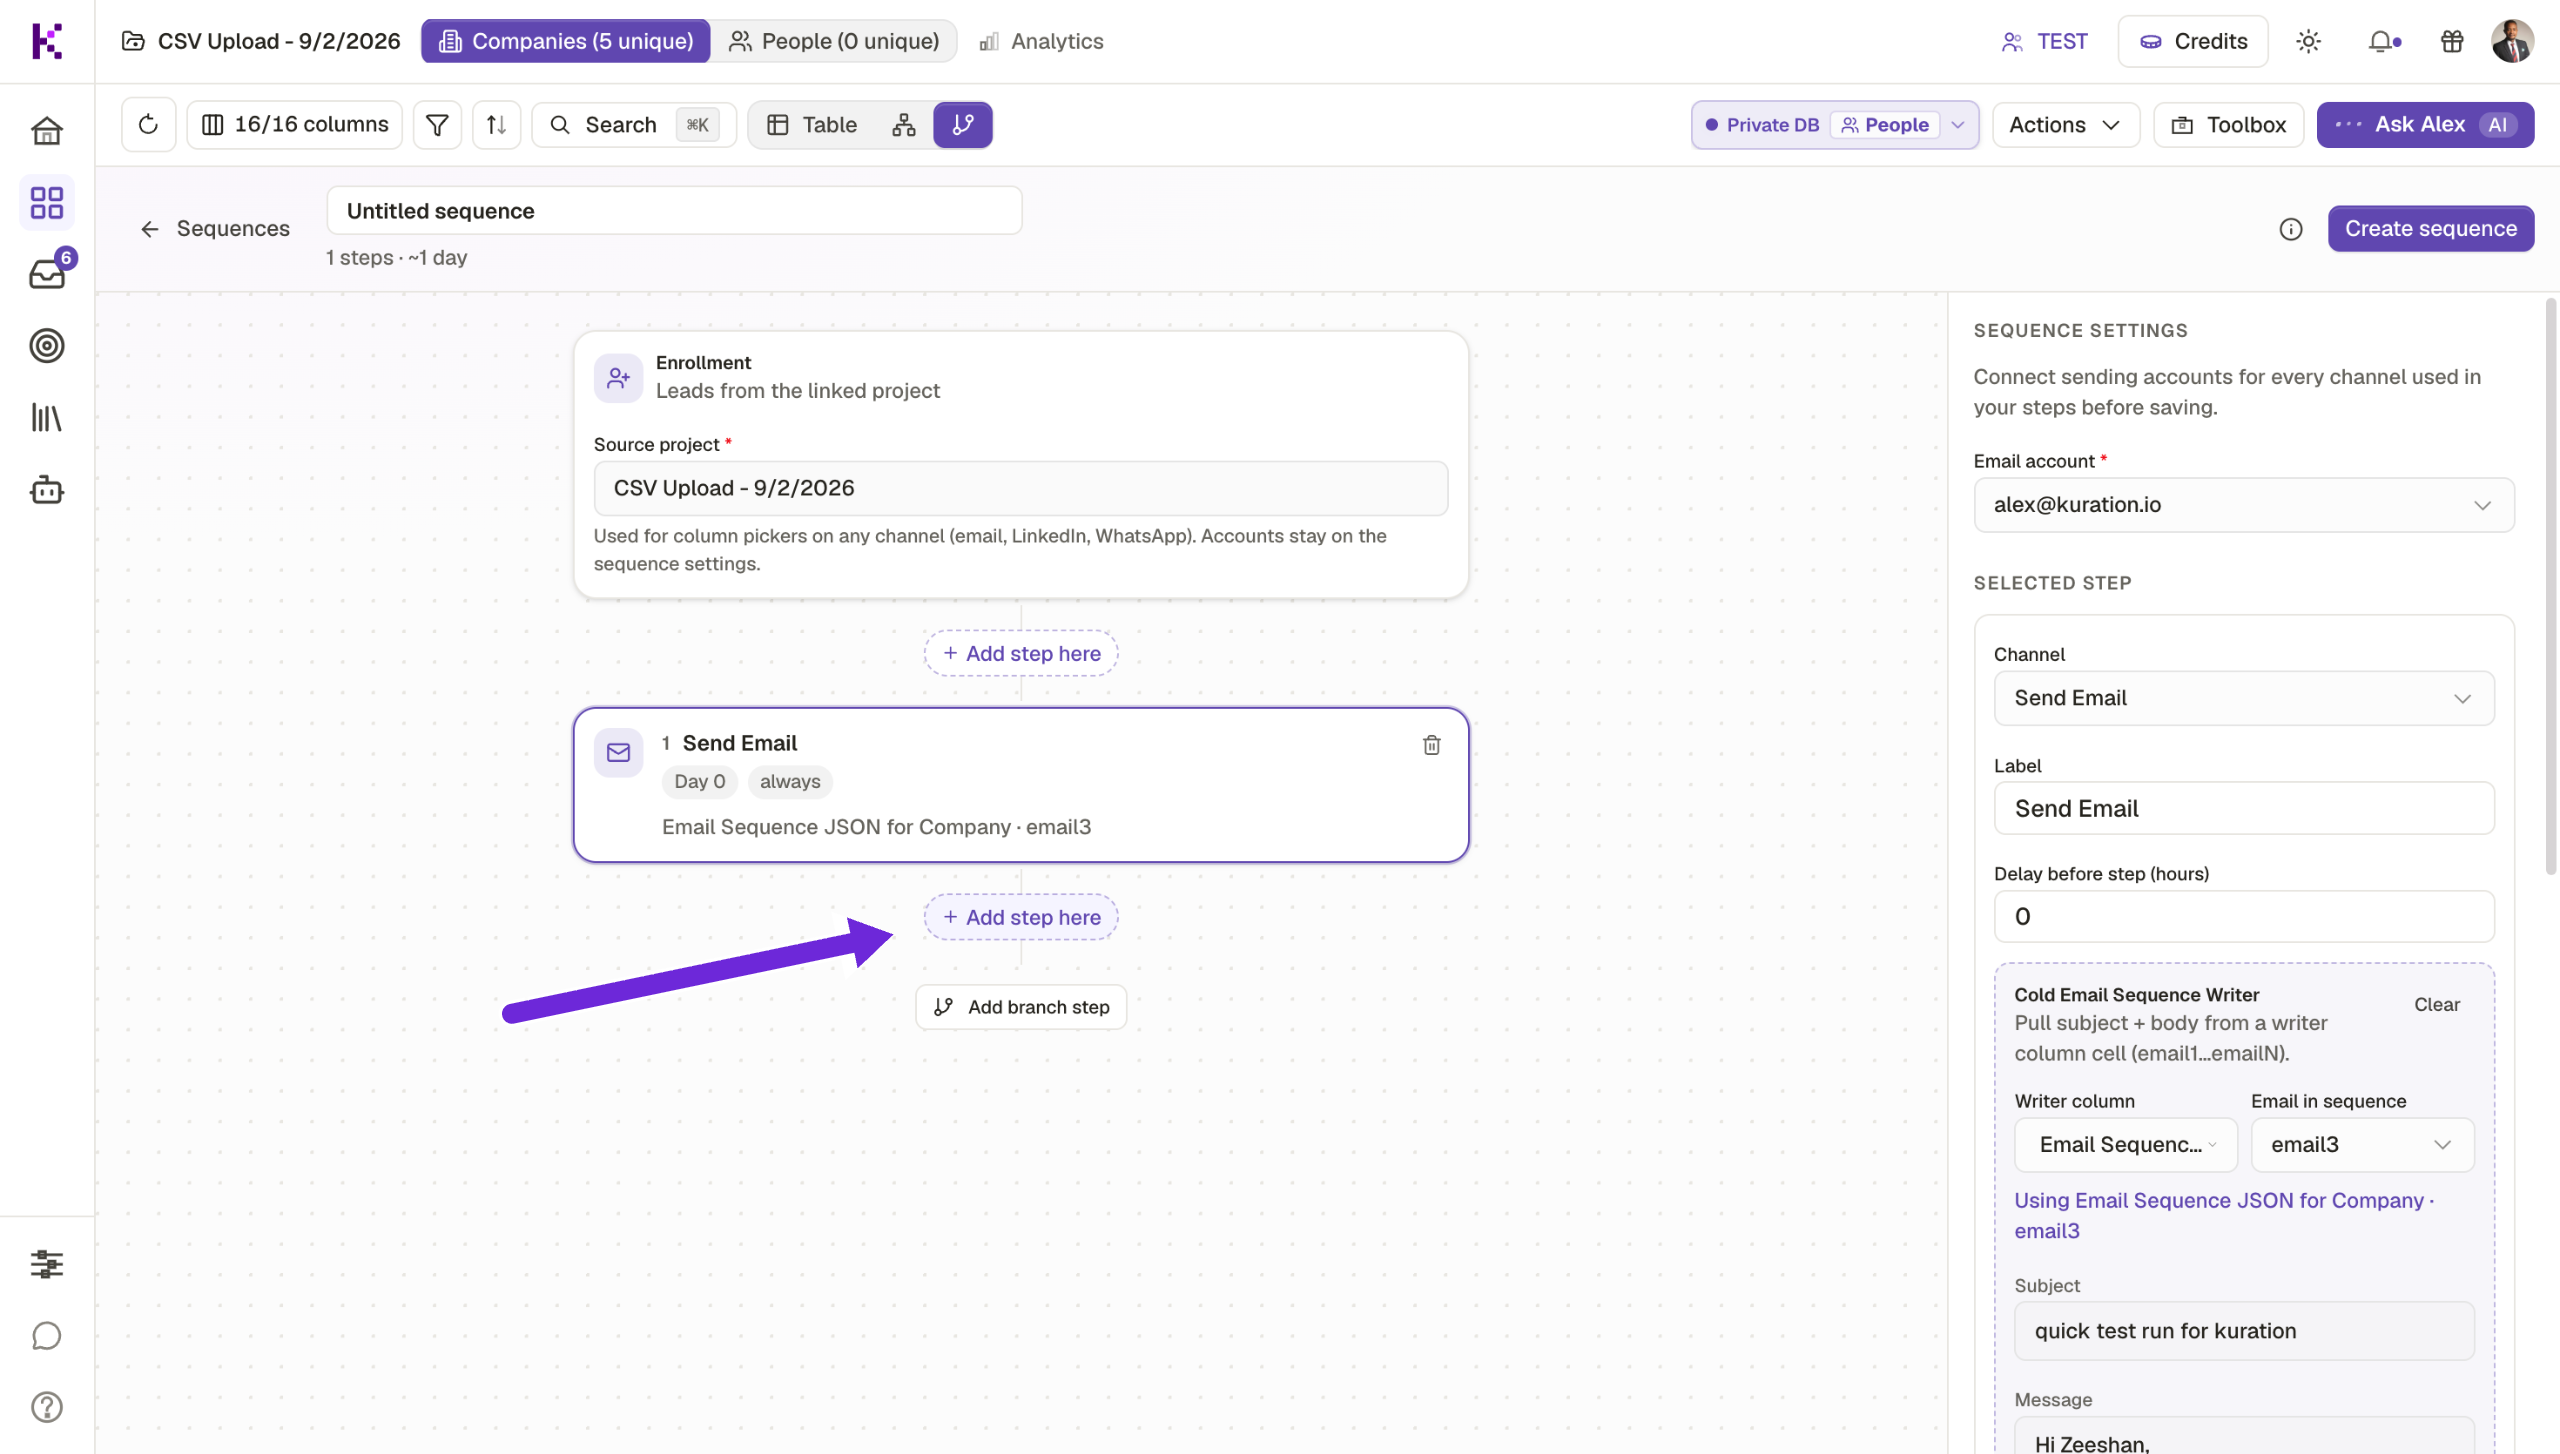
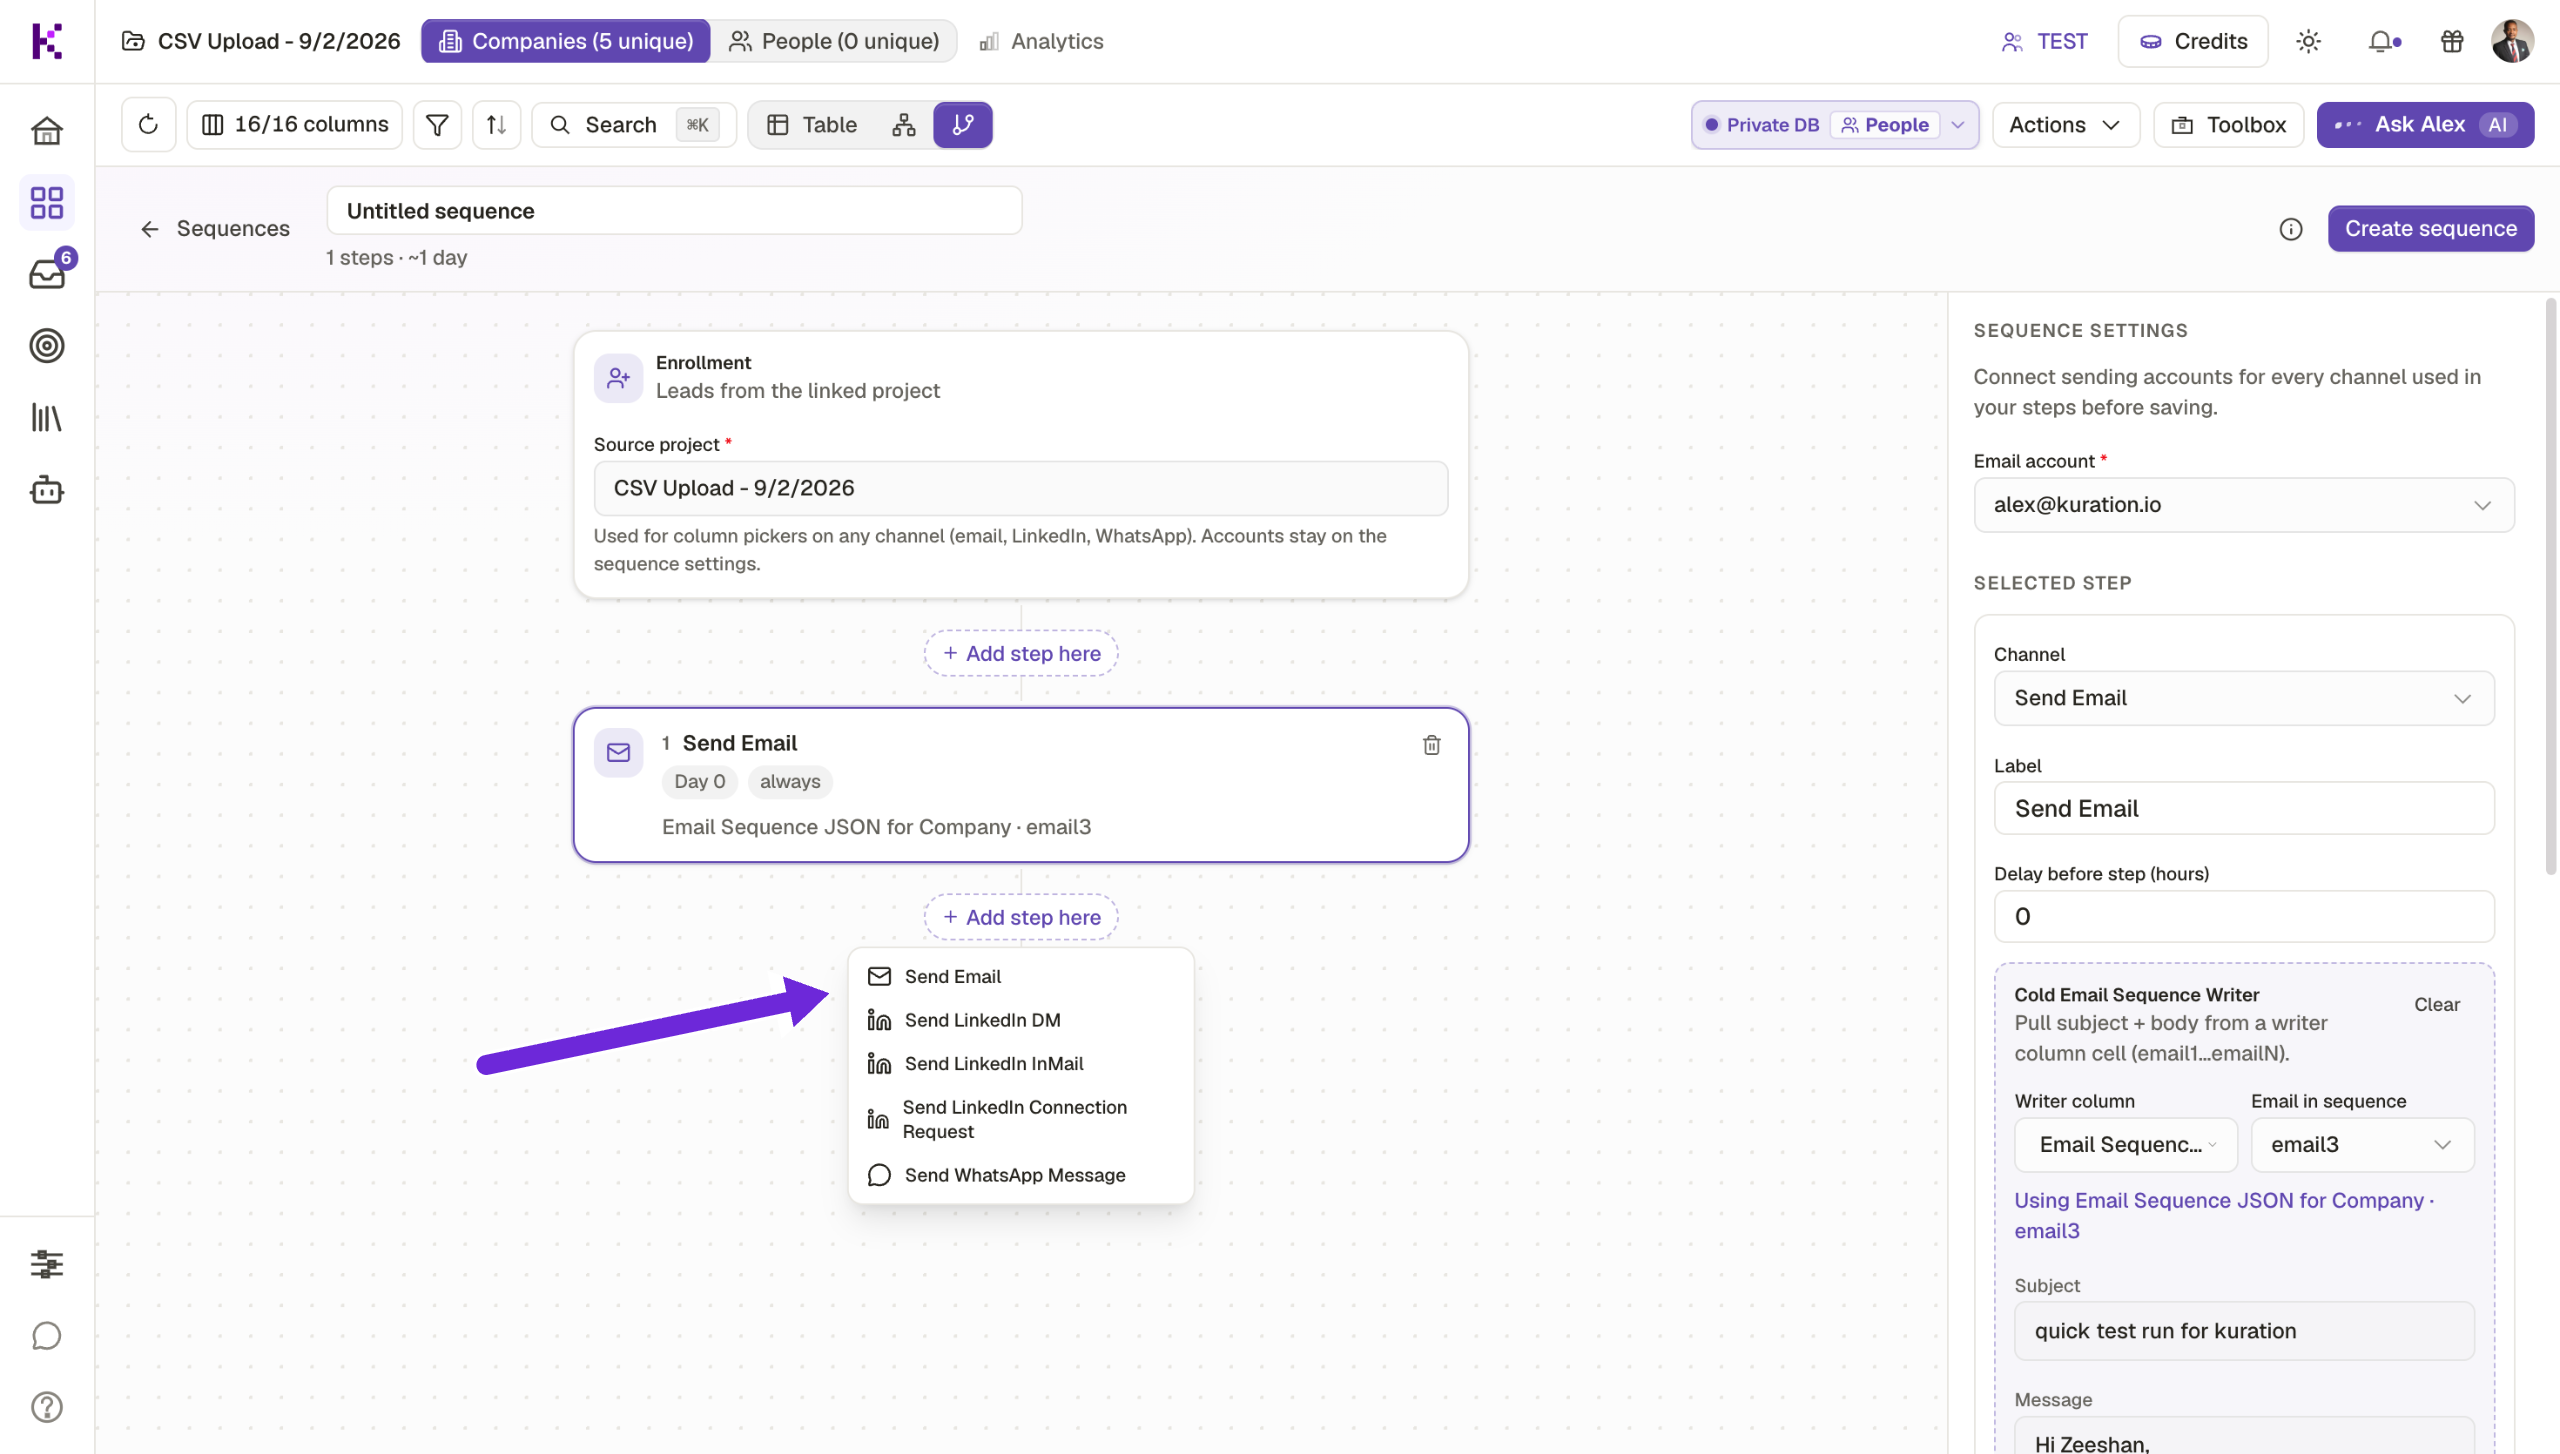
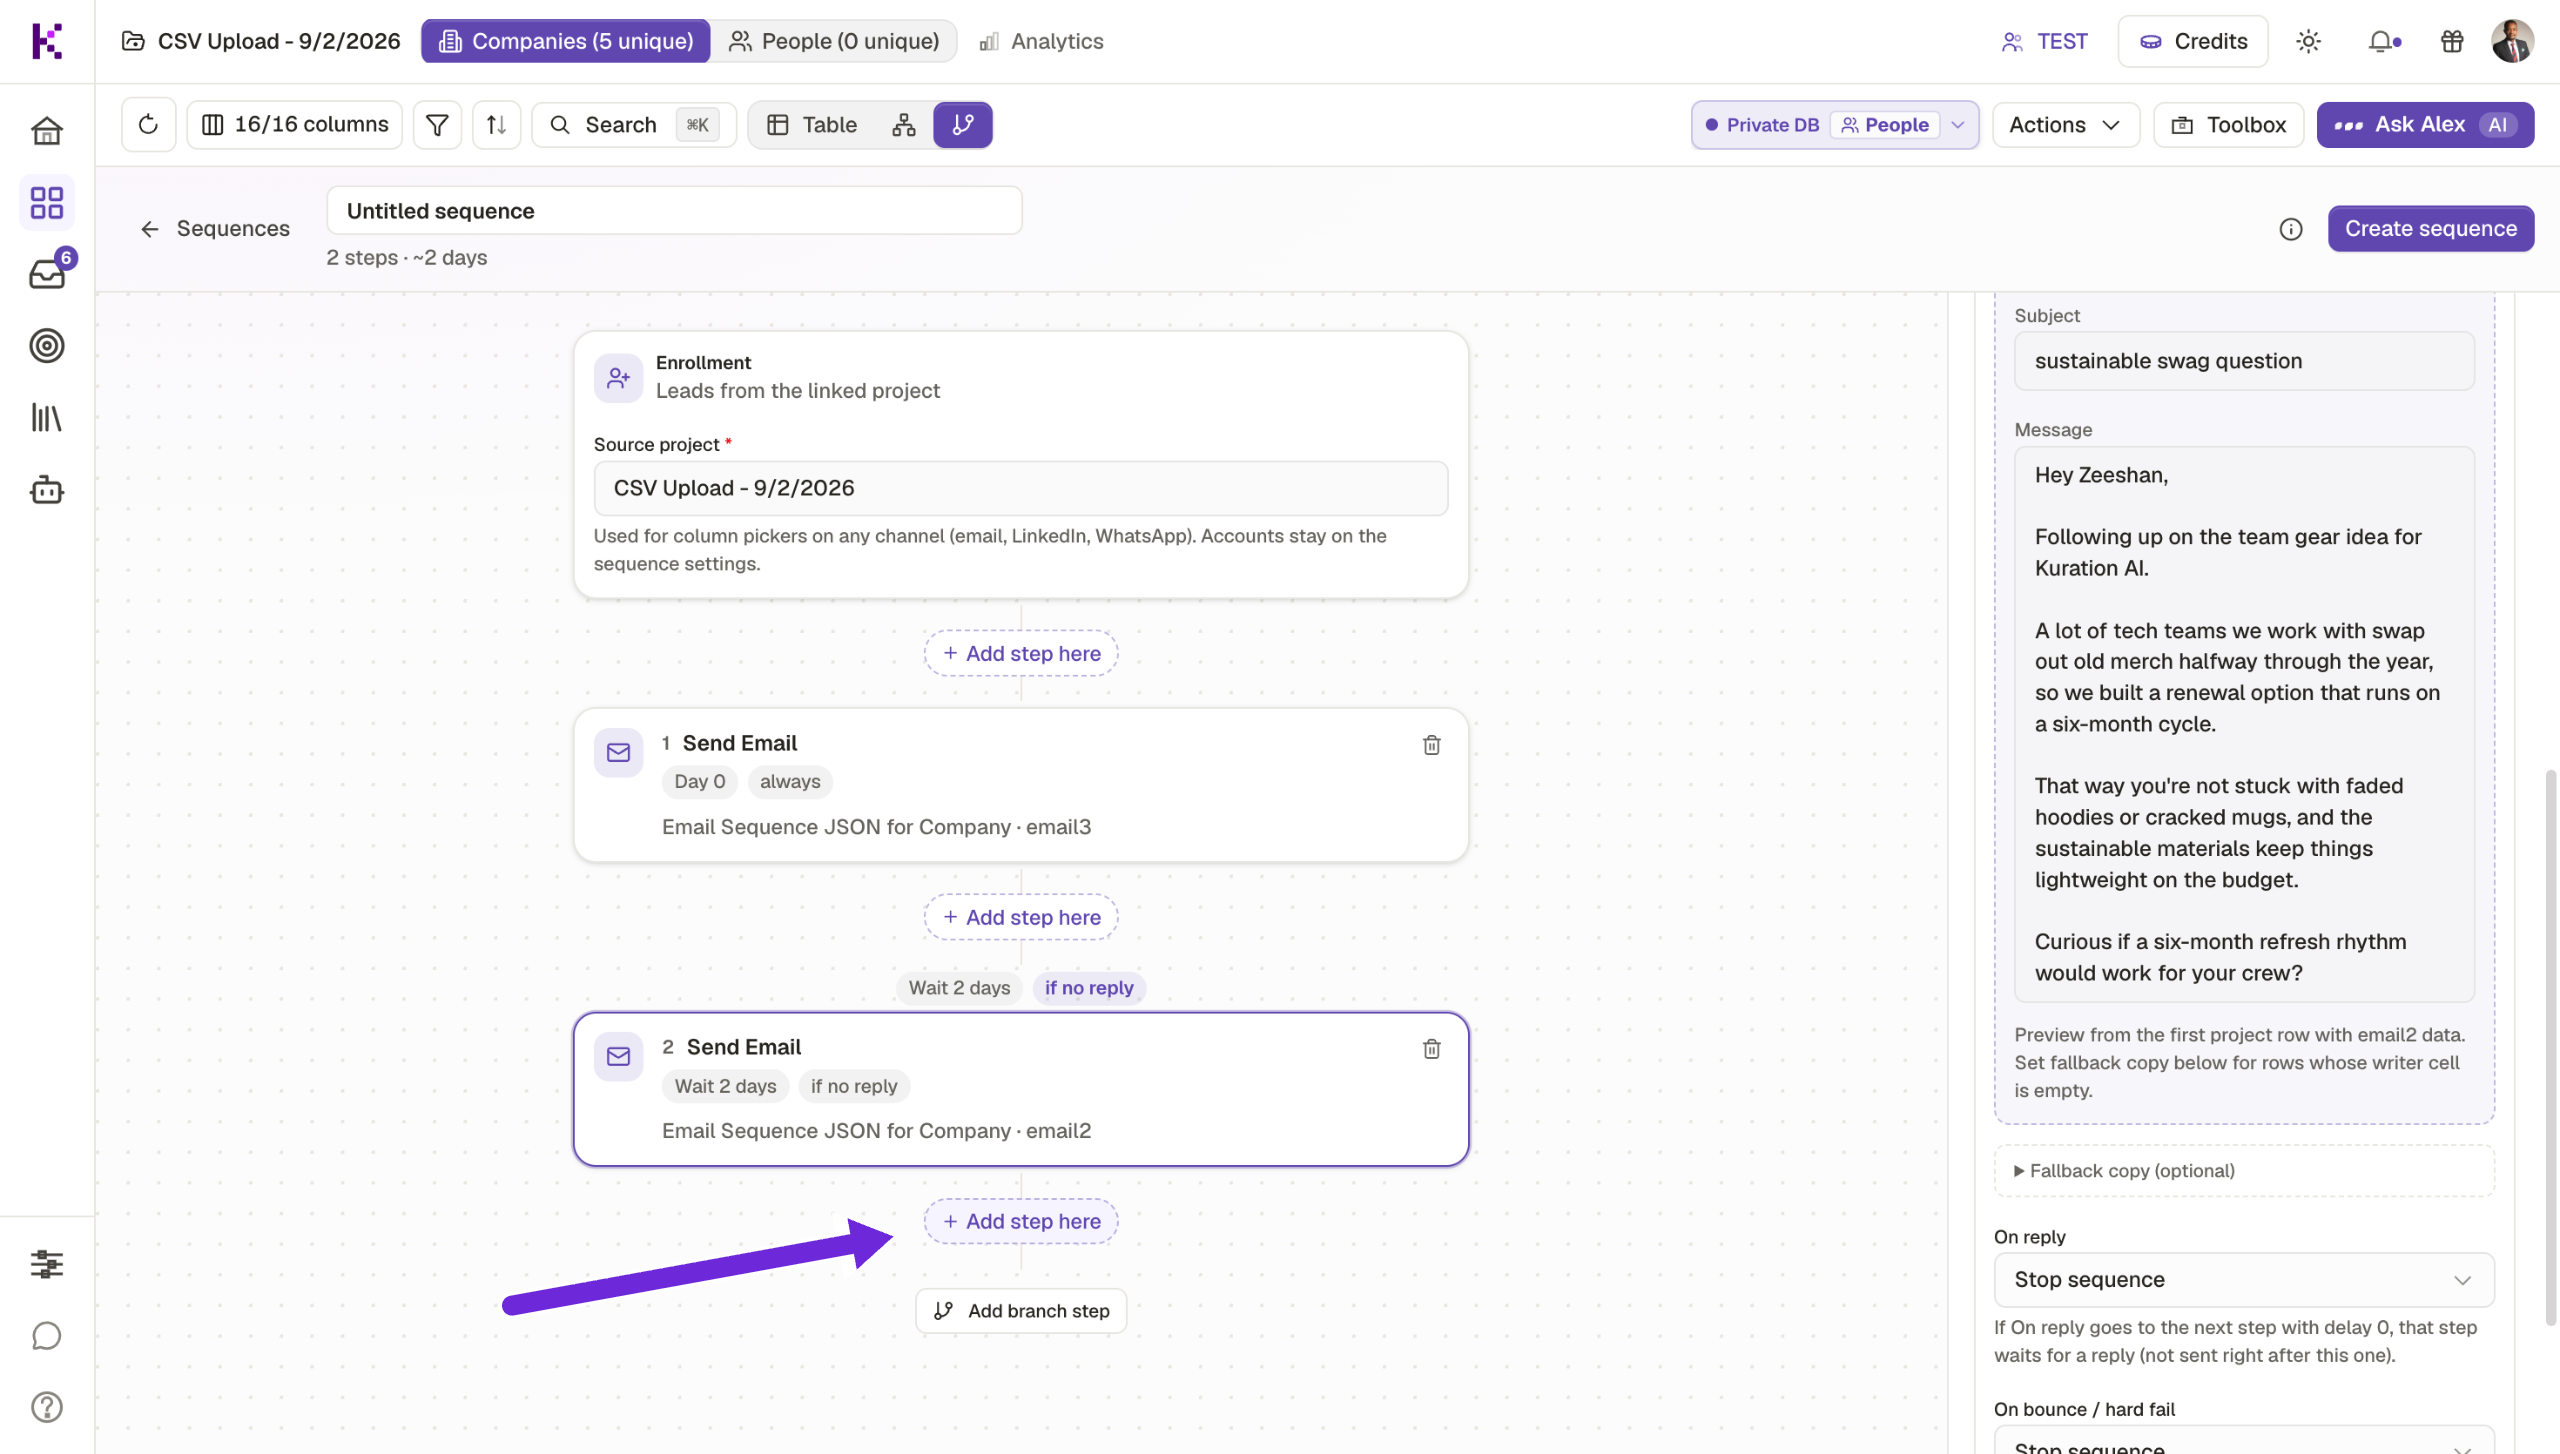
Add an extra step to extend your cadence — perfect for leads who need more touchpoints before converting.

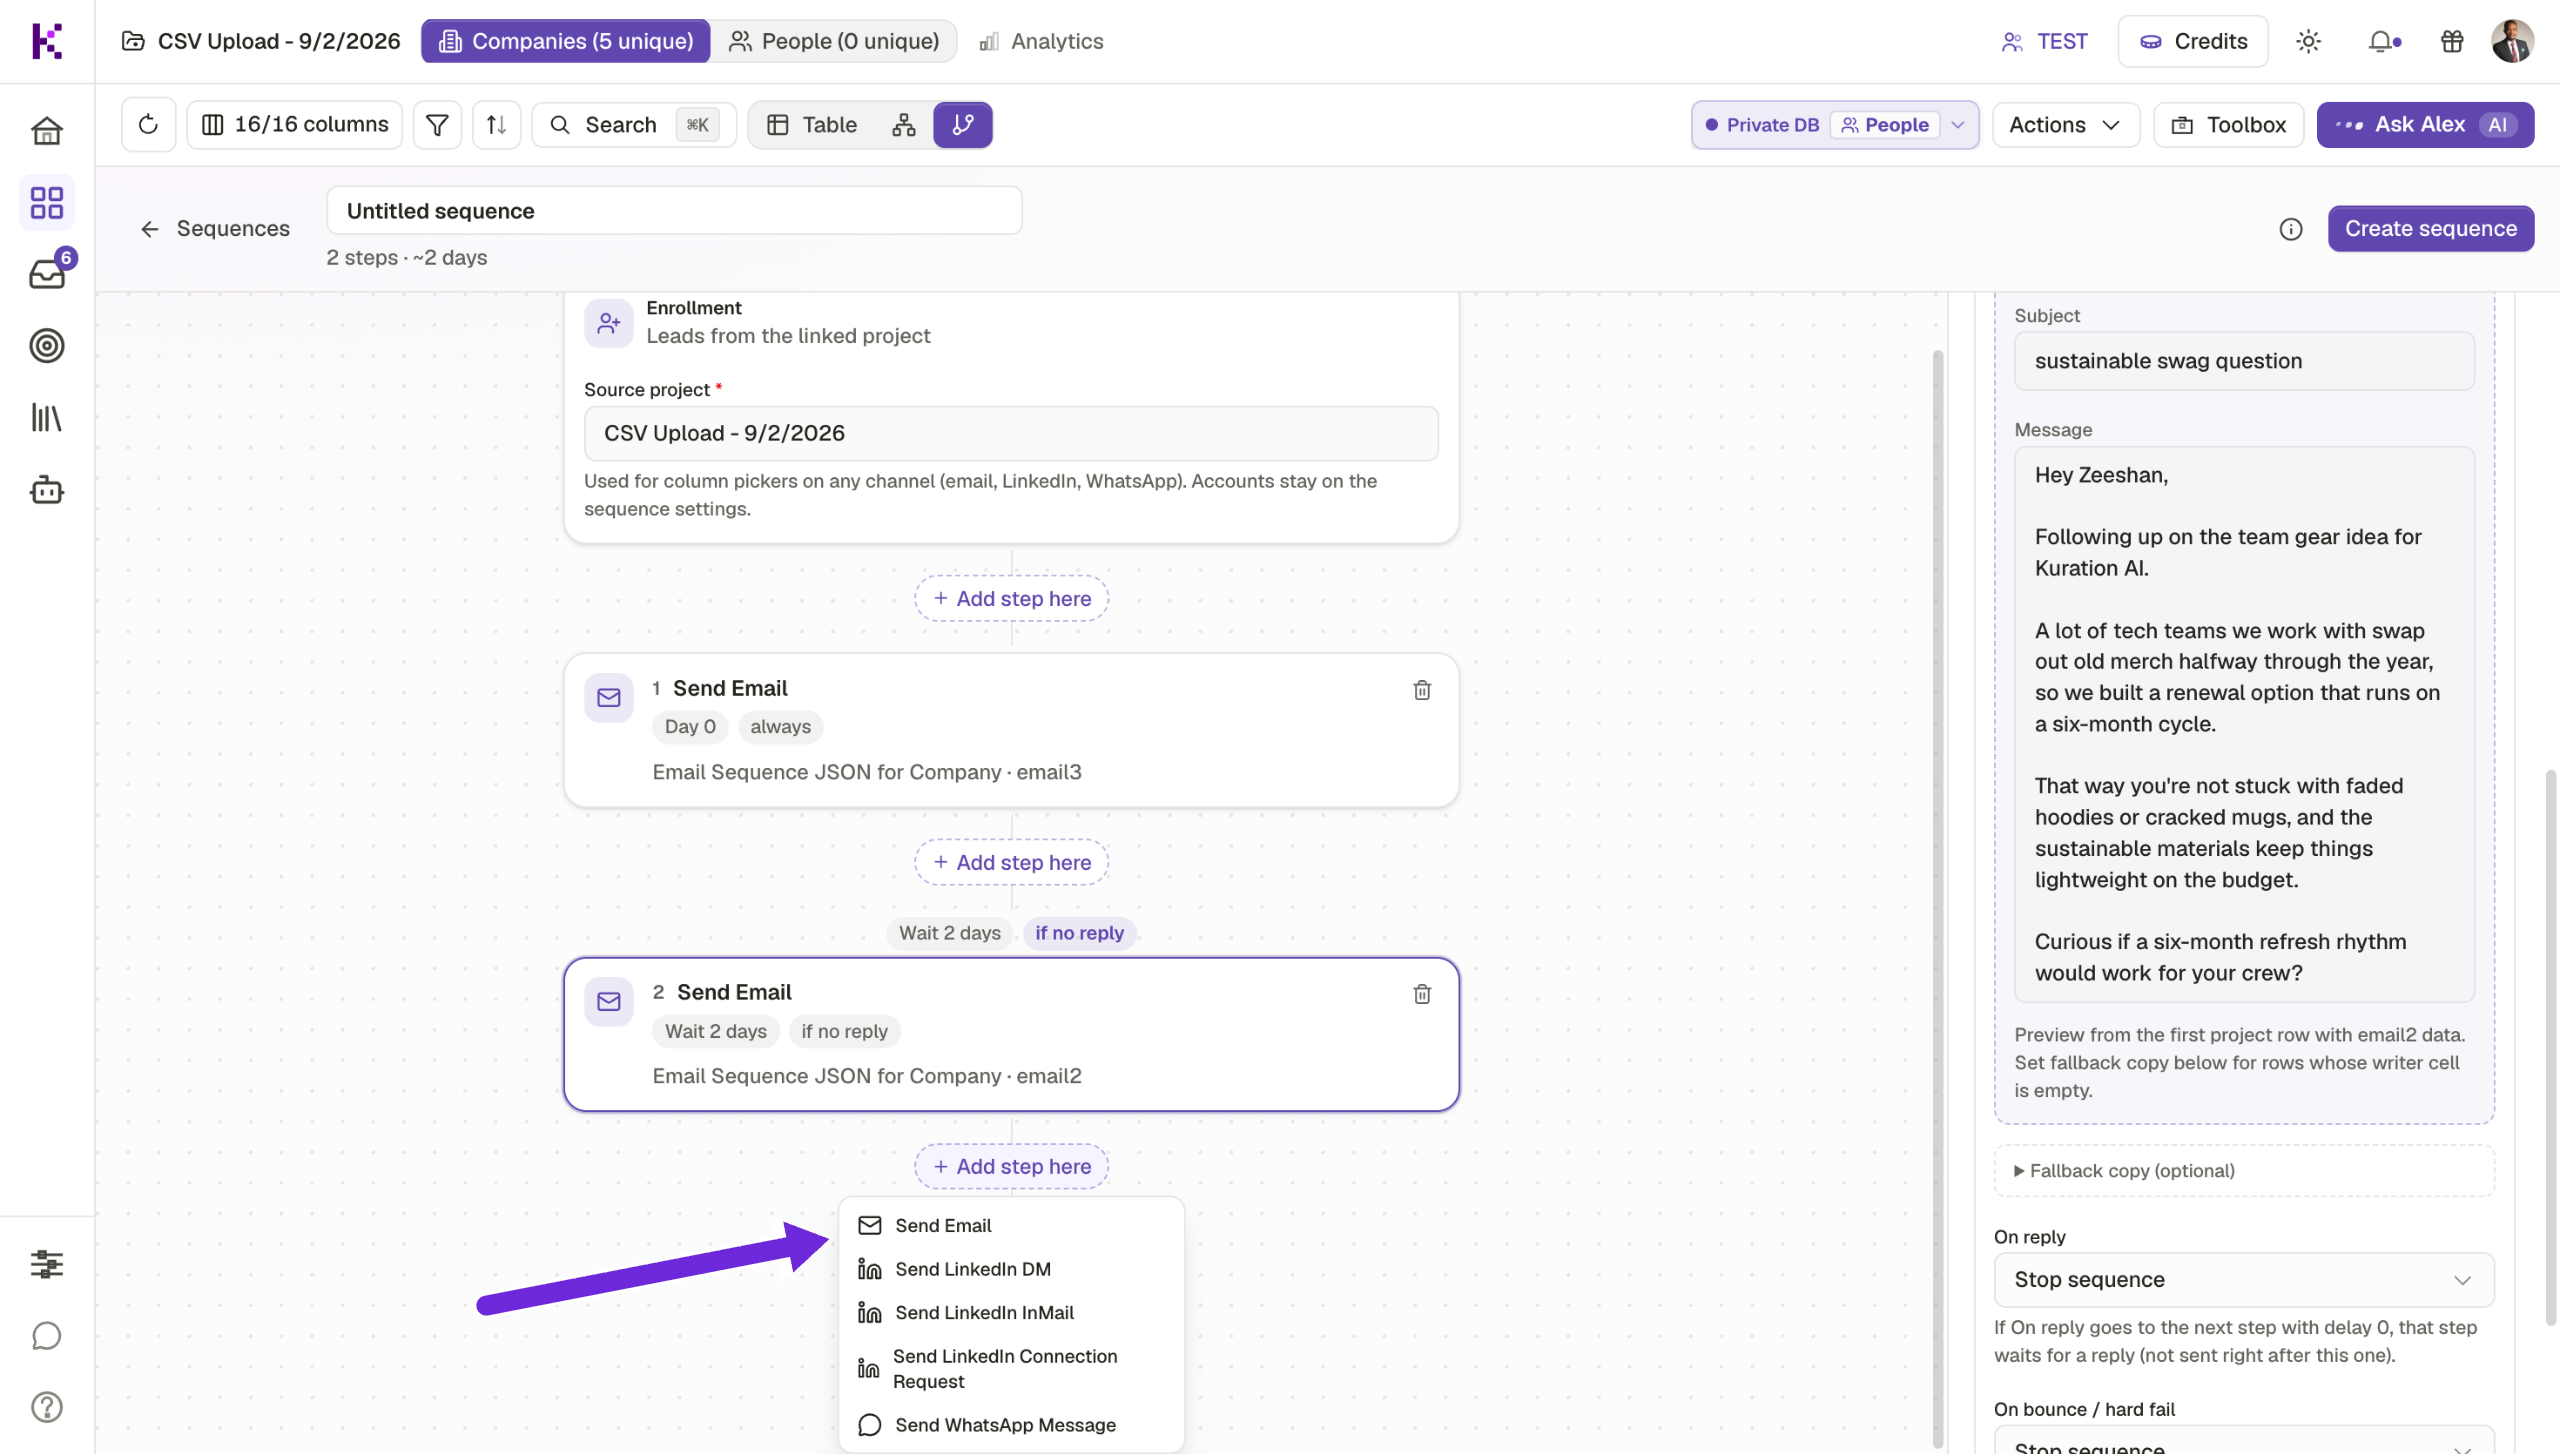
Insert another Send Email step — keeping momentum alive with leads who haven't responded yet.

Confirm the new step is added to your growing sequence.

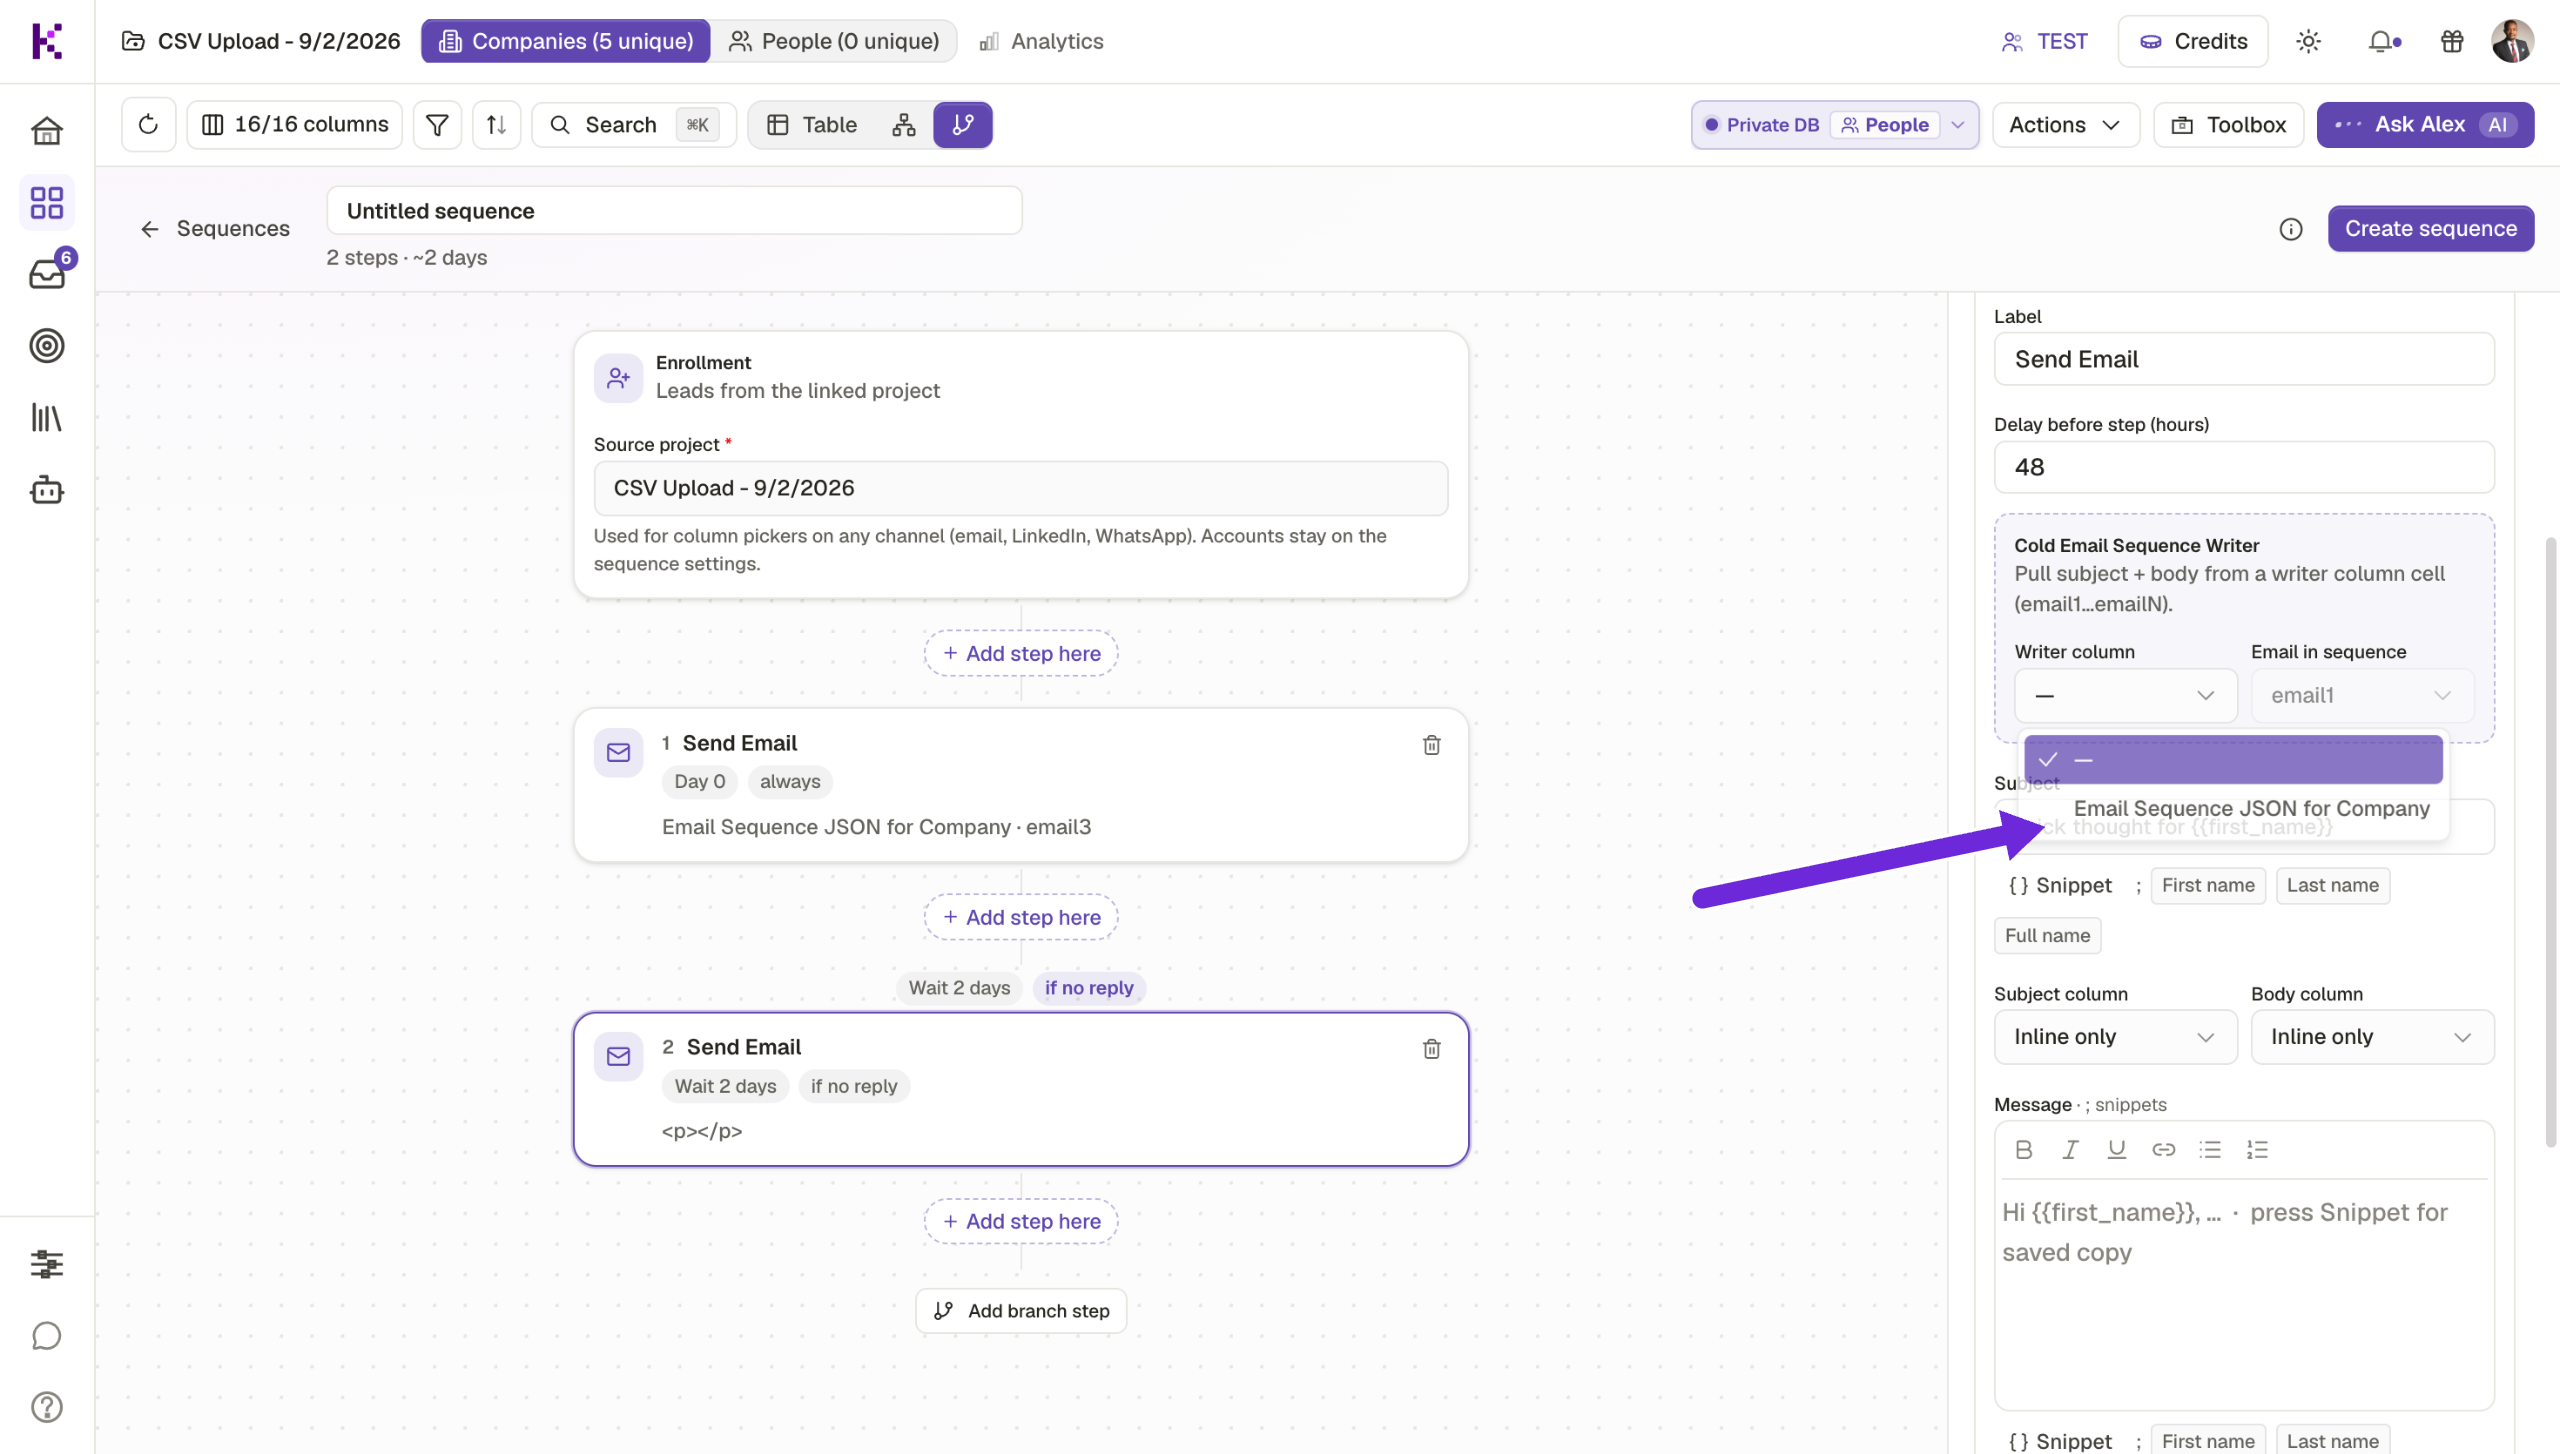
Link this step to your Email Sequence JSON — pulling the right AI-written content for this stage.

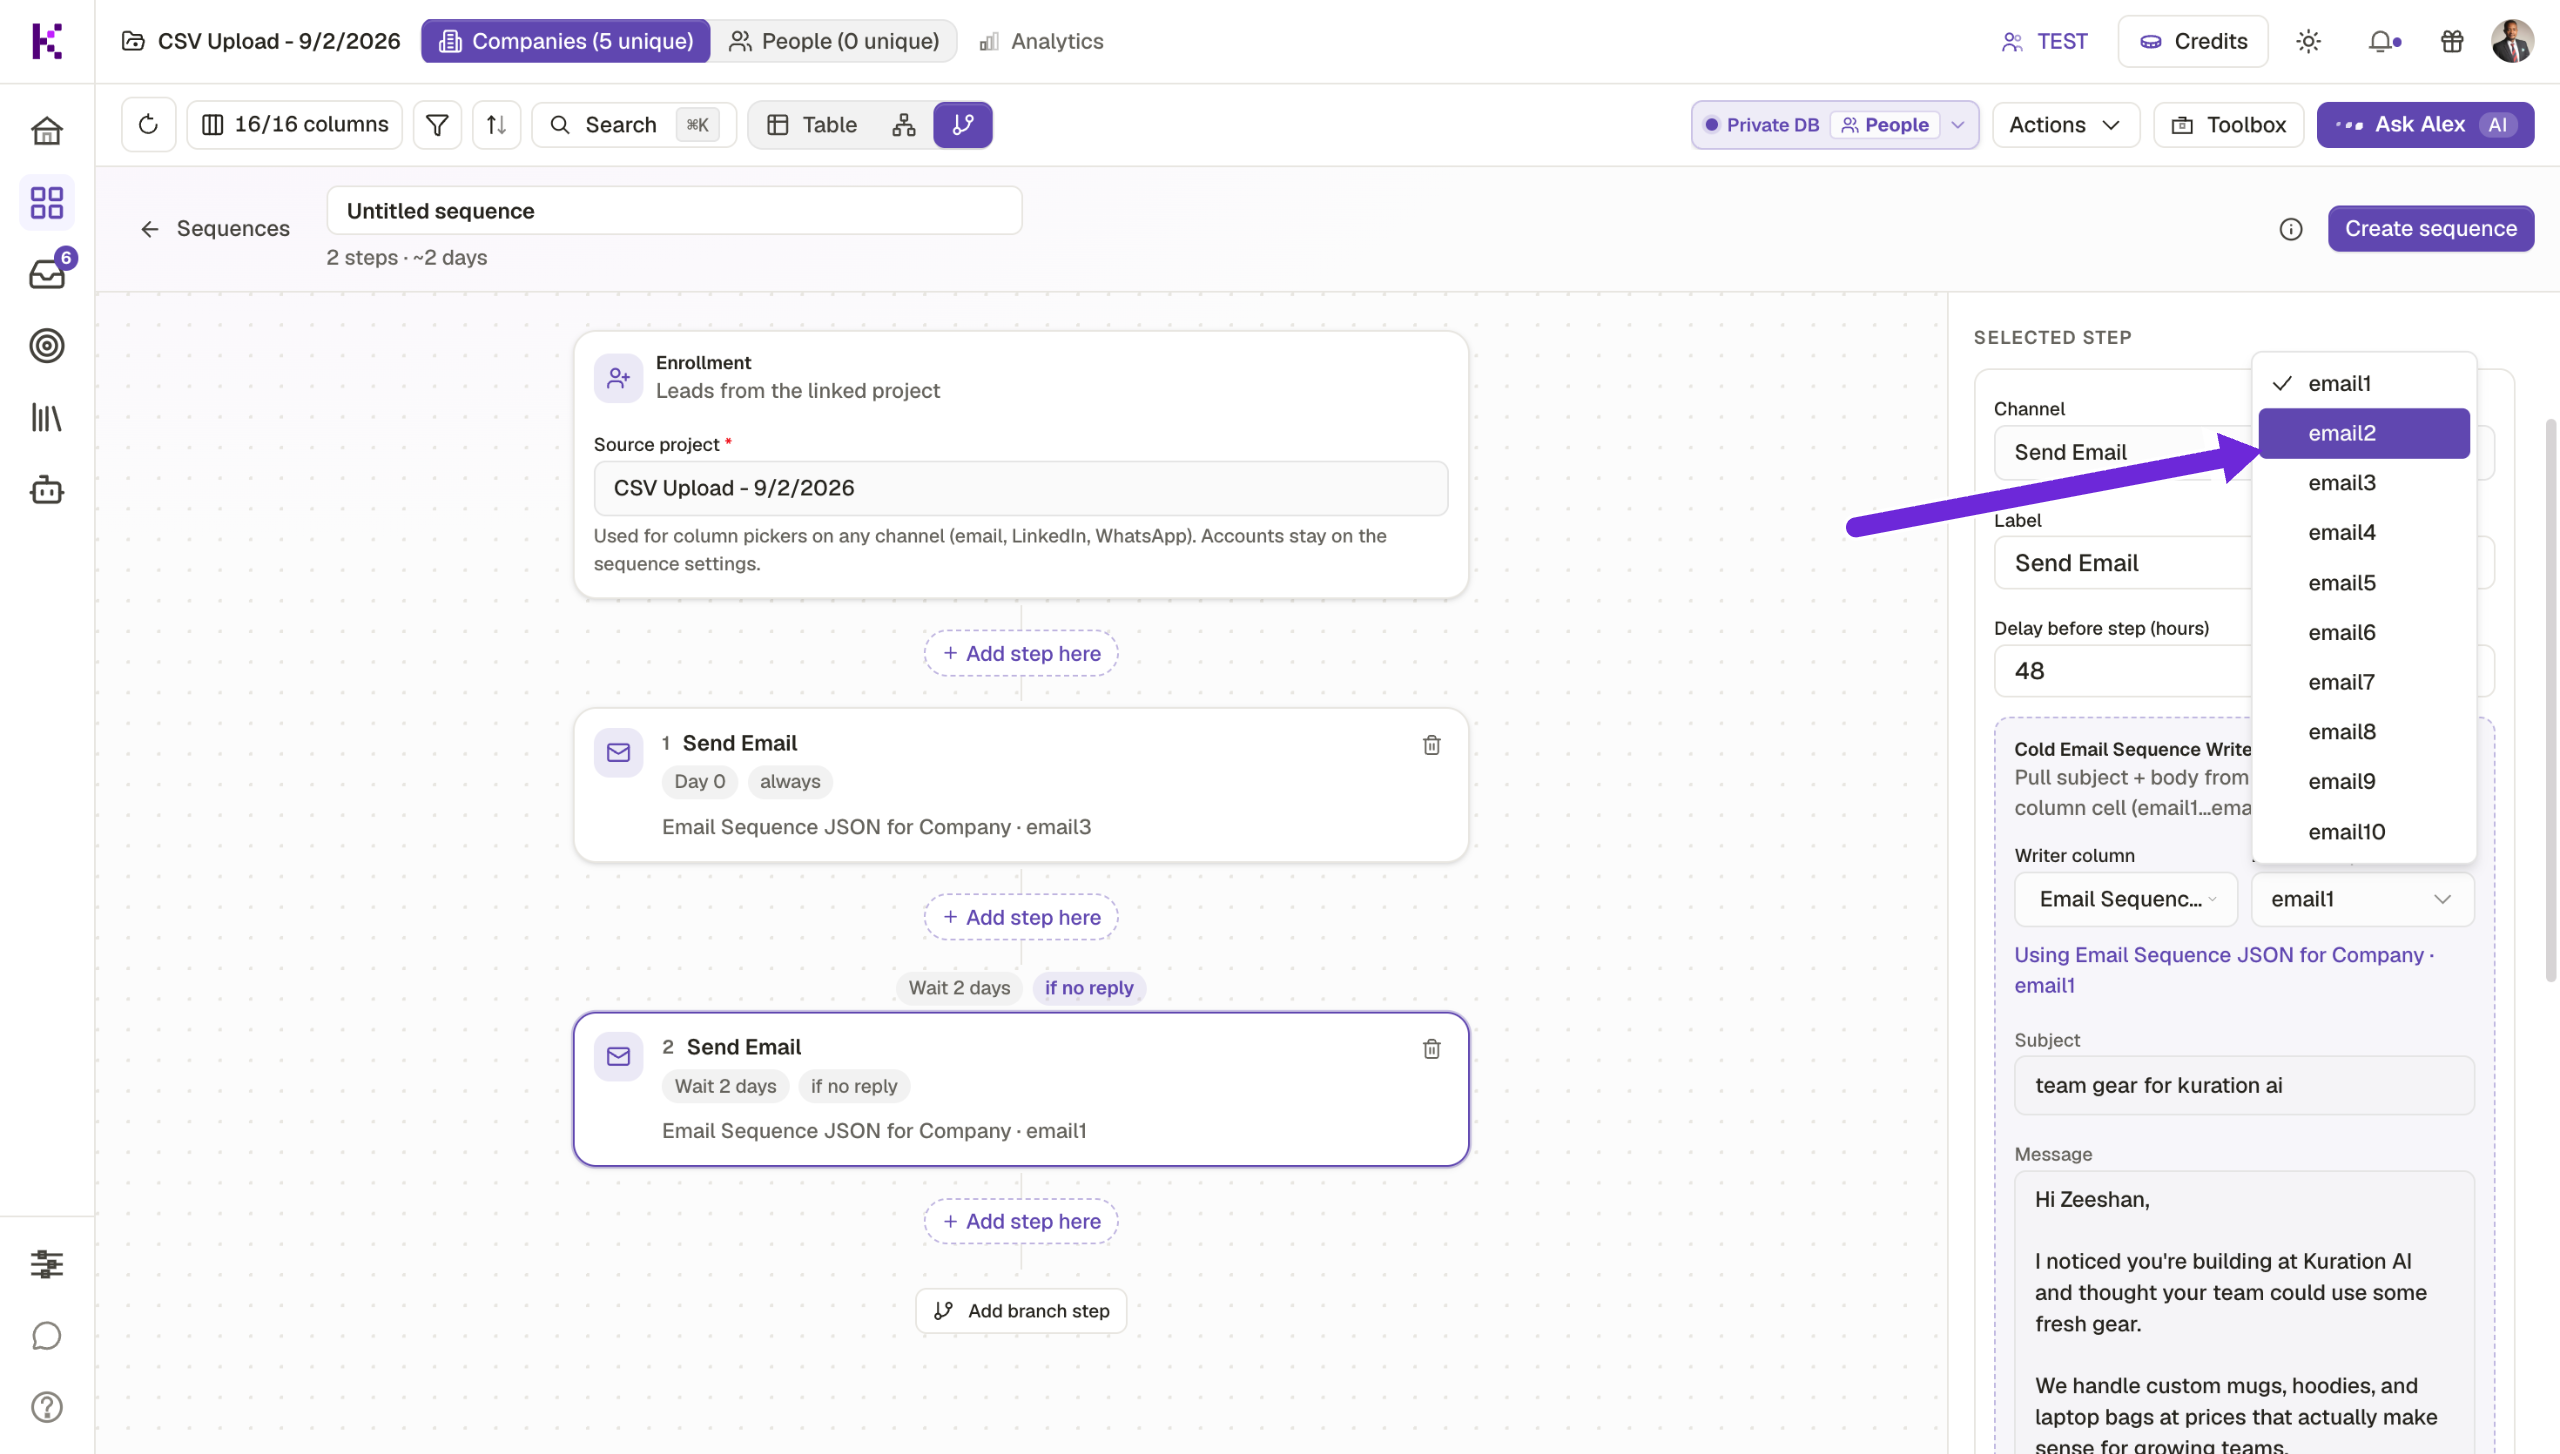
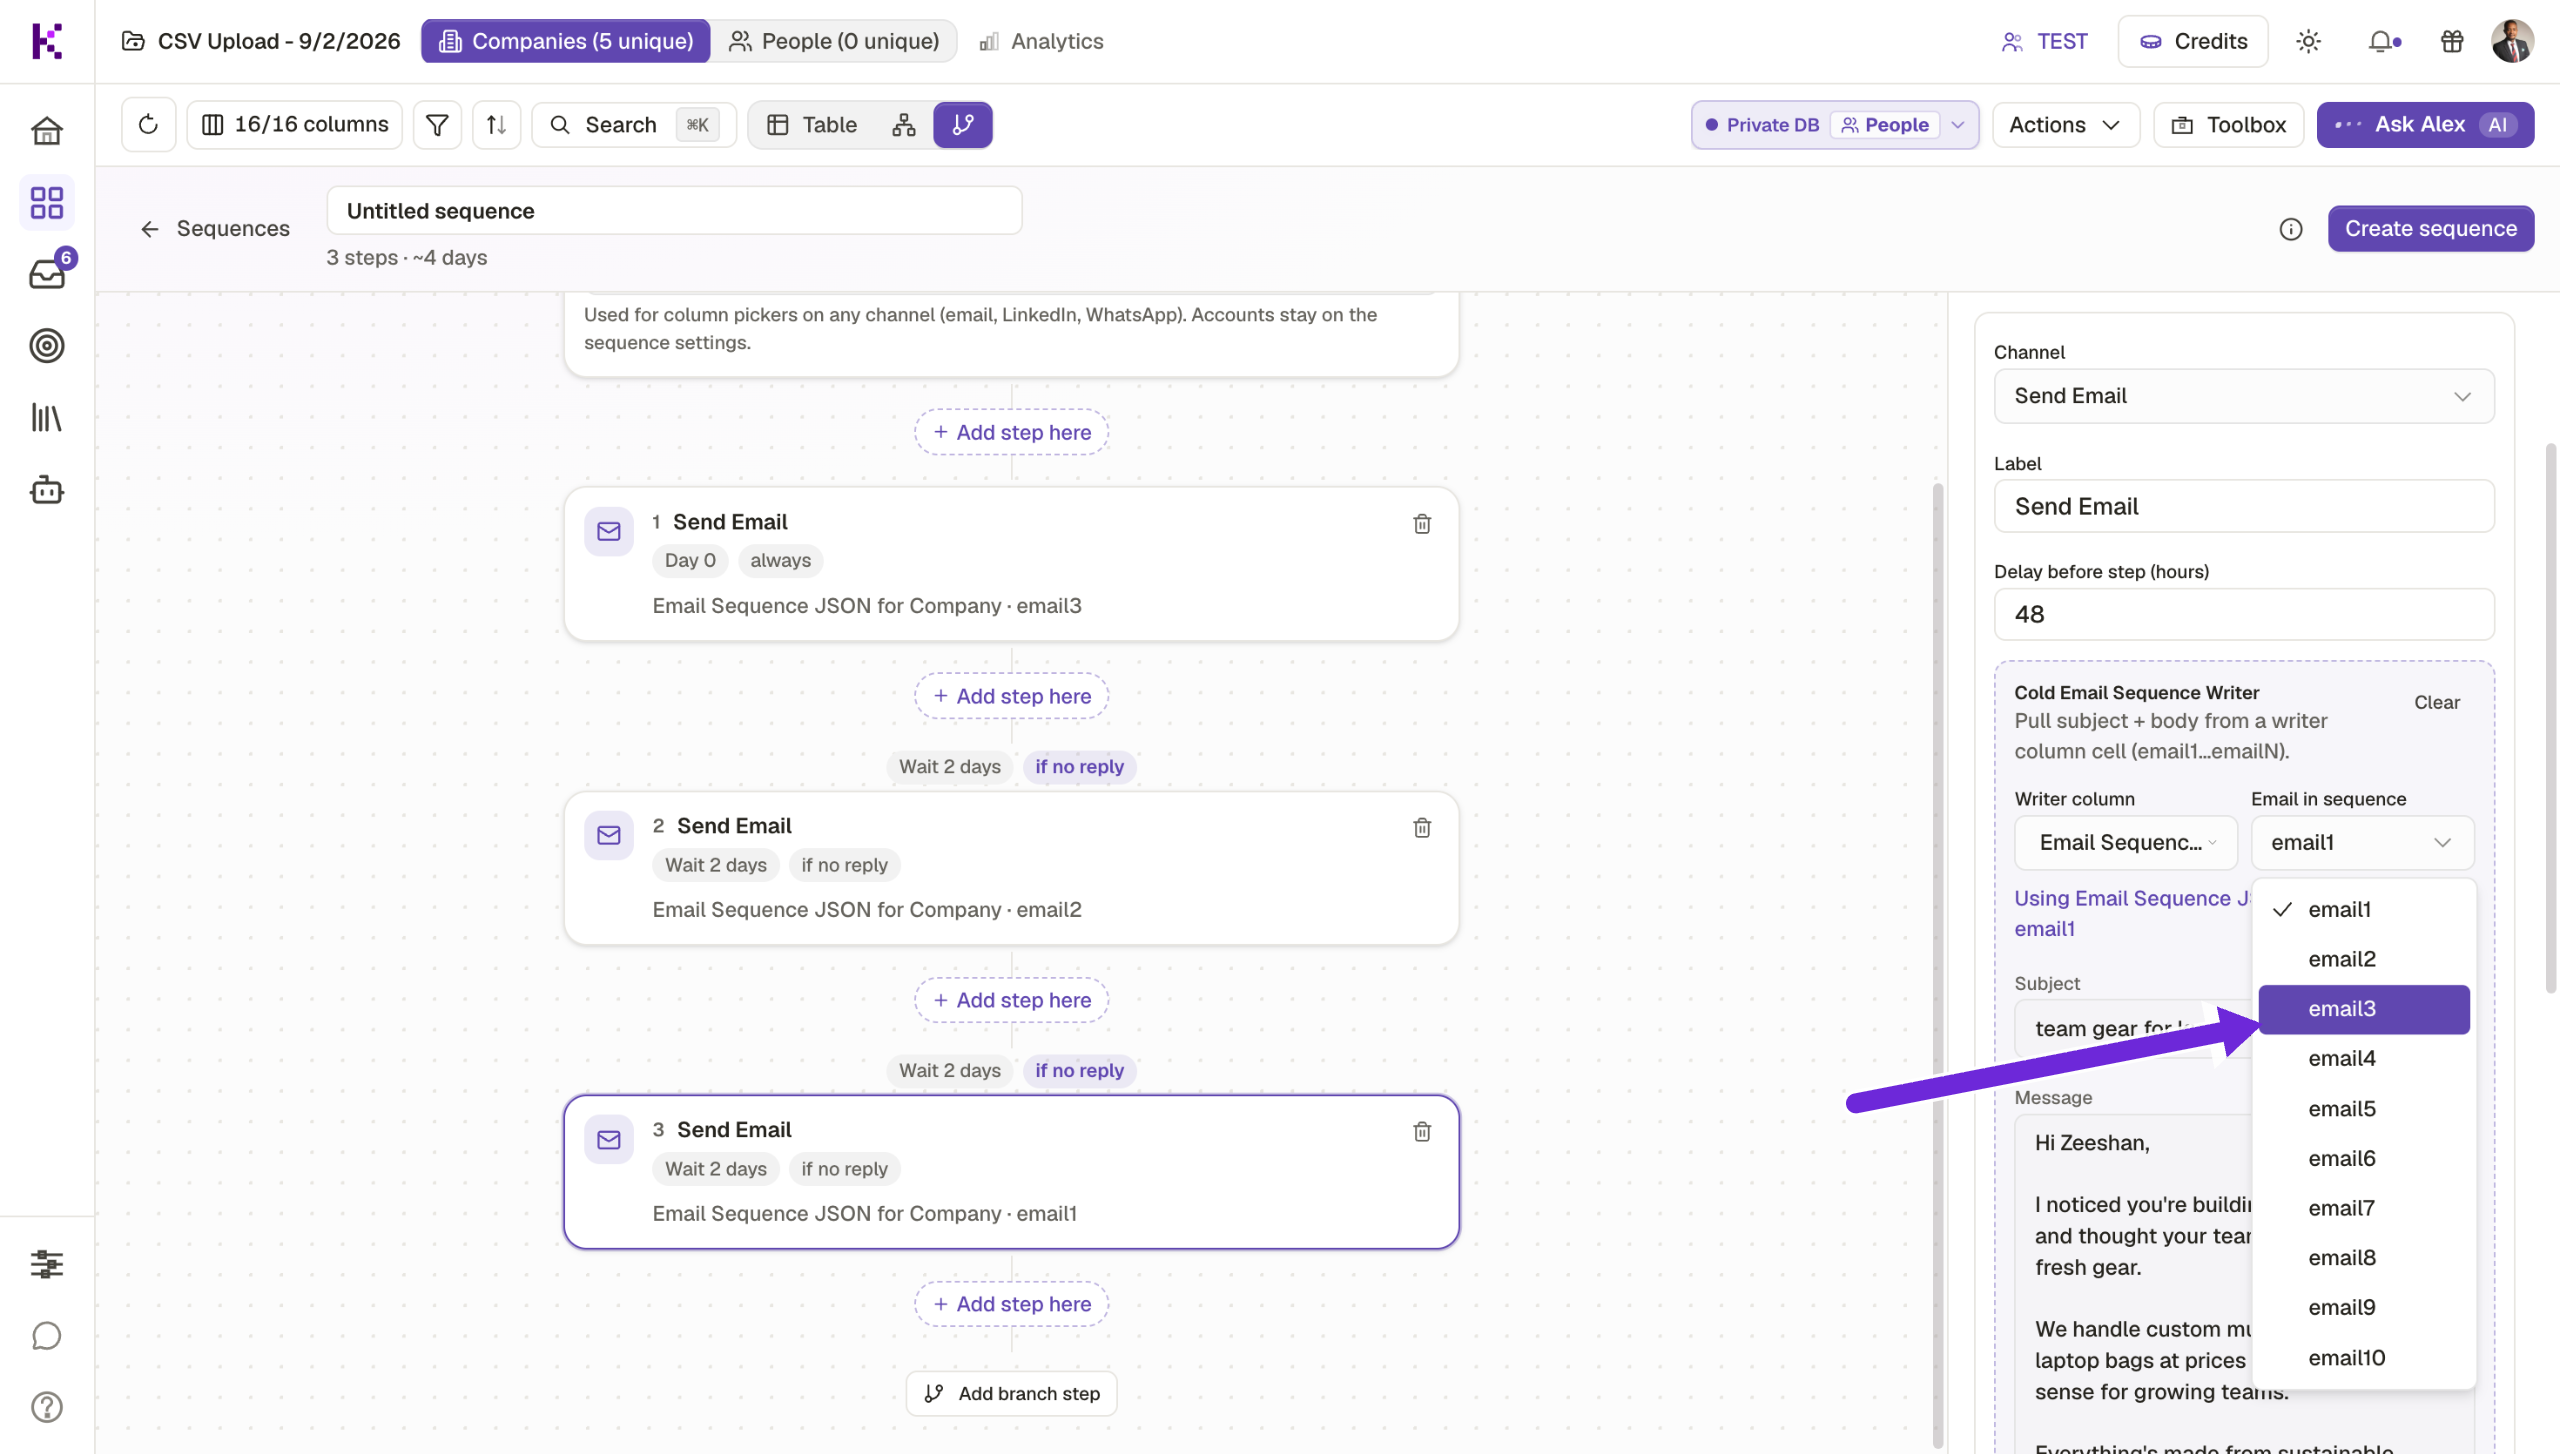
Assign email2 to continue the narrative — your sequence tells a consistent story across every touchpoint.

Add one more step to match the number of emails you created.

Add the final Send Email step — completing your multi-touch outreach flow.

Map email3 — your final, most persuasive touchpoint is now locked in and ready.

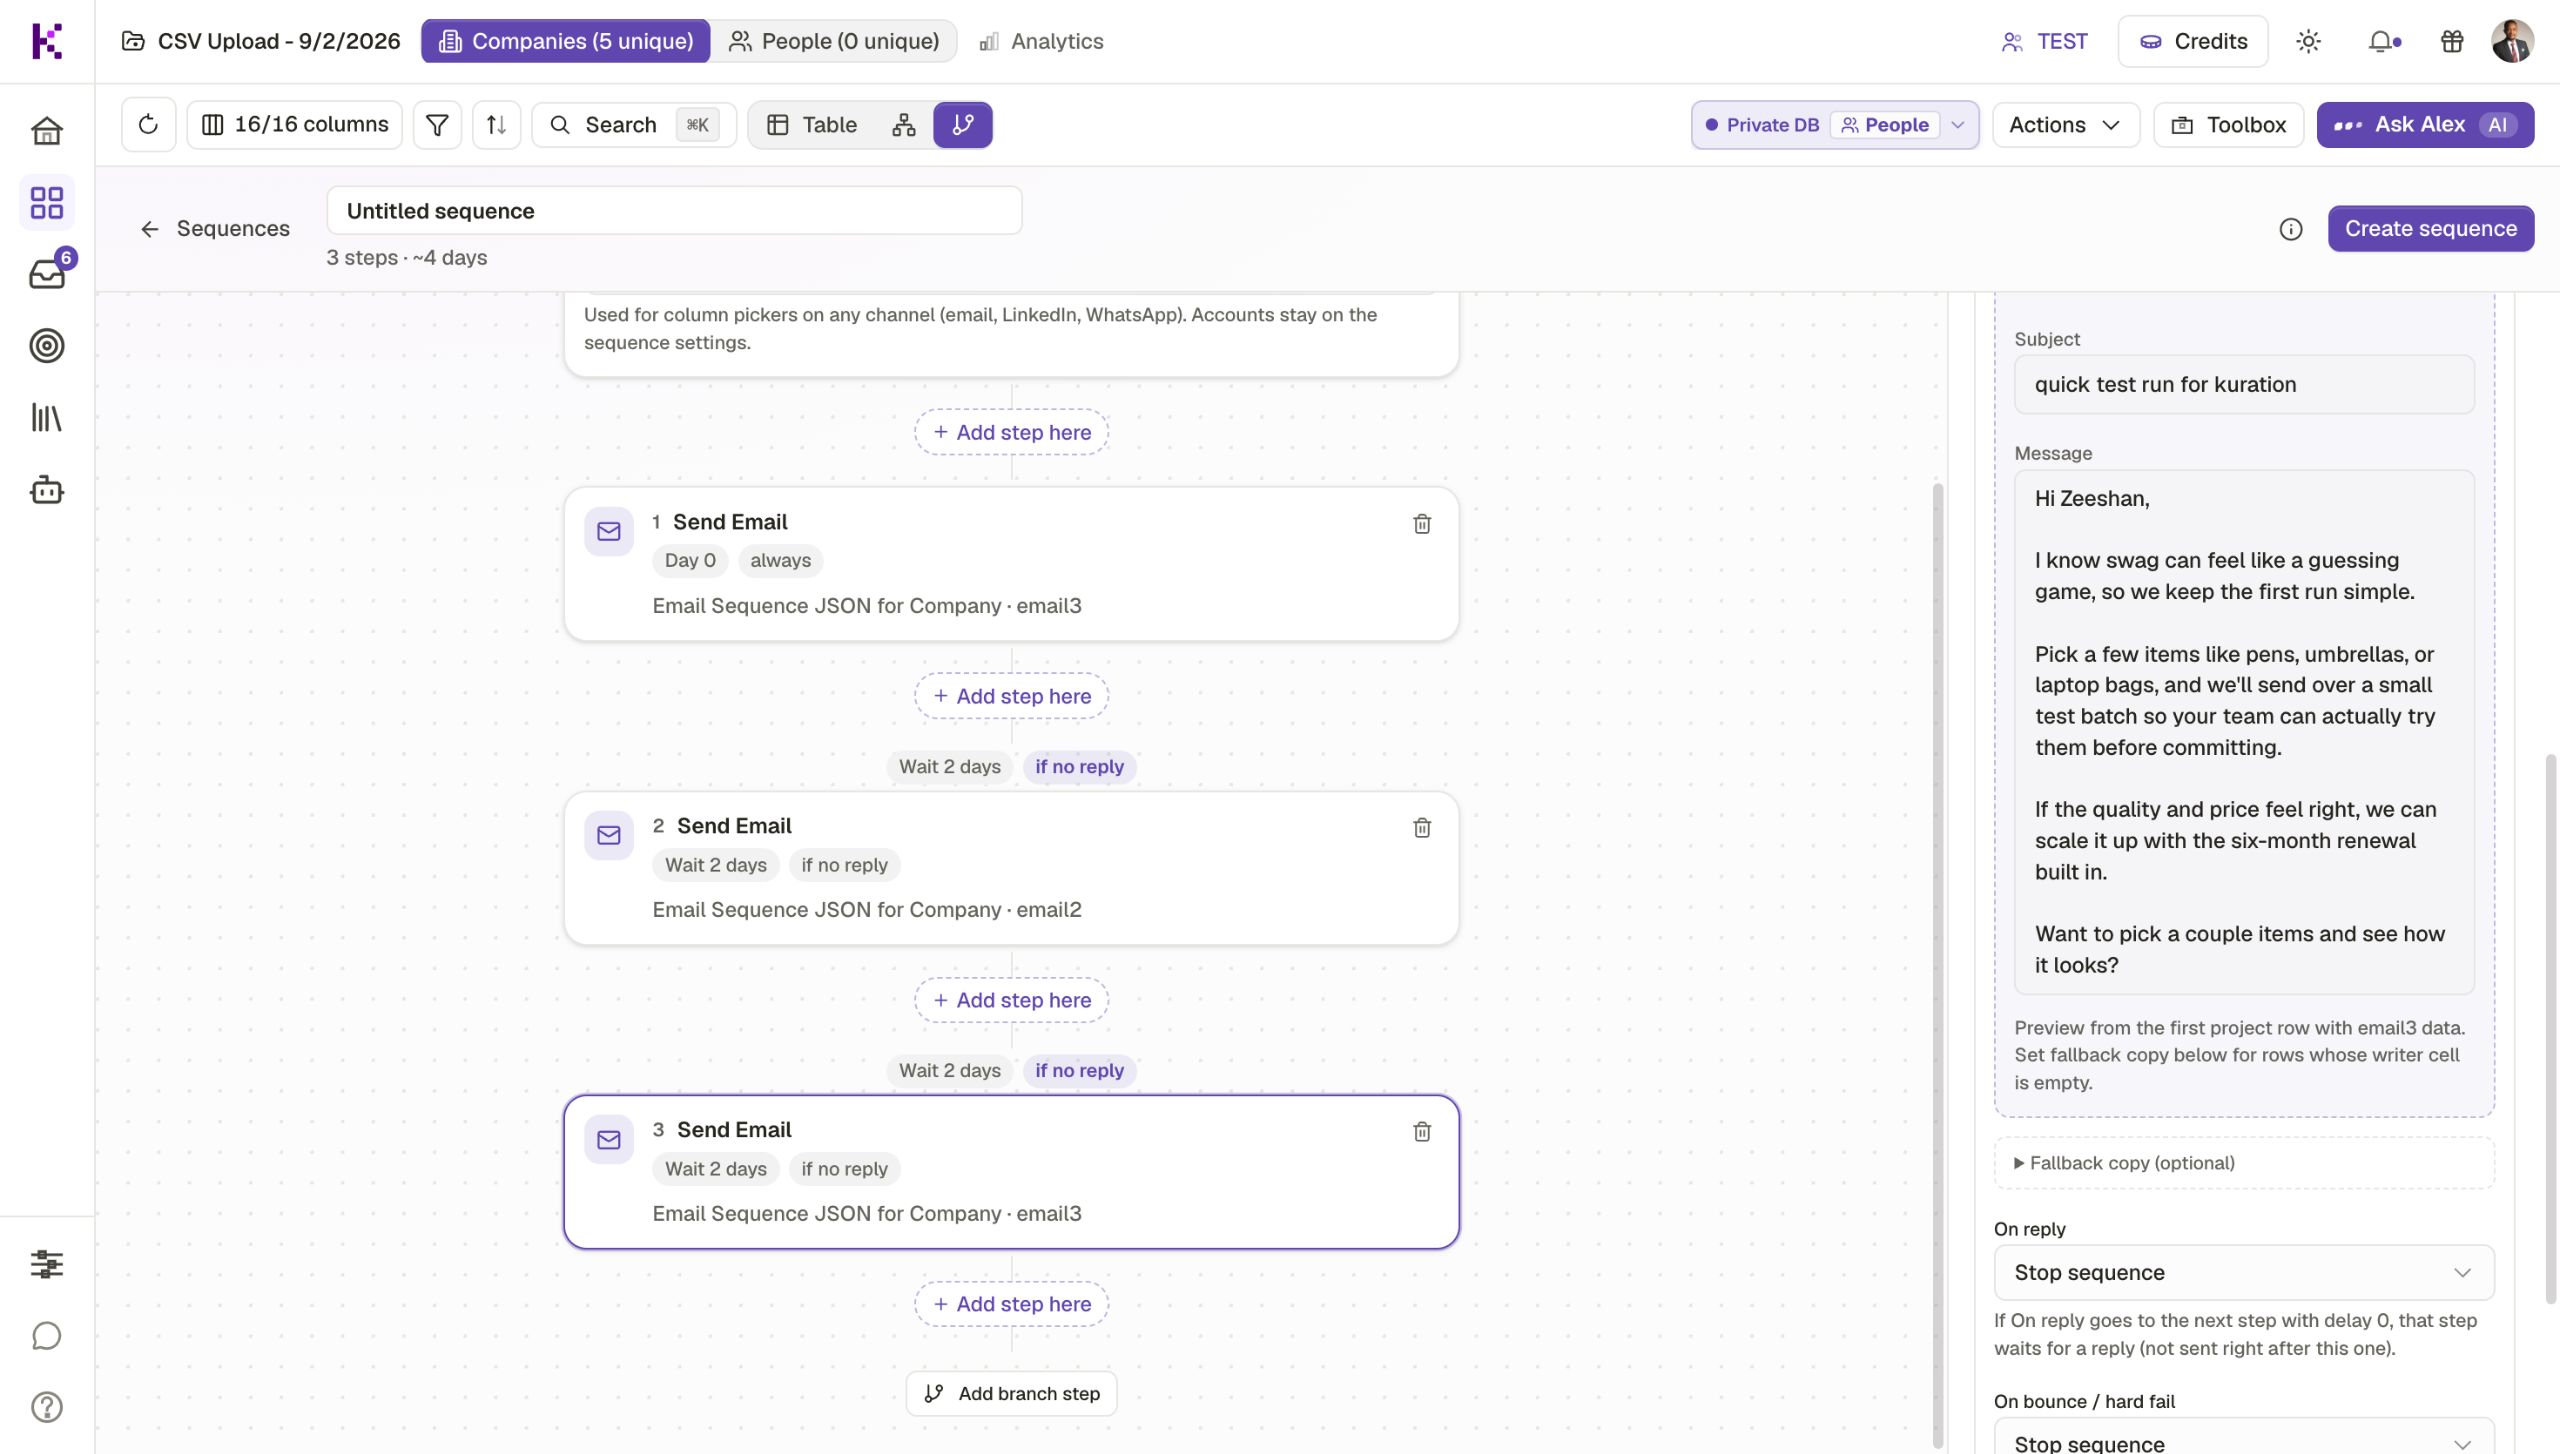
Review your complete sequence one last time before saving.

Check all steps in your sequence — every email, wait period, and action is mapped and ready to launch.

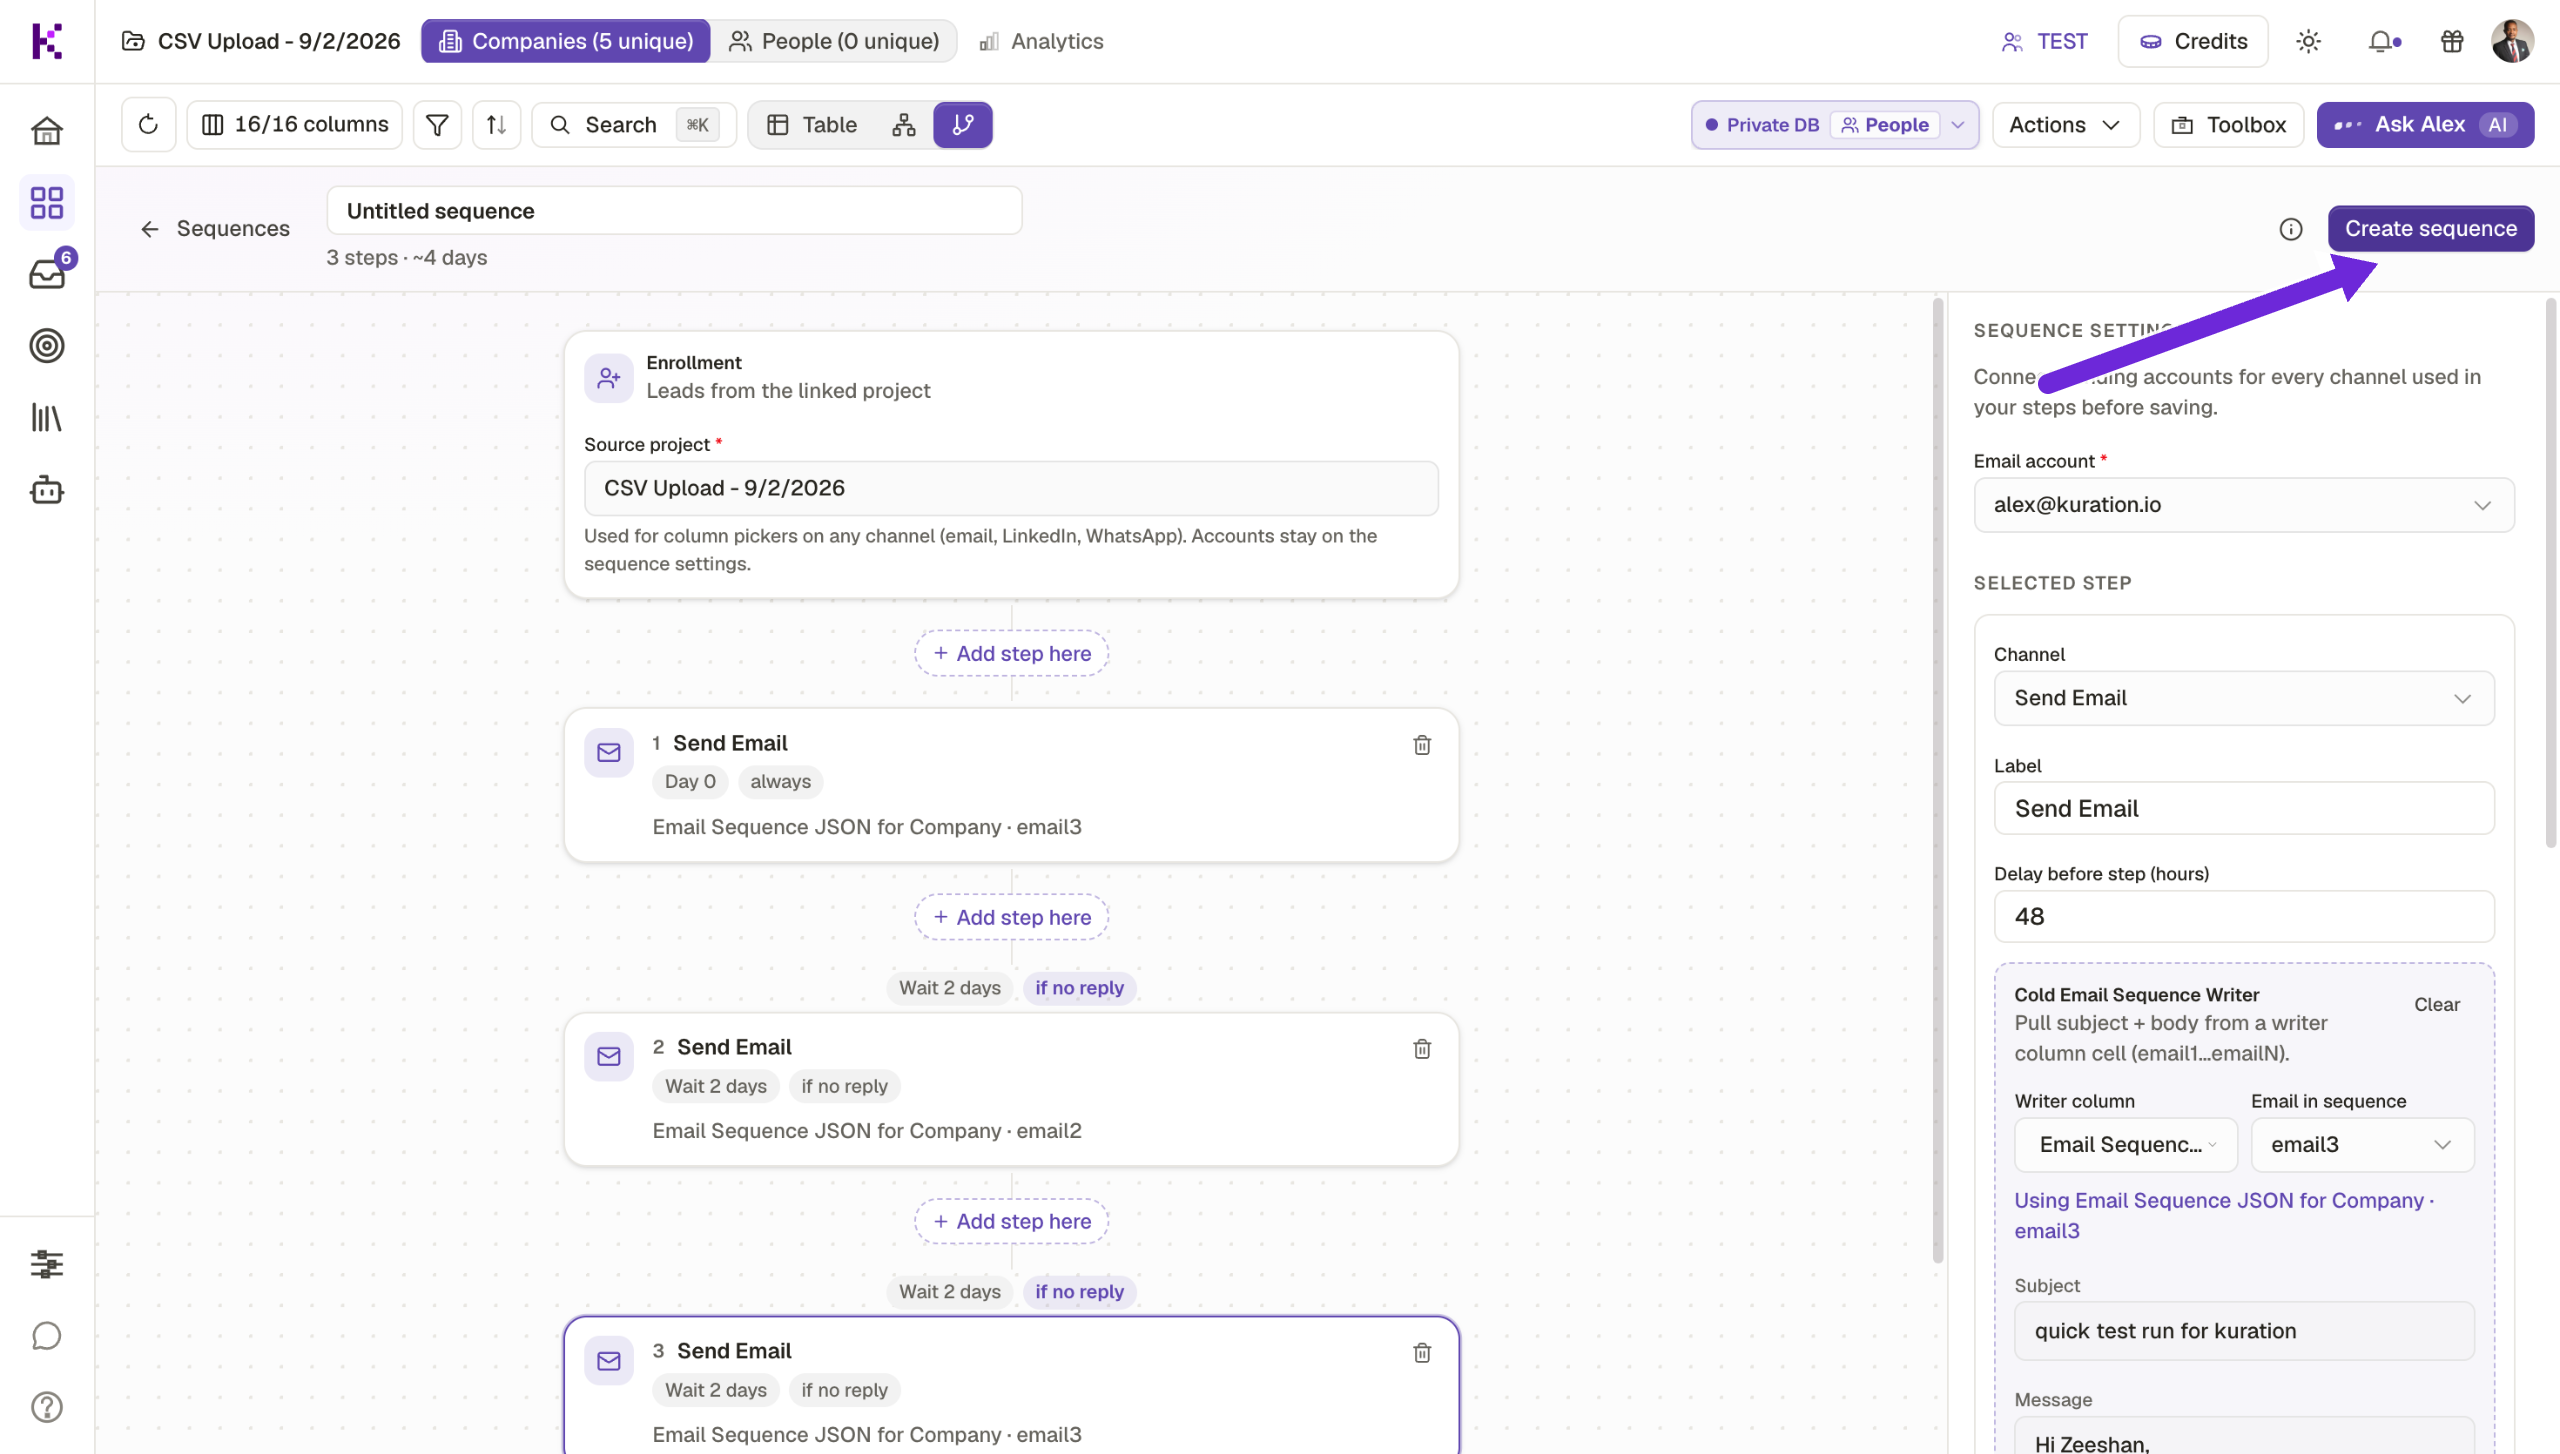
Create the sequence — your fully personalized, AI-powered outreach is now live and ready to run against your leads.
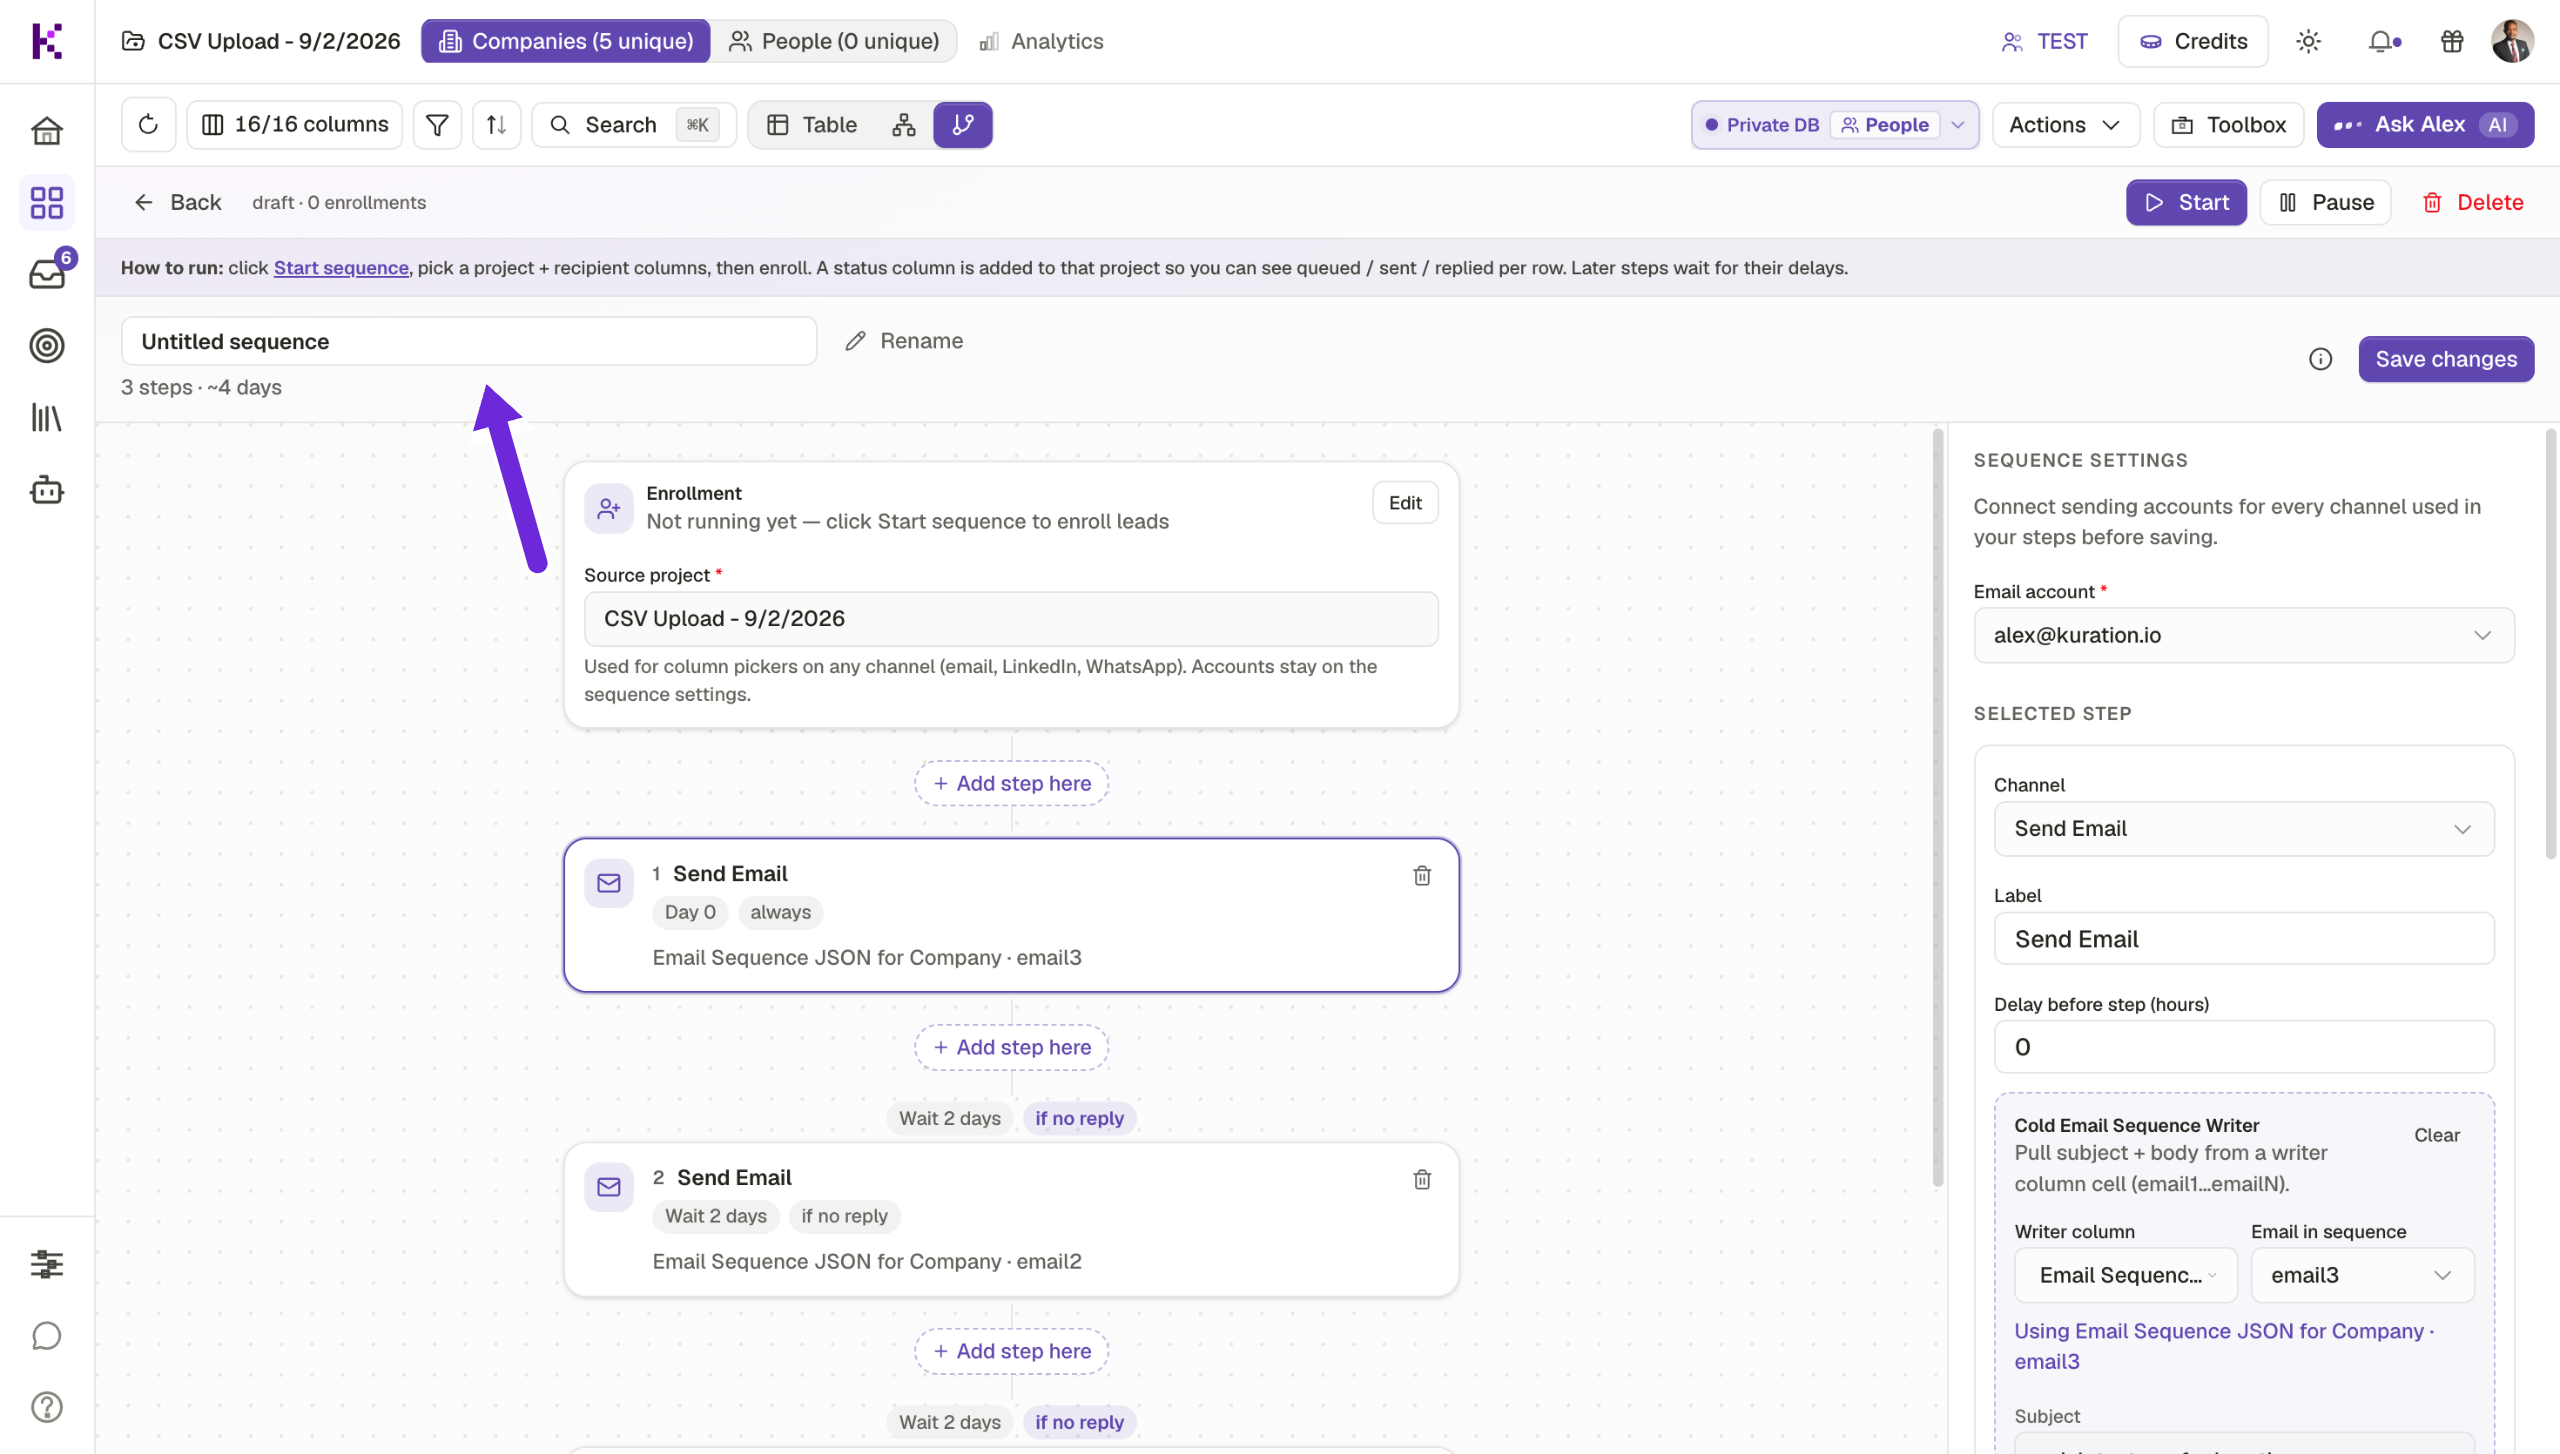
Give your sequence a clear name so you can find, track, and reuse it easily.

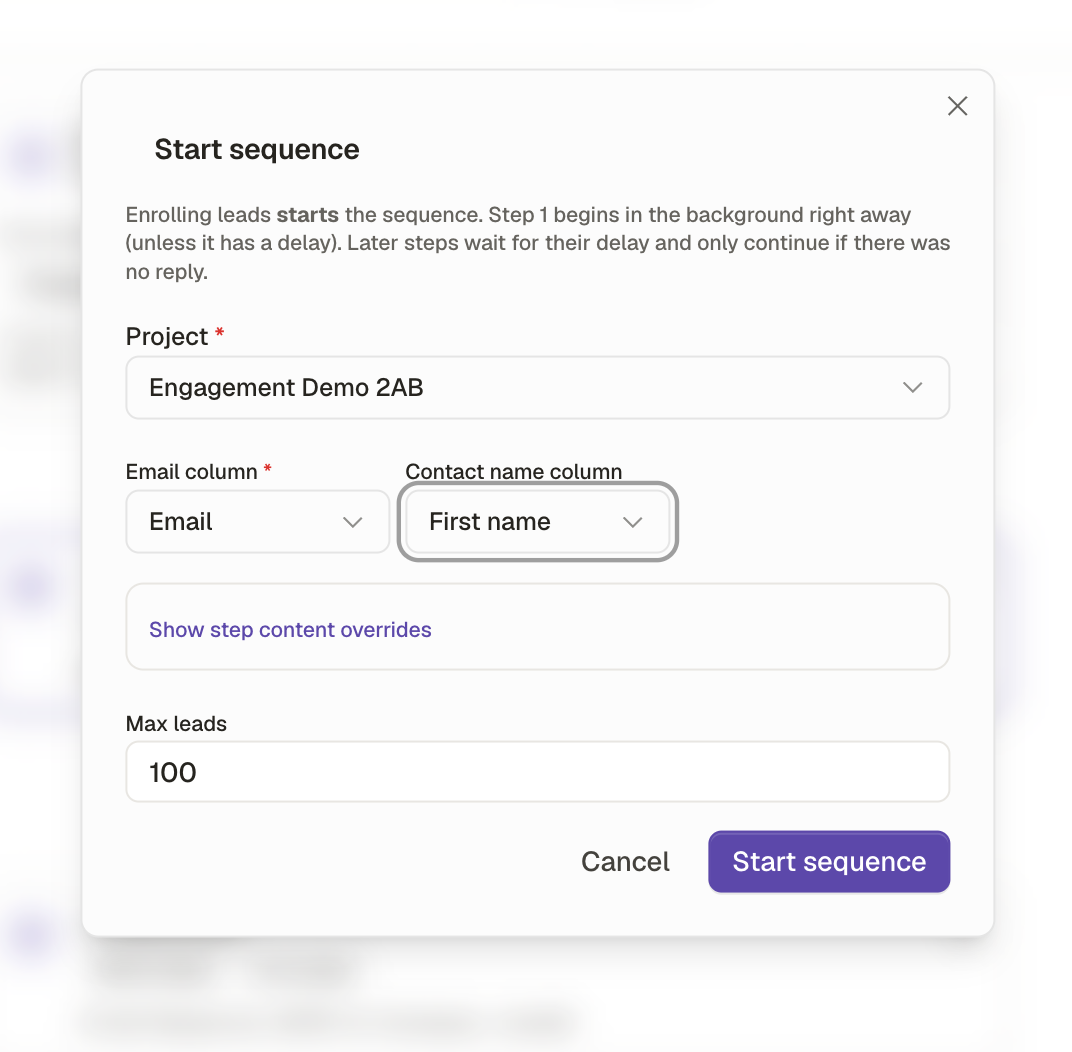
Click Start in the top right hand corner, then select the Email and First name columns to enroll your leads.
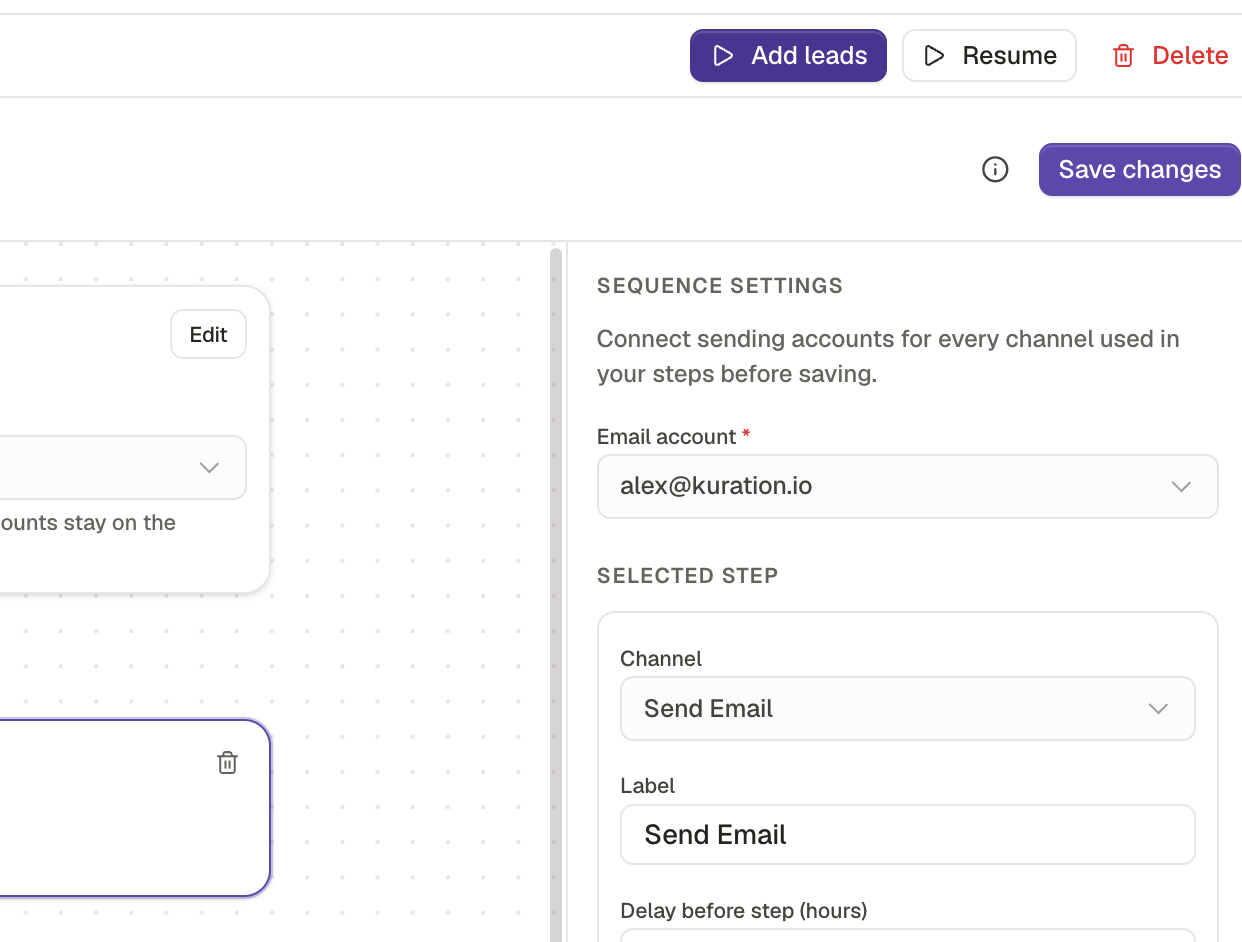
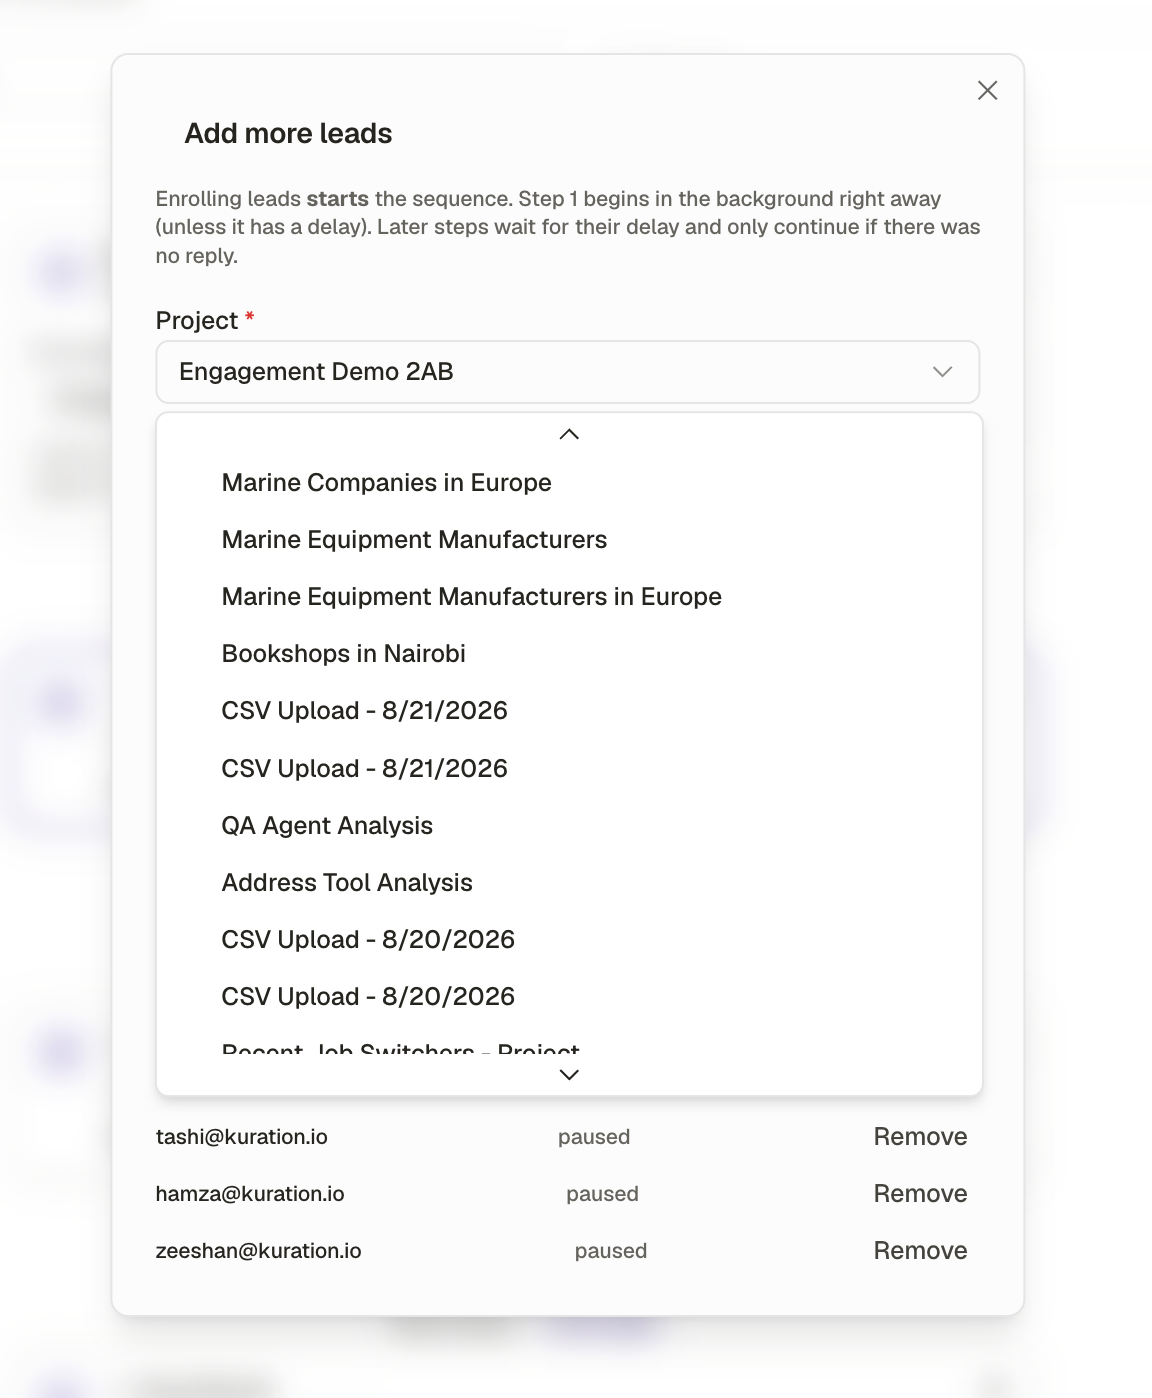
Click Add leads to enroll more leads from your projects, then pick the project you want to pull them from.


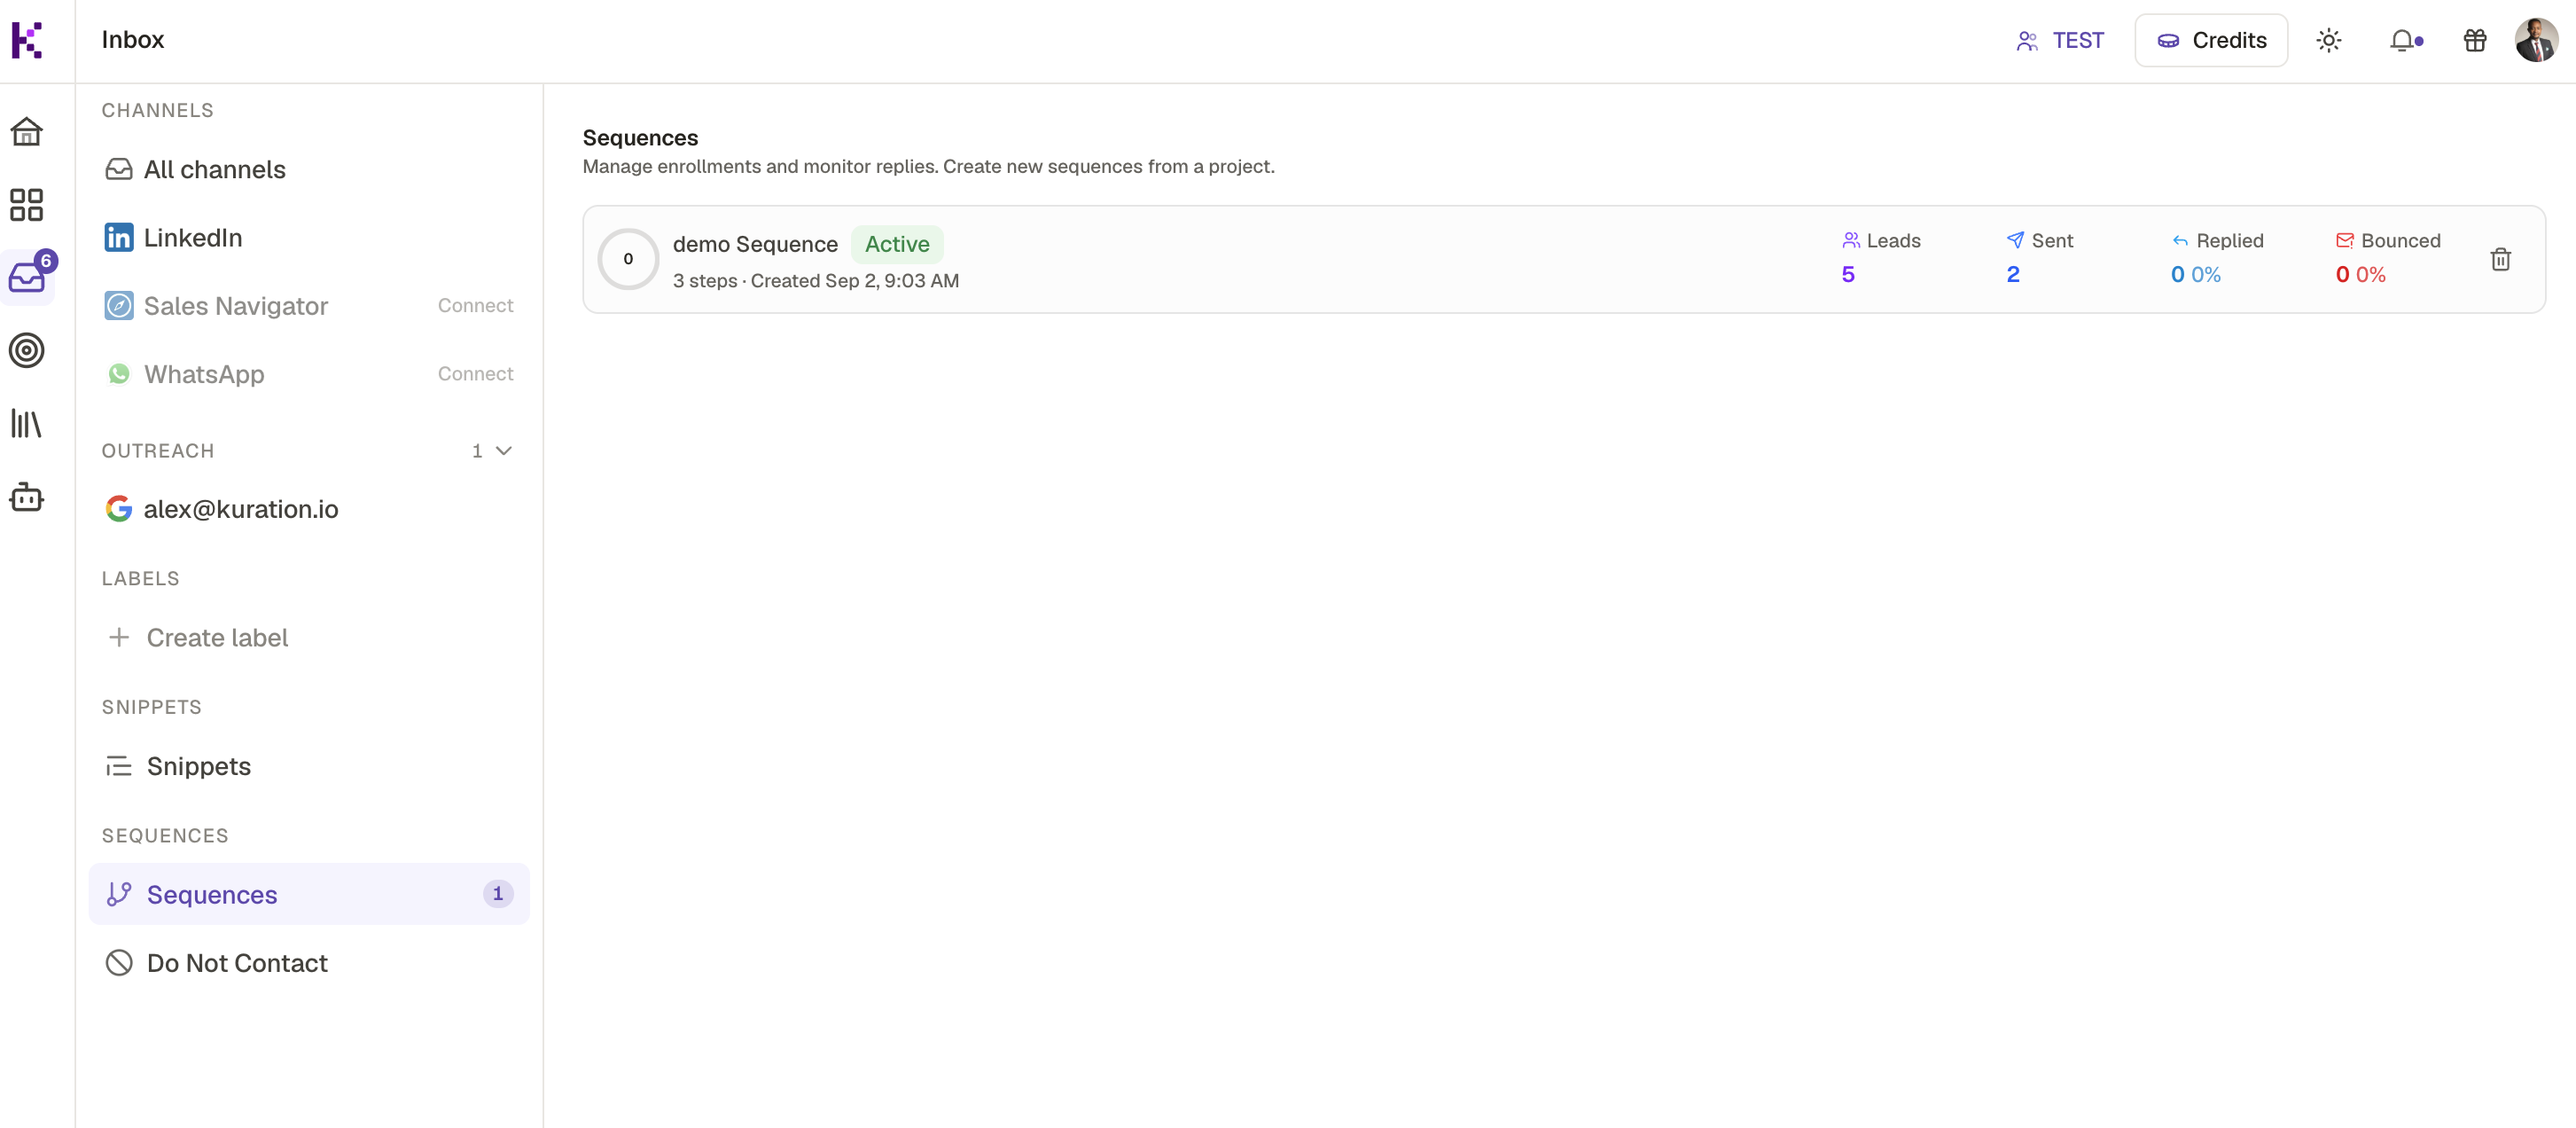
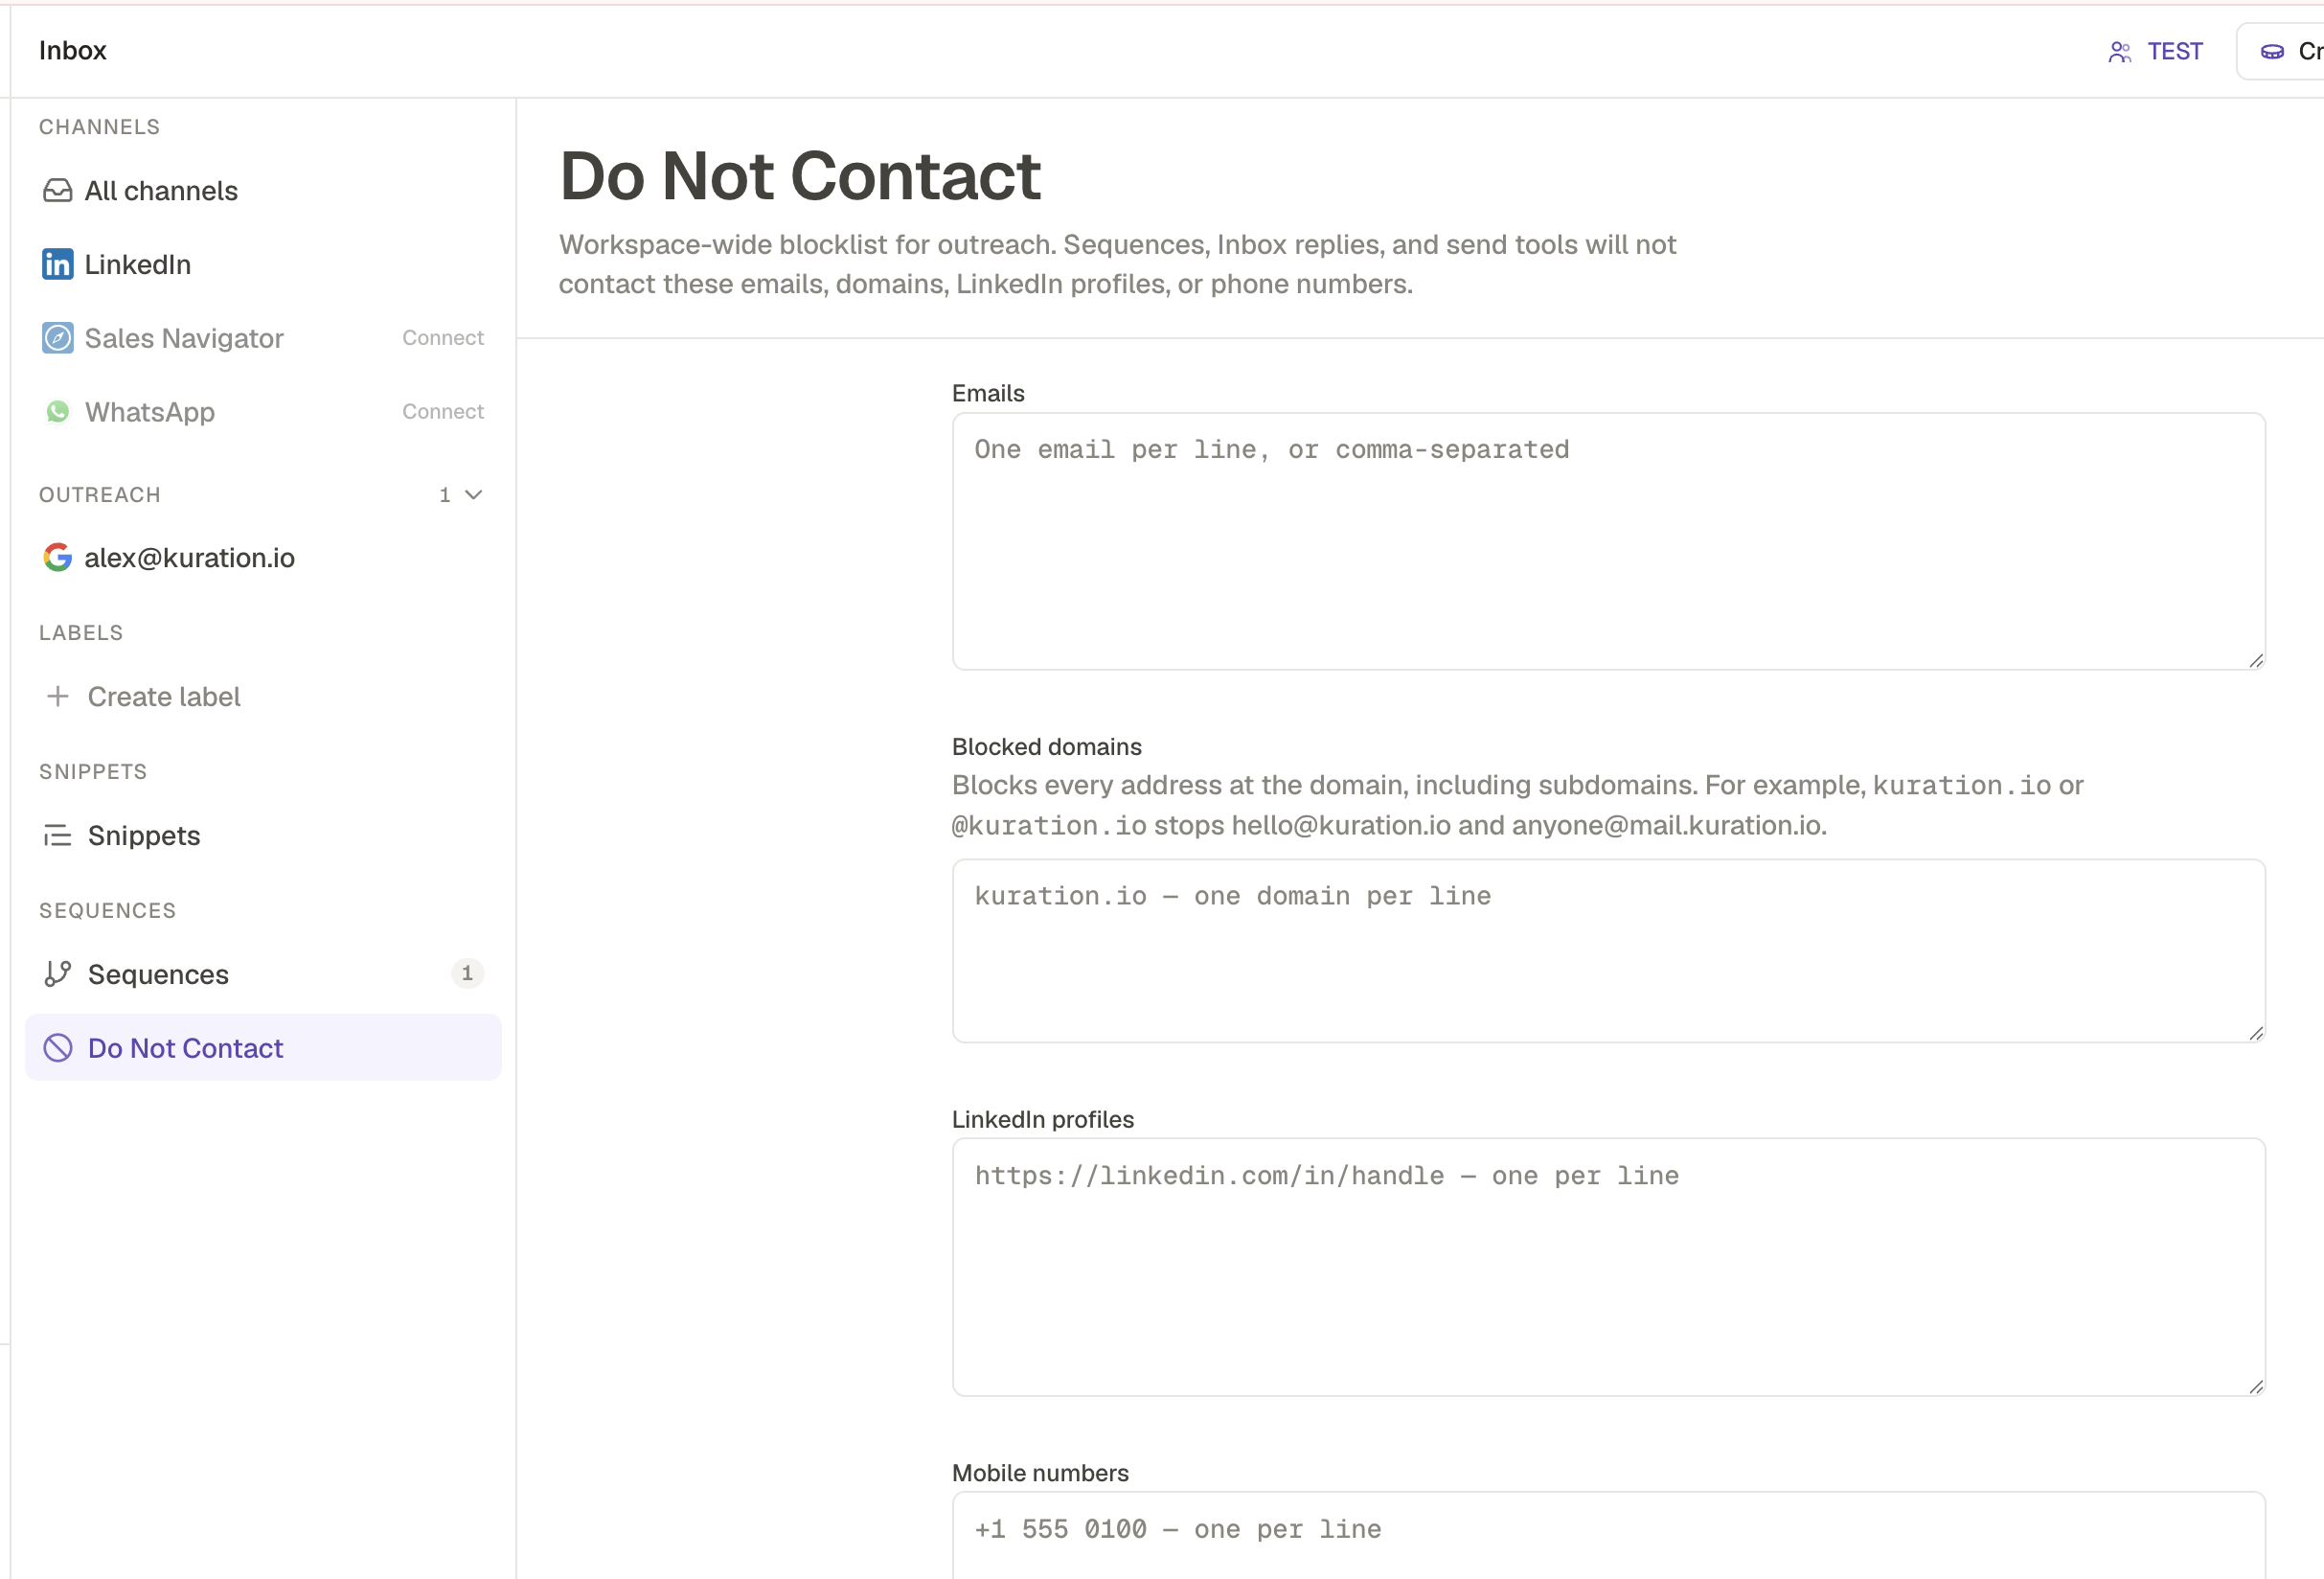
Once you have an active sequence, you can review the basic stats. You can also add emails, LinkedIn URLs, phone numbers and domains to the Do Not Contact workspace-wide blocklist.

Kept on this device