Automate Data Collection with Apify on Kuration
Learn how to configure and run an Apify Actor to scrape data, set up authentication, and import the results straight into your Kuration table.
You will open the Run Apify Actor tool from Home, paste in the actor ID and the Actor input JSON from Apify, set how many rows to import, select your Apify API token, then create the list.
- In KurationAccess to Home and the Run Apify Actor tool.
- In ApifyAn actor you want to run, plus its input JSON.
- Your API tokenAn Apify API token saved under Settings → API Keys.
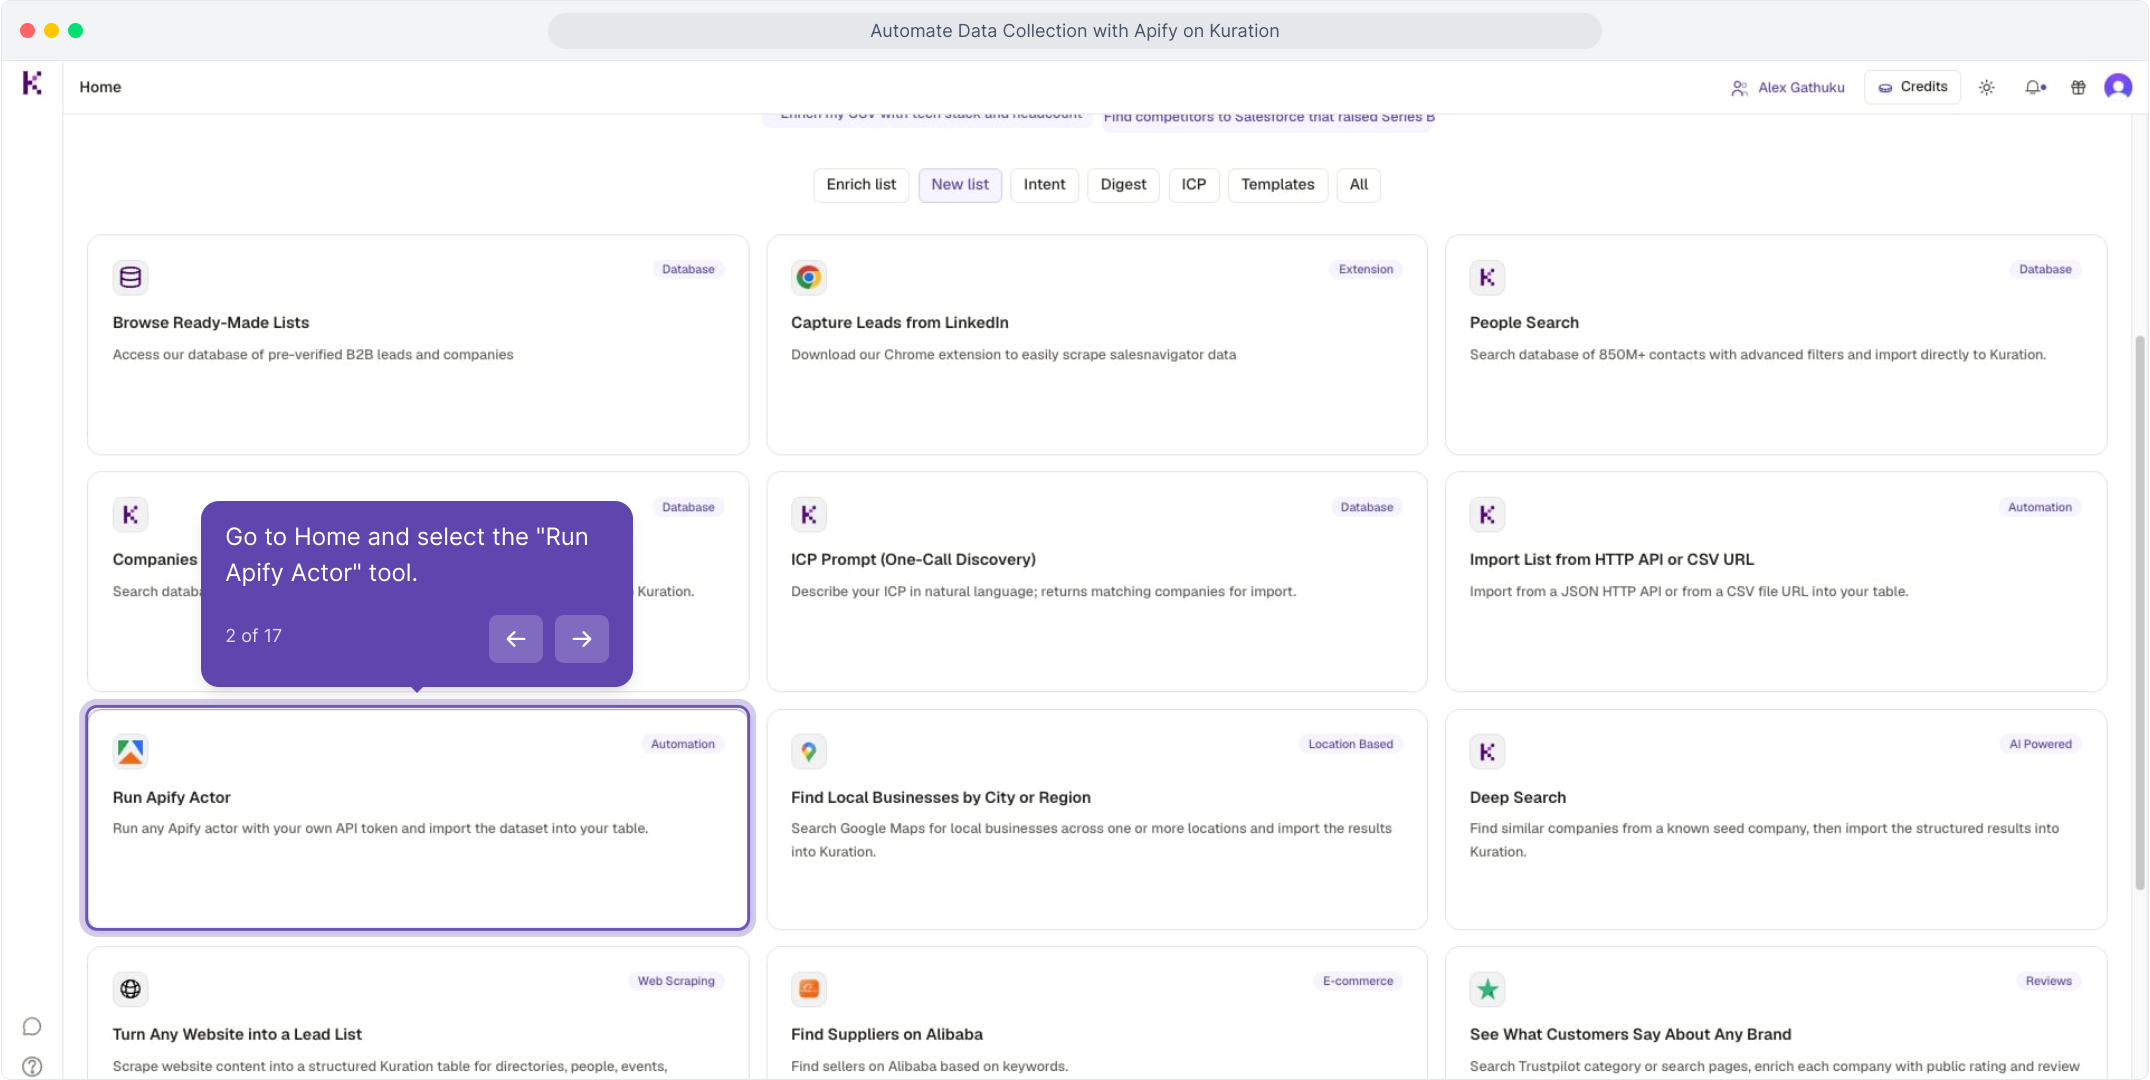
Go to Home and select the "Run Apify Actor" tool.

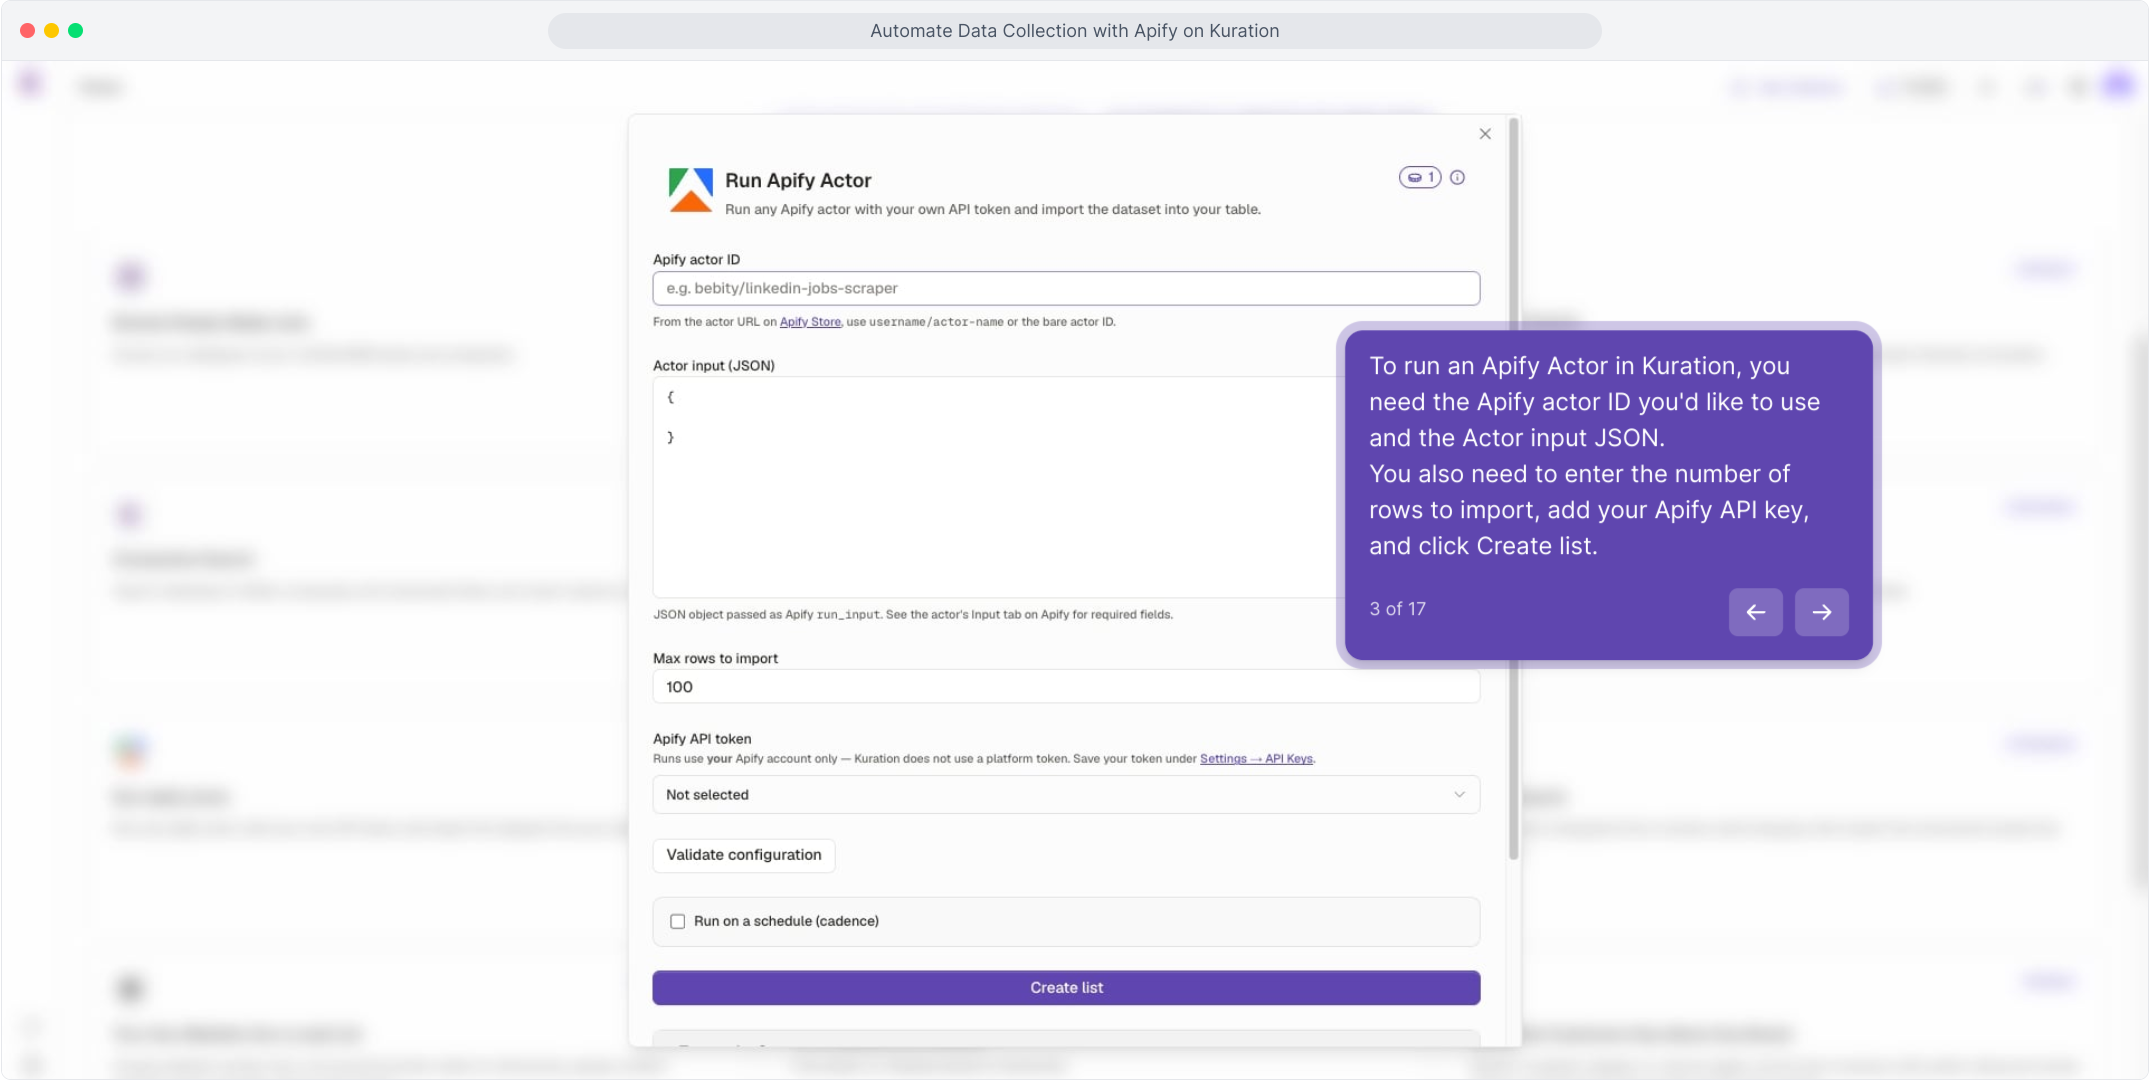
To run an Apify Actor in Kuration, you need the Apify actor ID you'd like to use and the Actor input JSON. You also need to enter the number of rows to import, add your Apify API key, and click Create list.

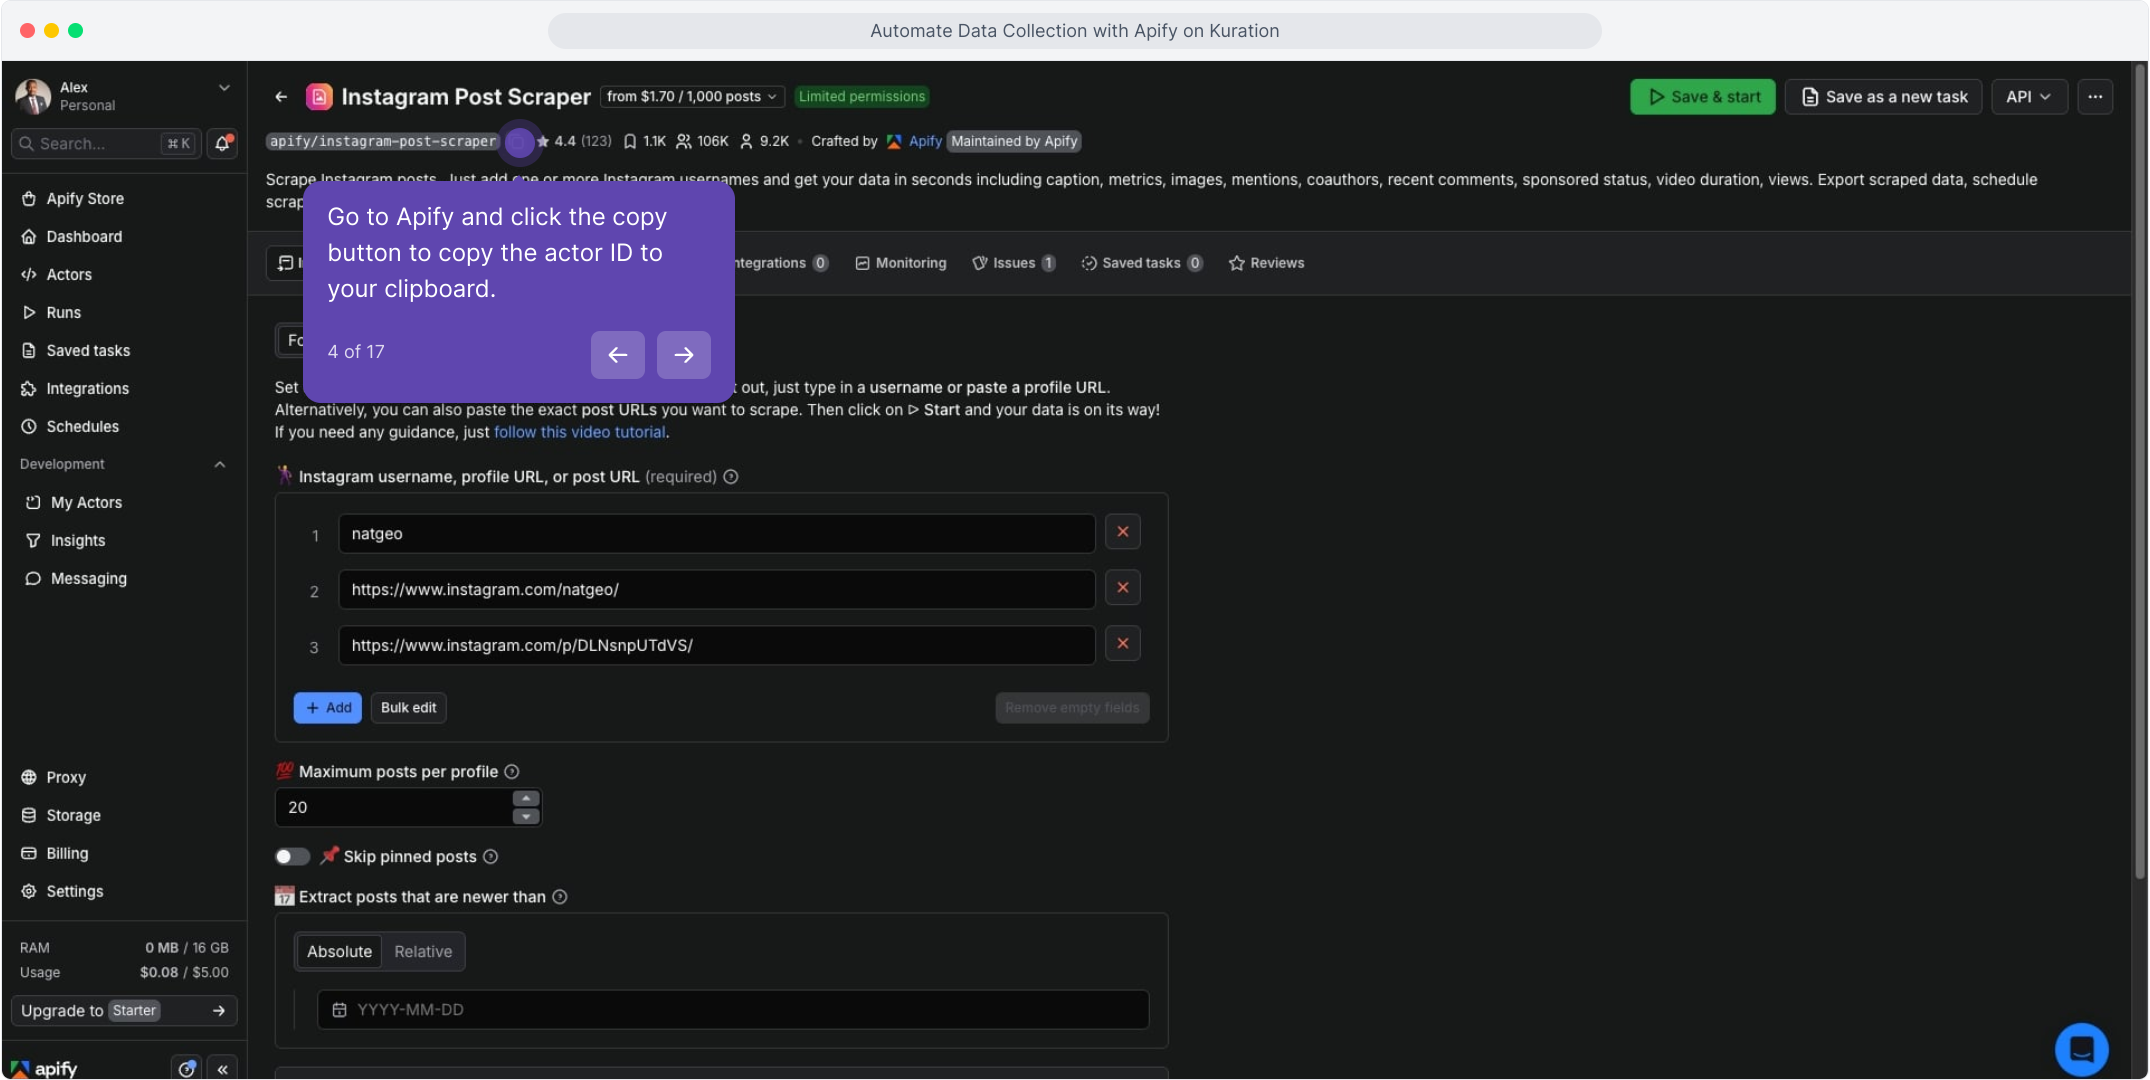
Go to Apify and click the copy button to copy the actor ID to your clipboard.

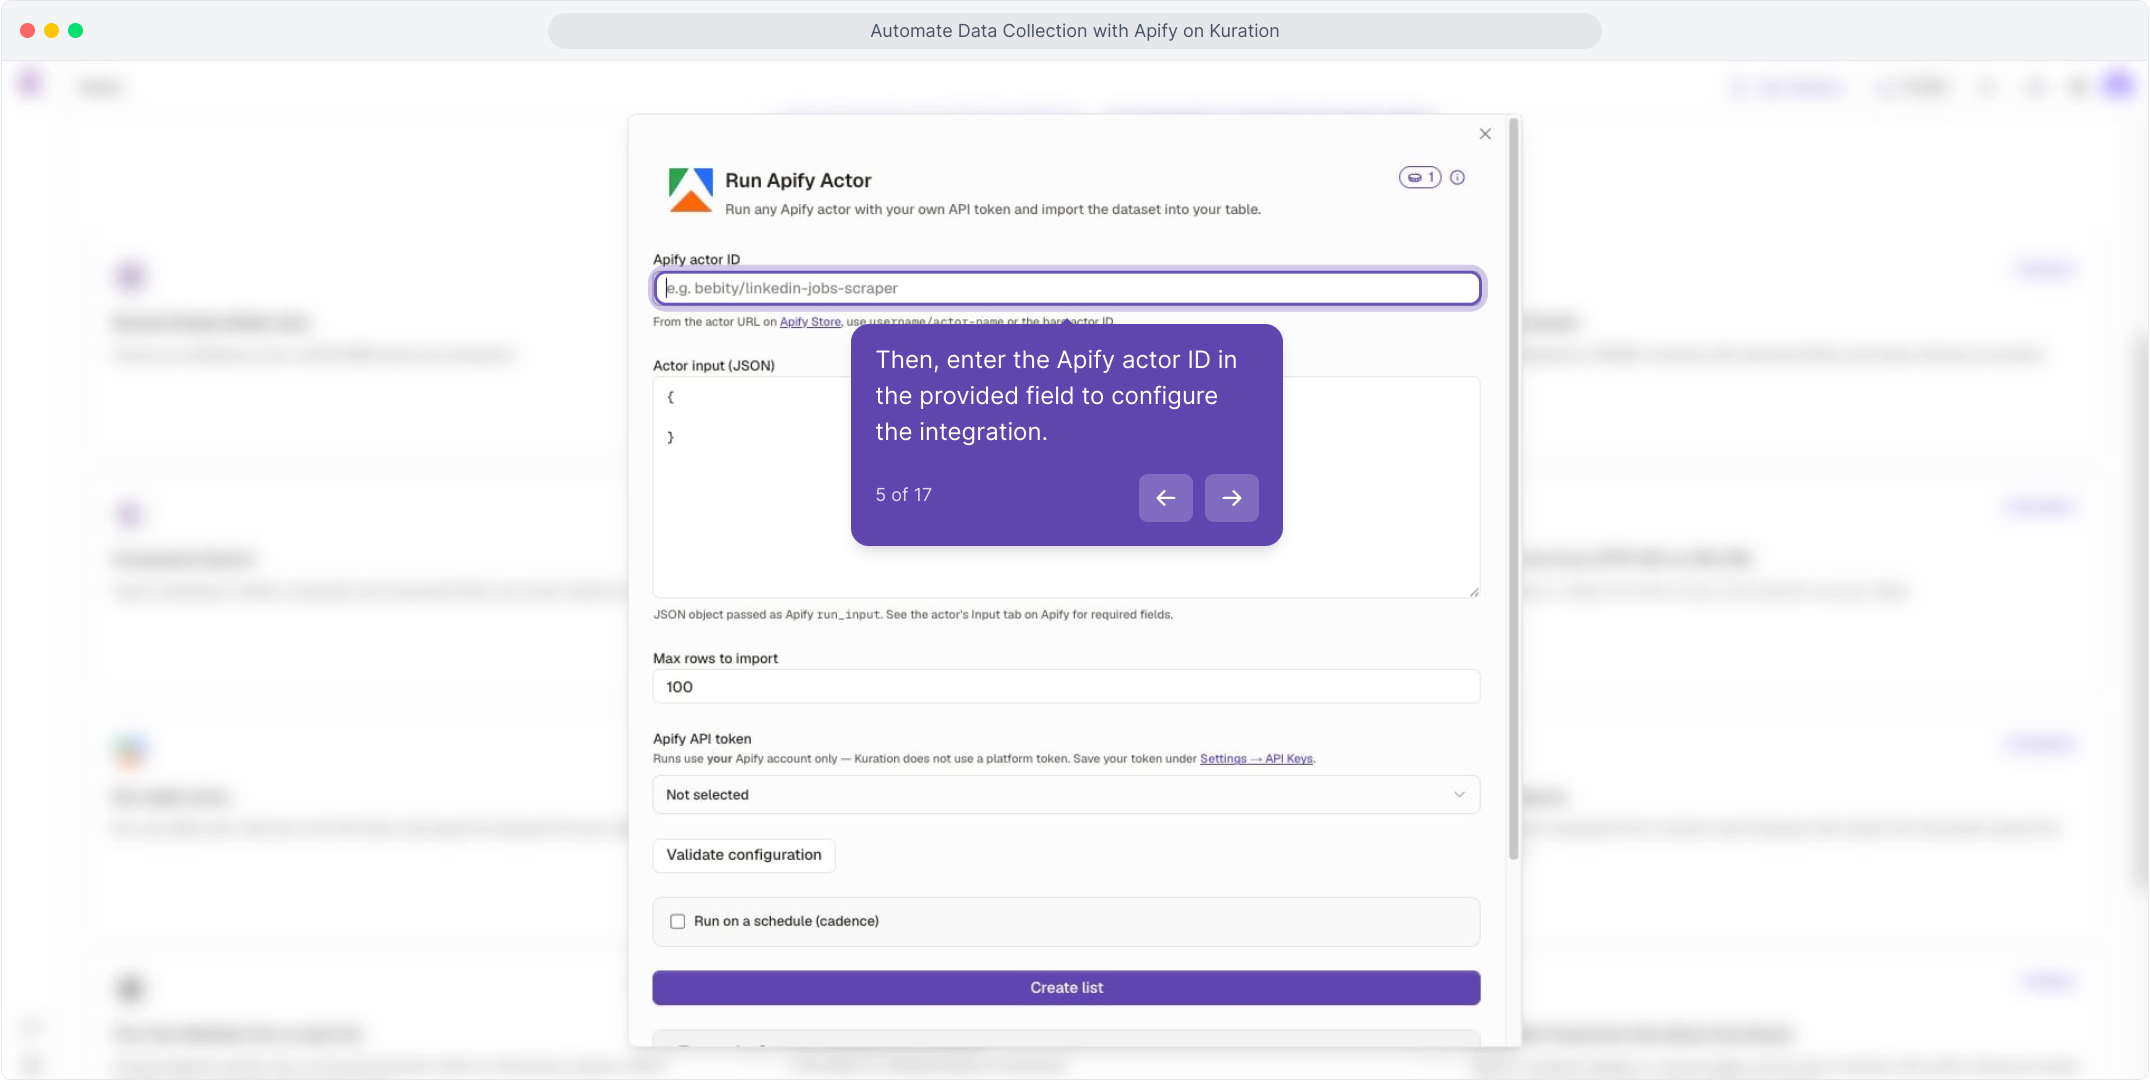
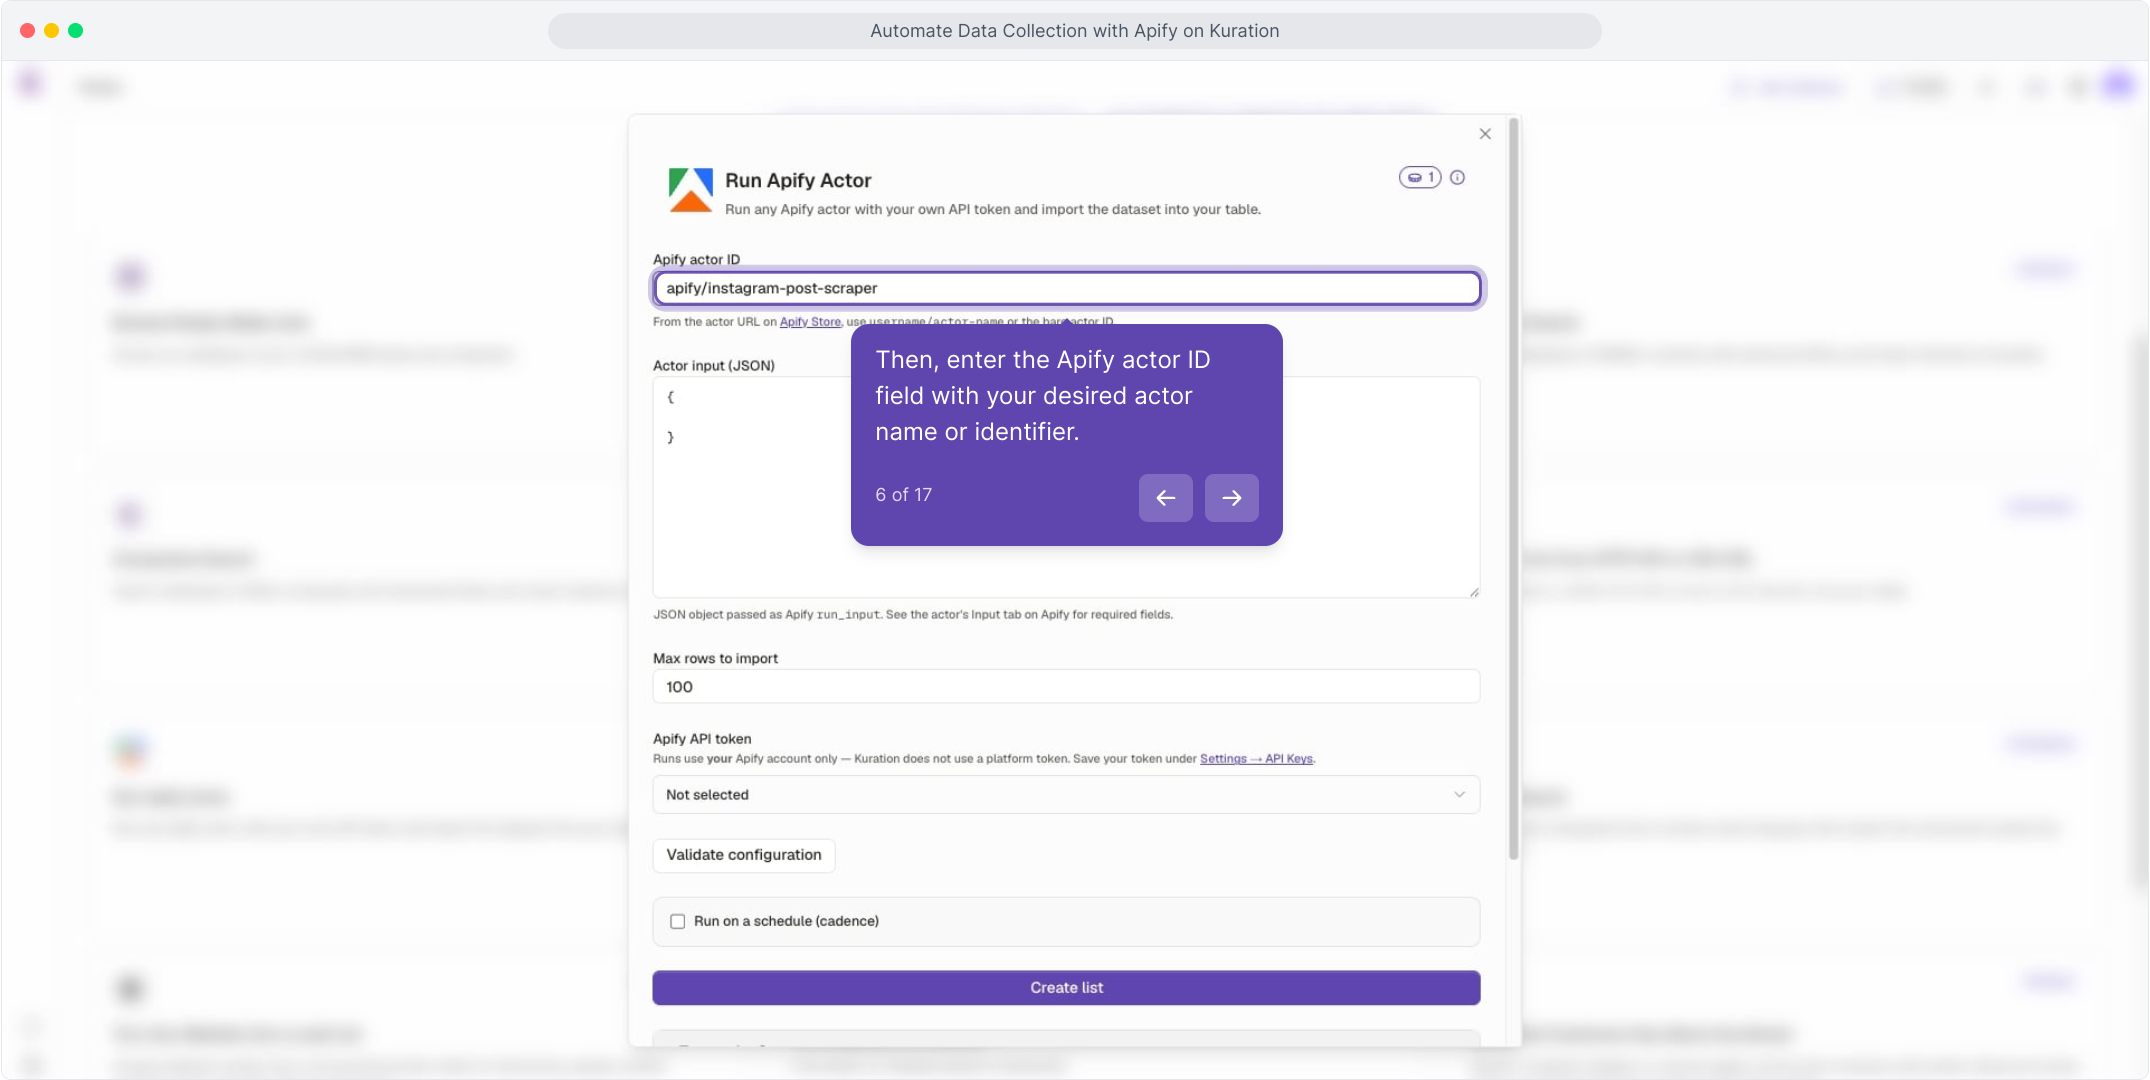
Then, enter the Apify actor ID in the provided field to configure the integration.

Then, enter the Apify actor ID field with your desired actor name or identifier.

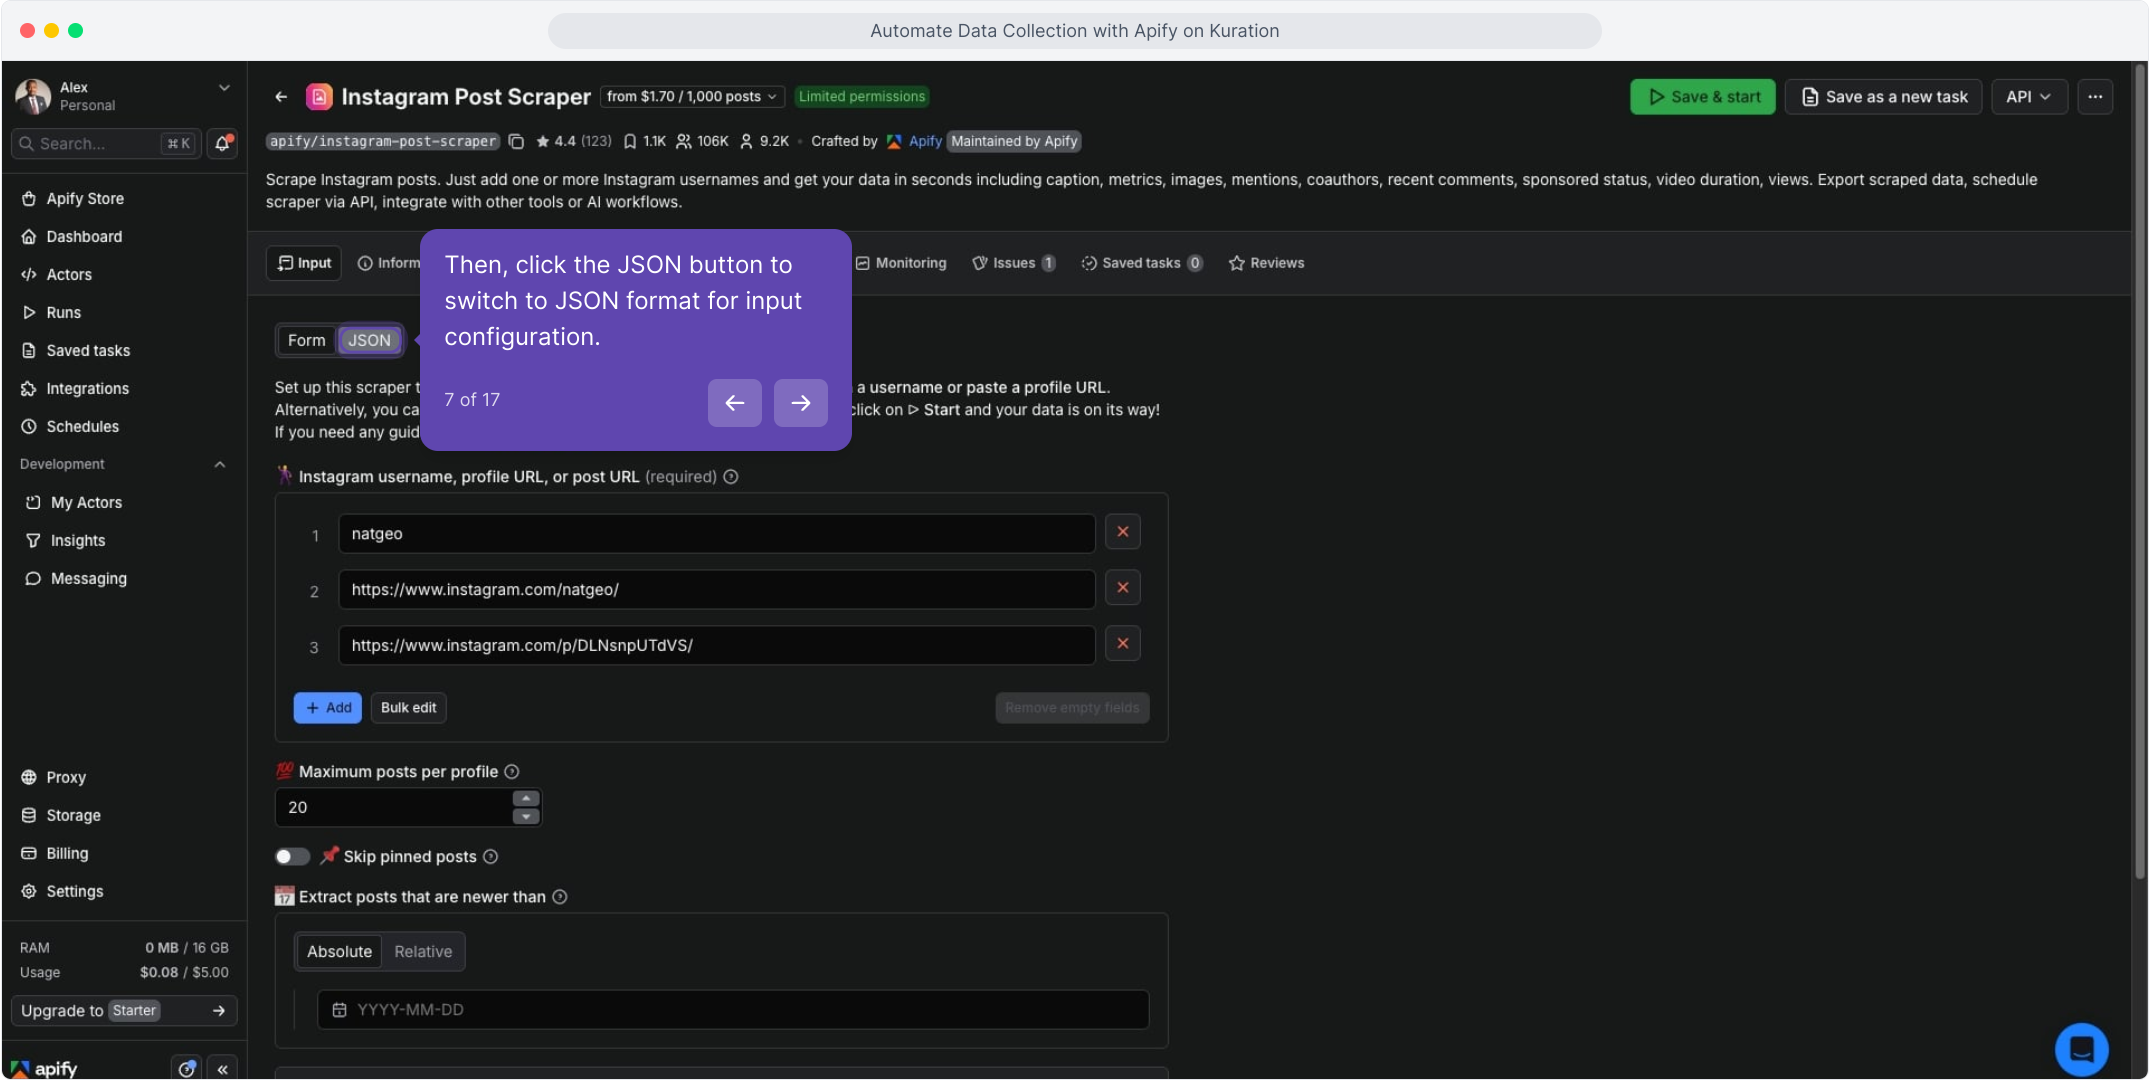
Then, click the JSON button to switch to JSON format for input configuration.

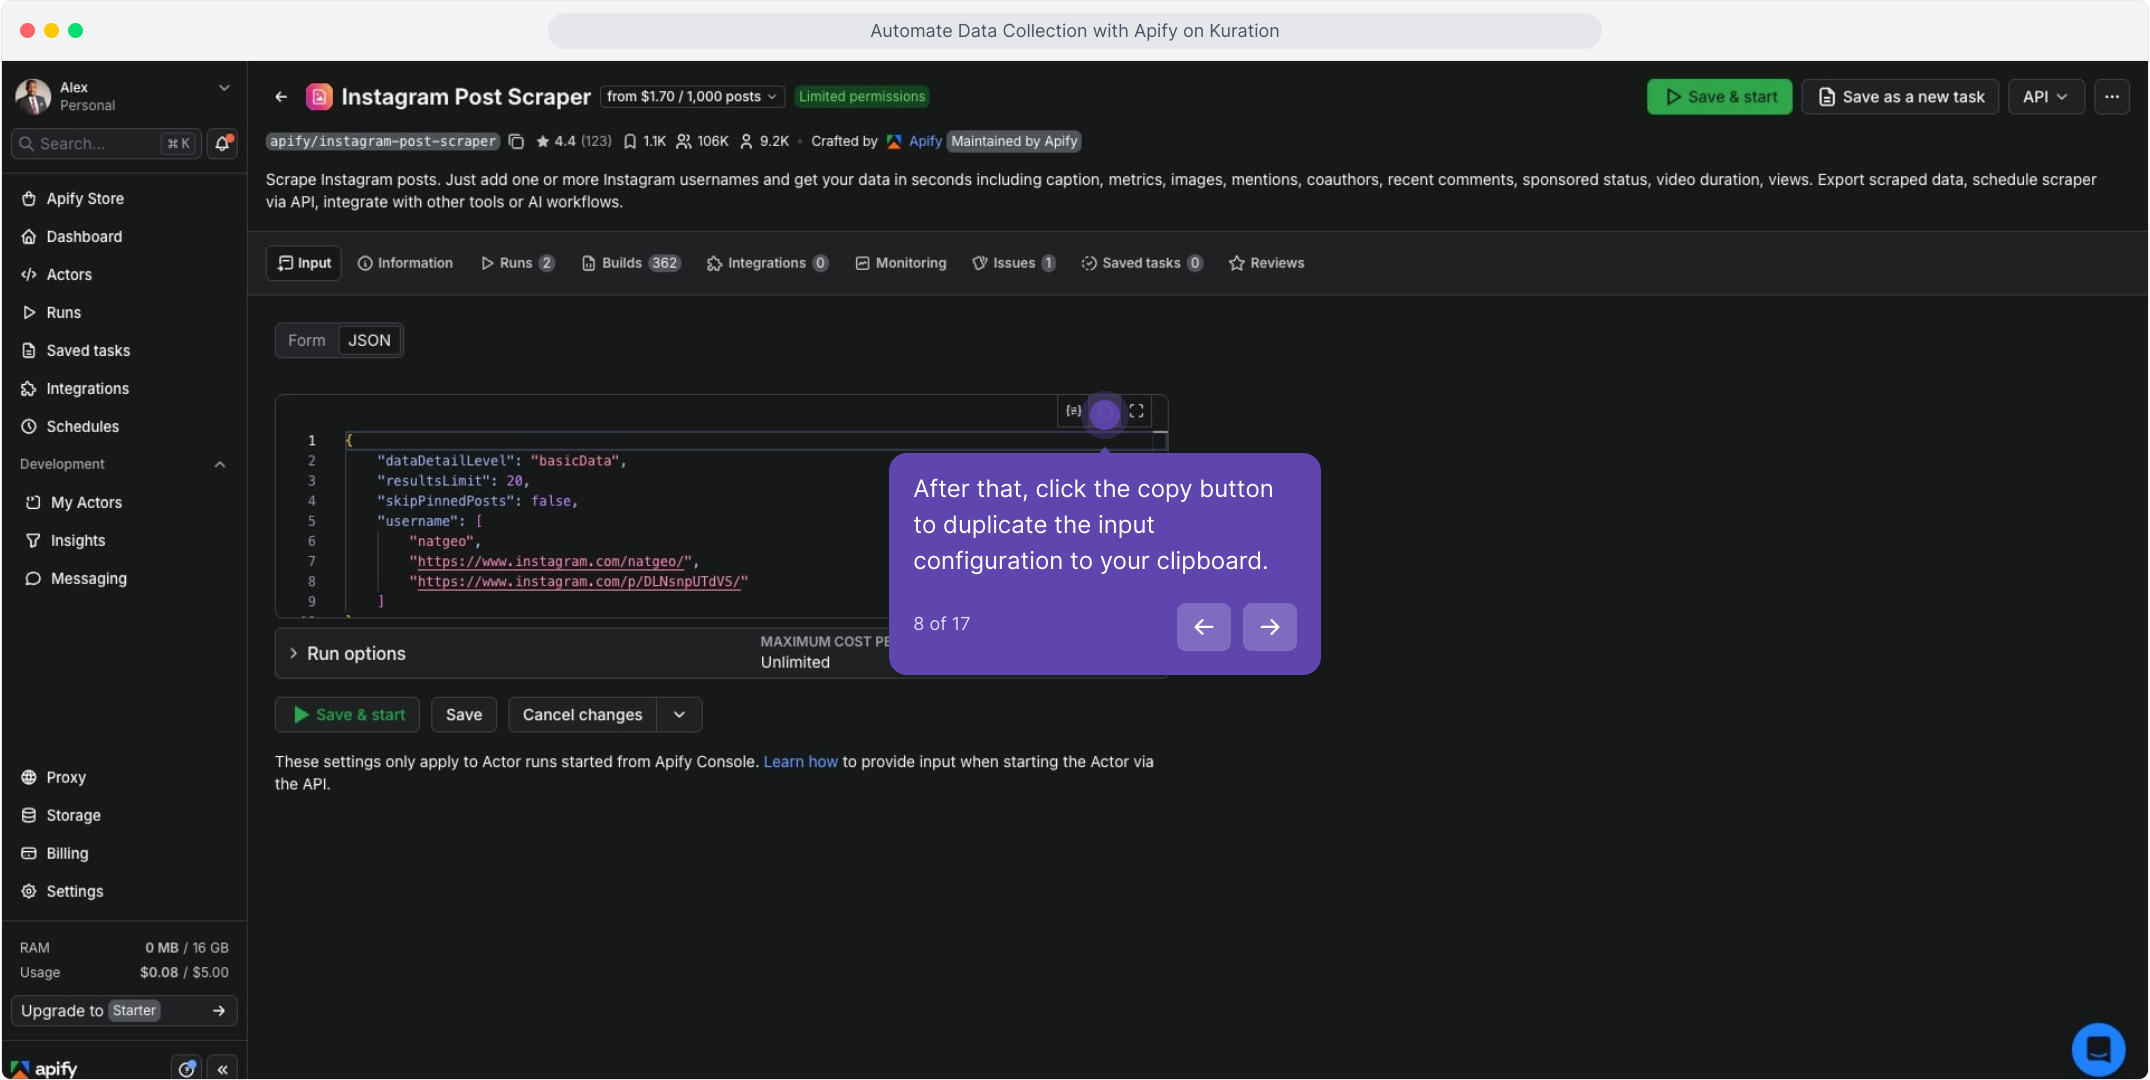
After that, click the copy button to duplicate the input configuration to your clipboard.

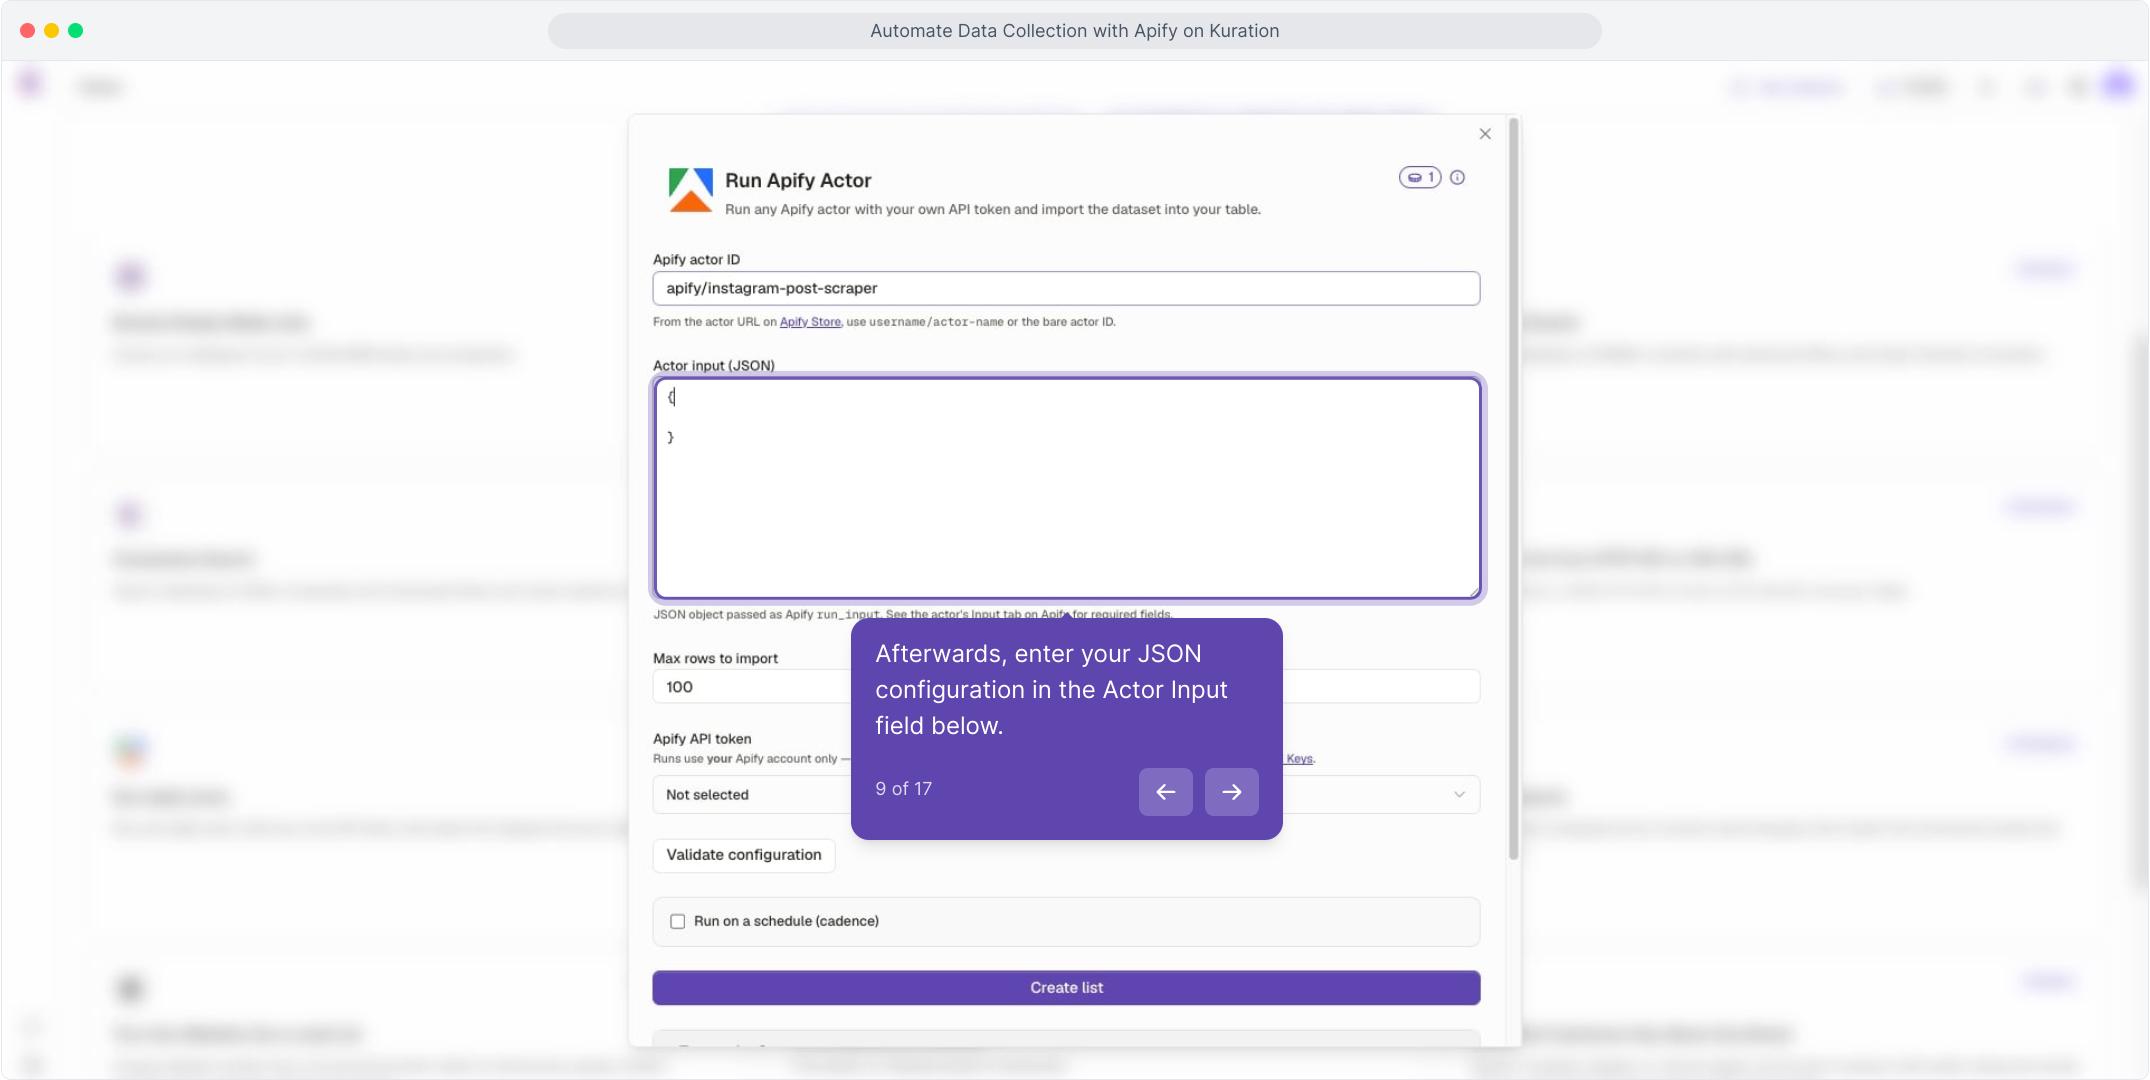
Afterwards, enter your JSON configuration in the Actor Input field below.

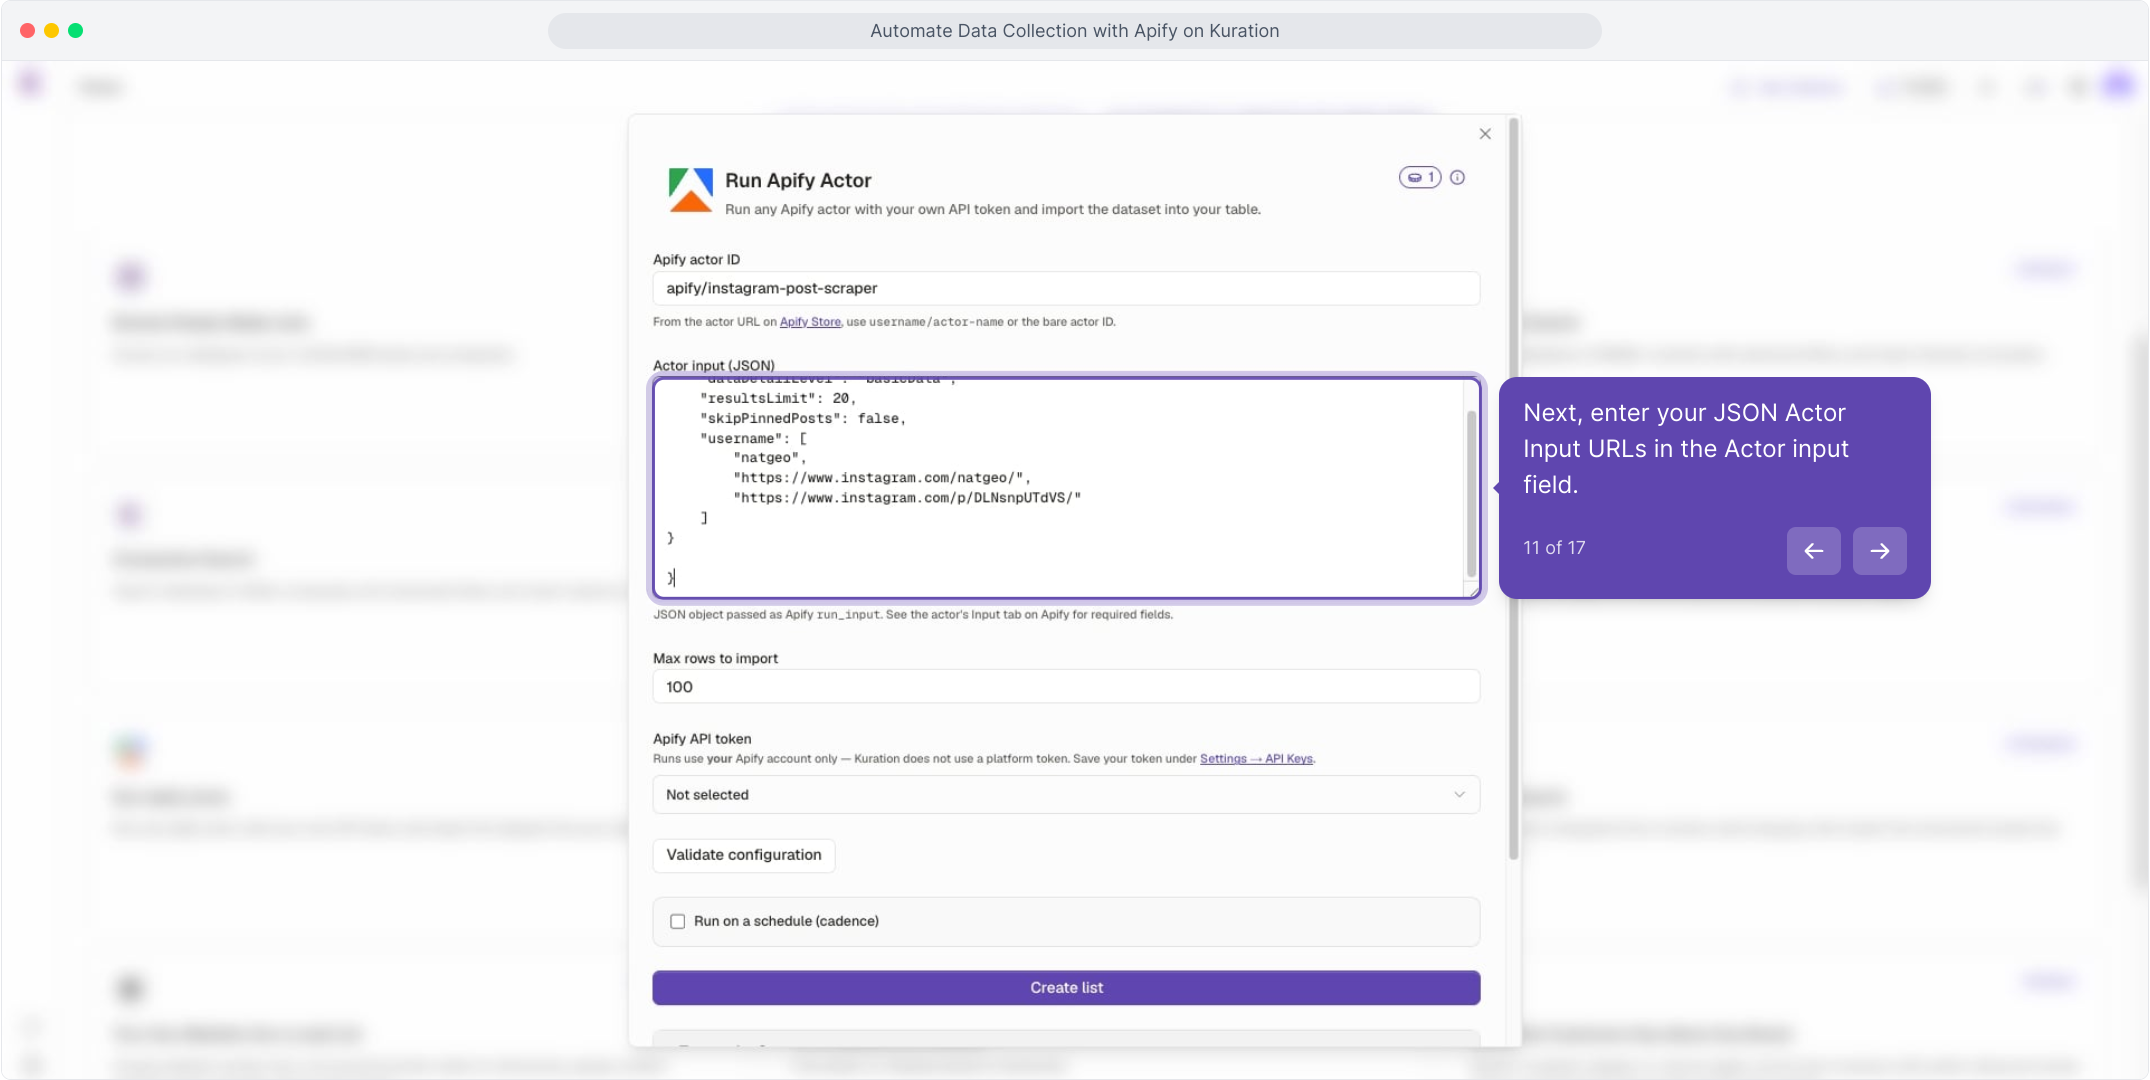
Next, enter your JSON Actor Input URLs in the Actor input field.

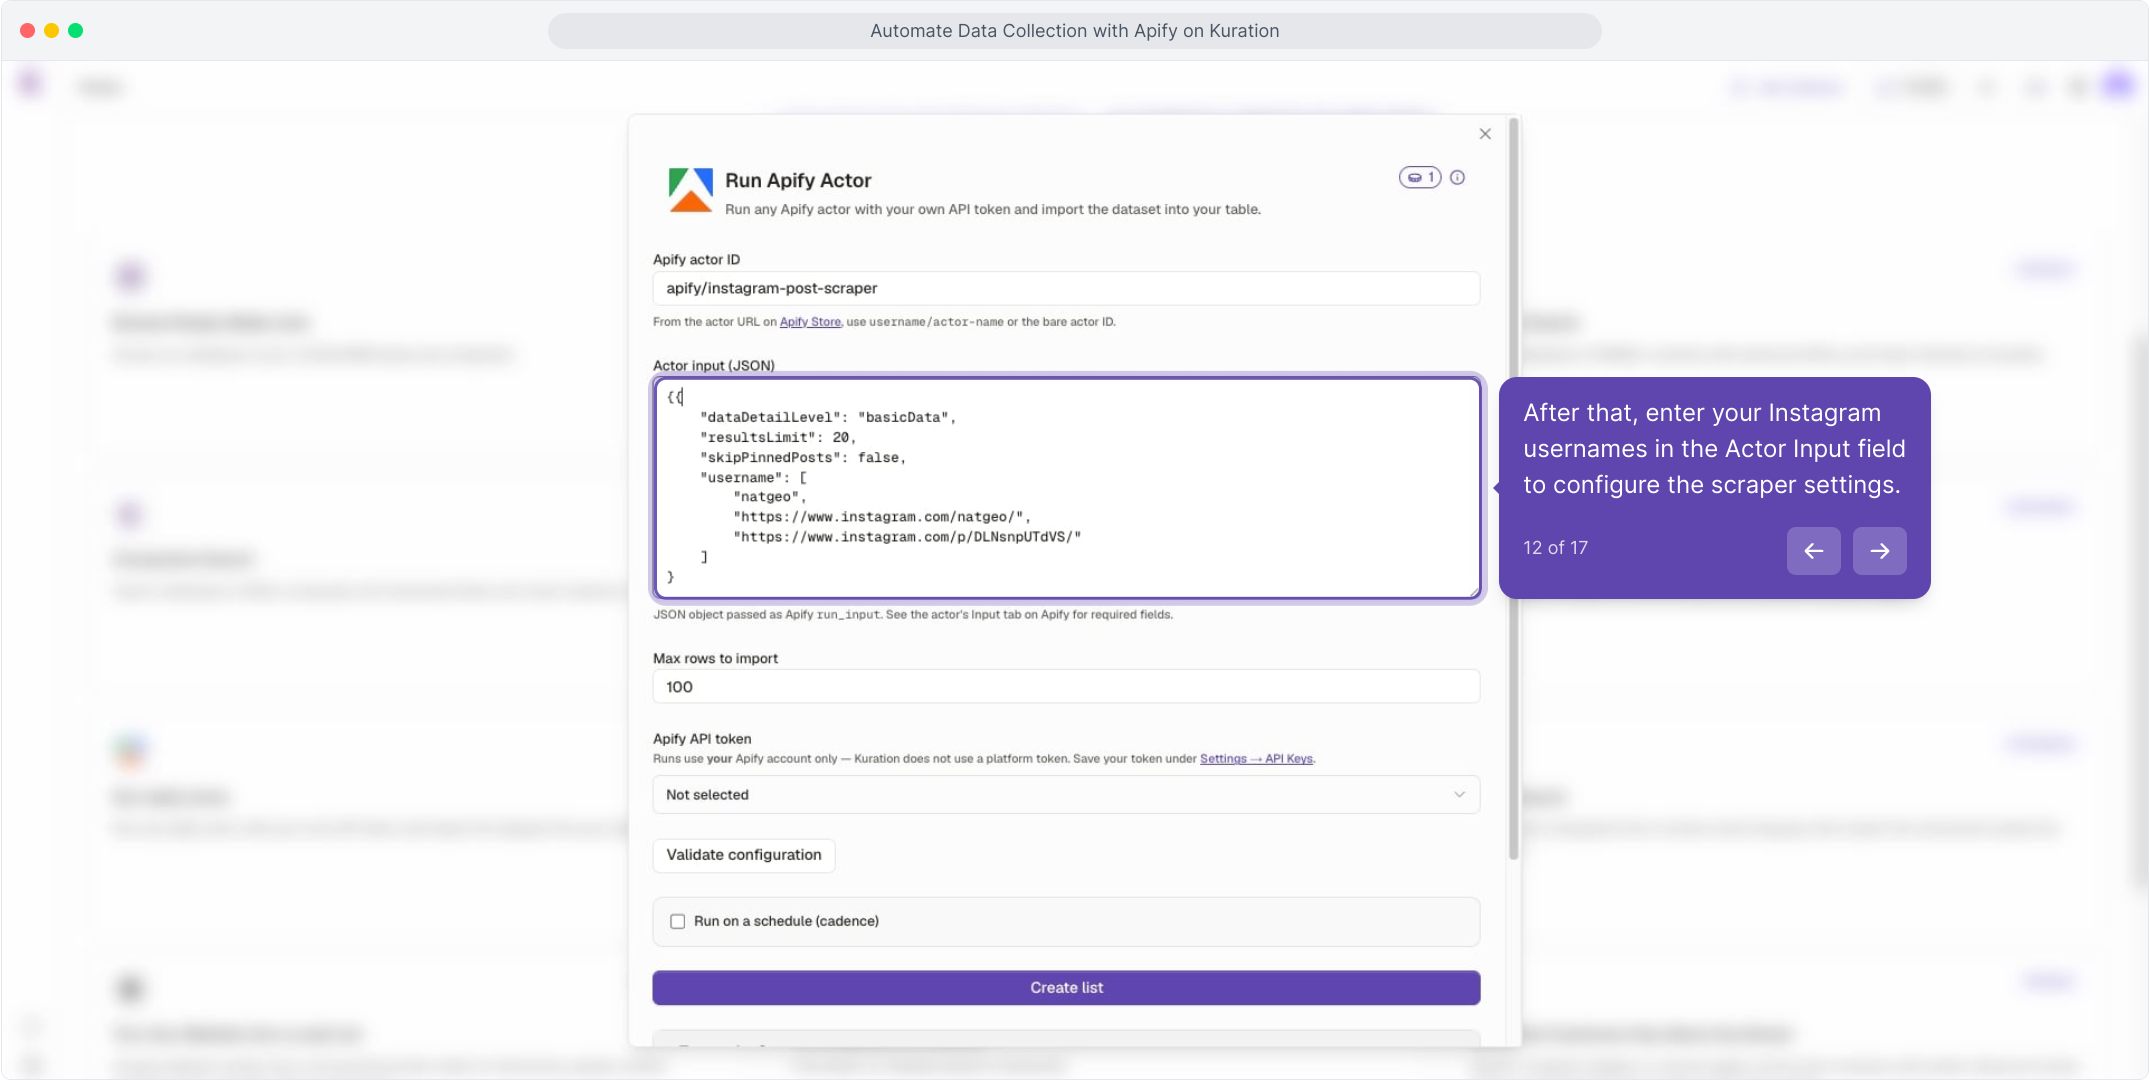
After that, enter your Instagram usernames in the Actor Input field to configure the scraper settings.

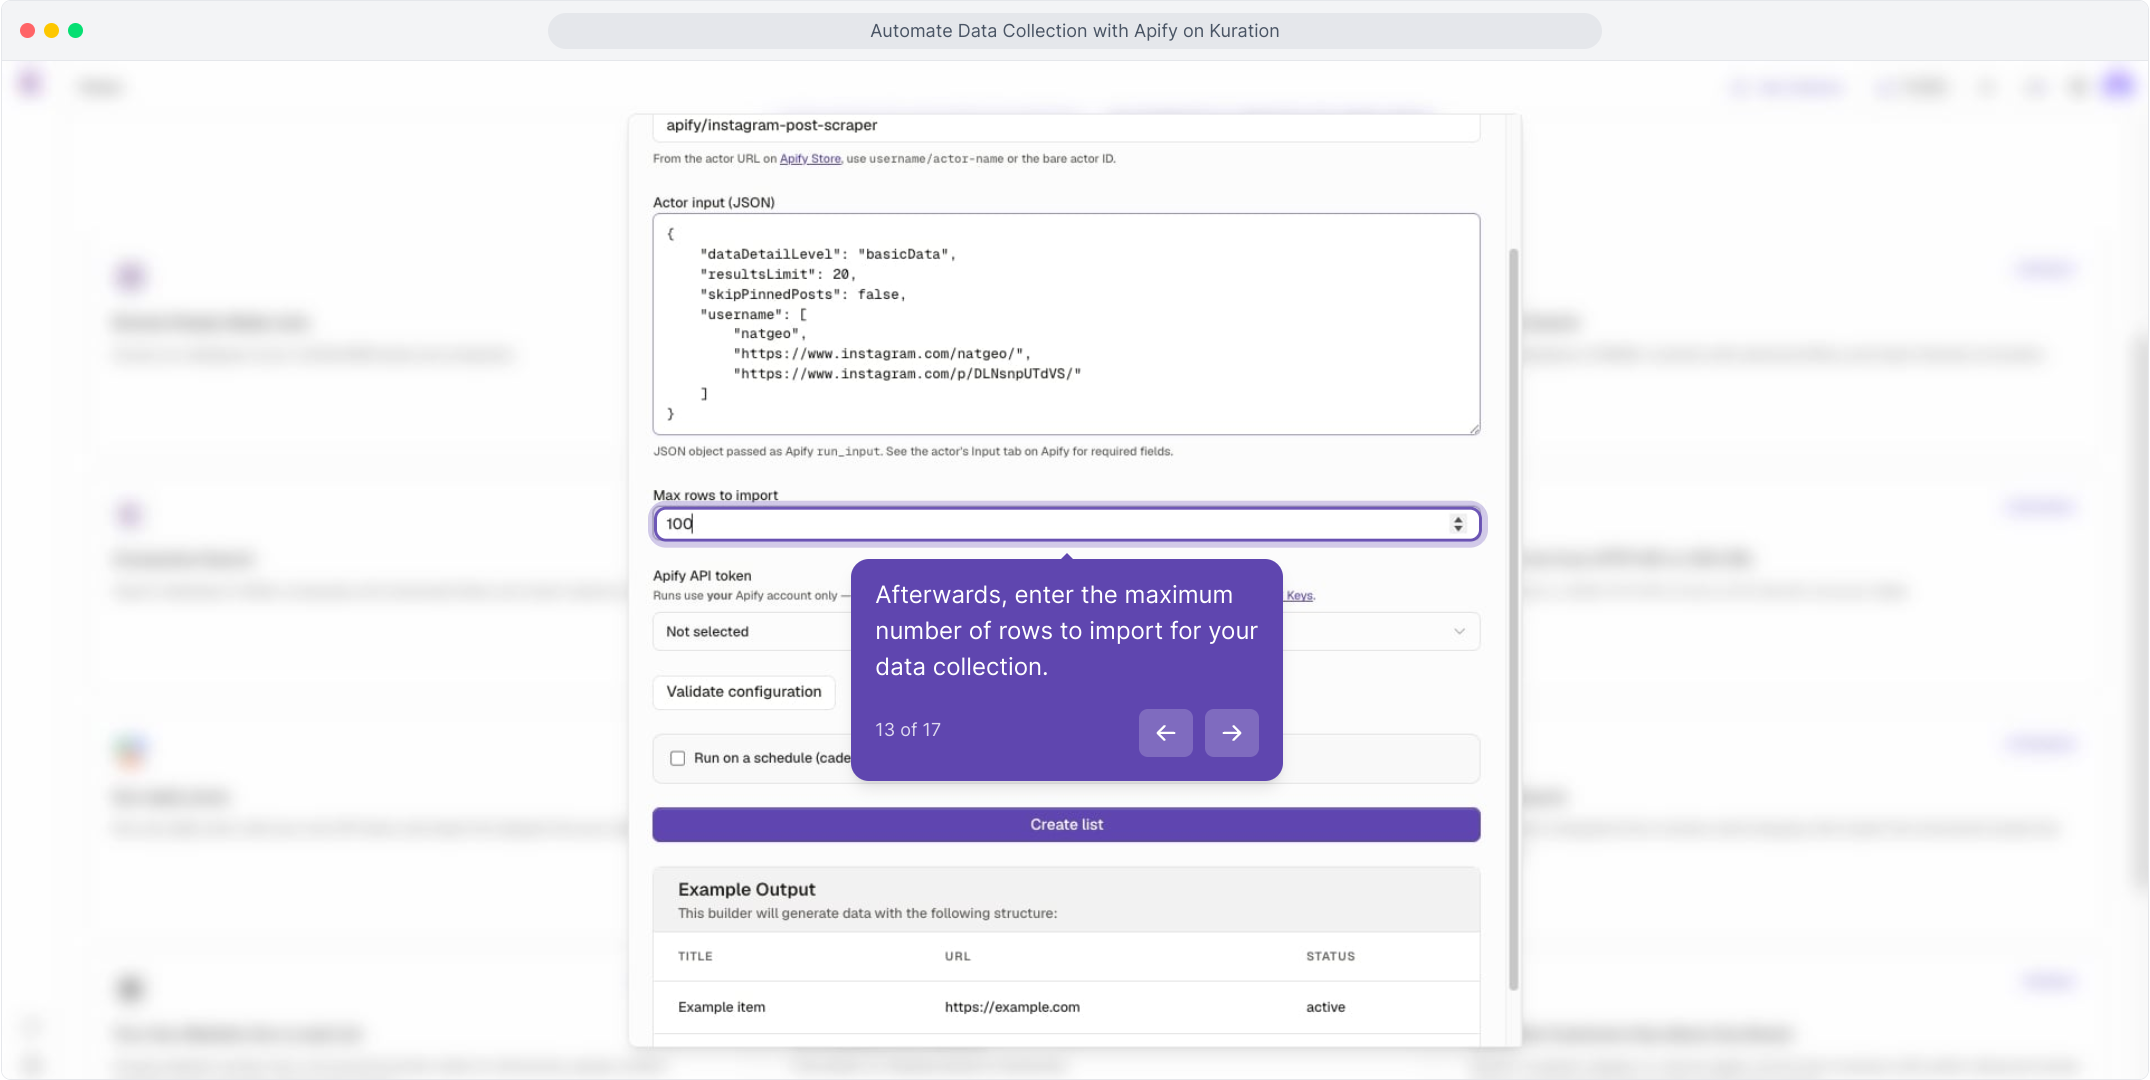
Afterwards, enter the maximum number of rows to import for your data collection.

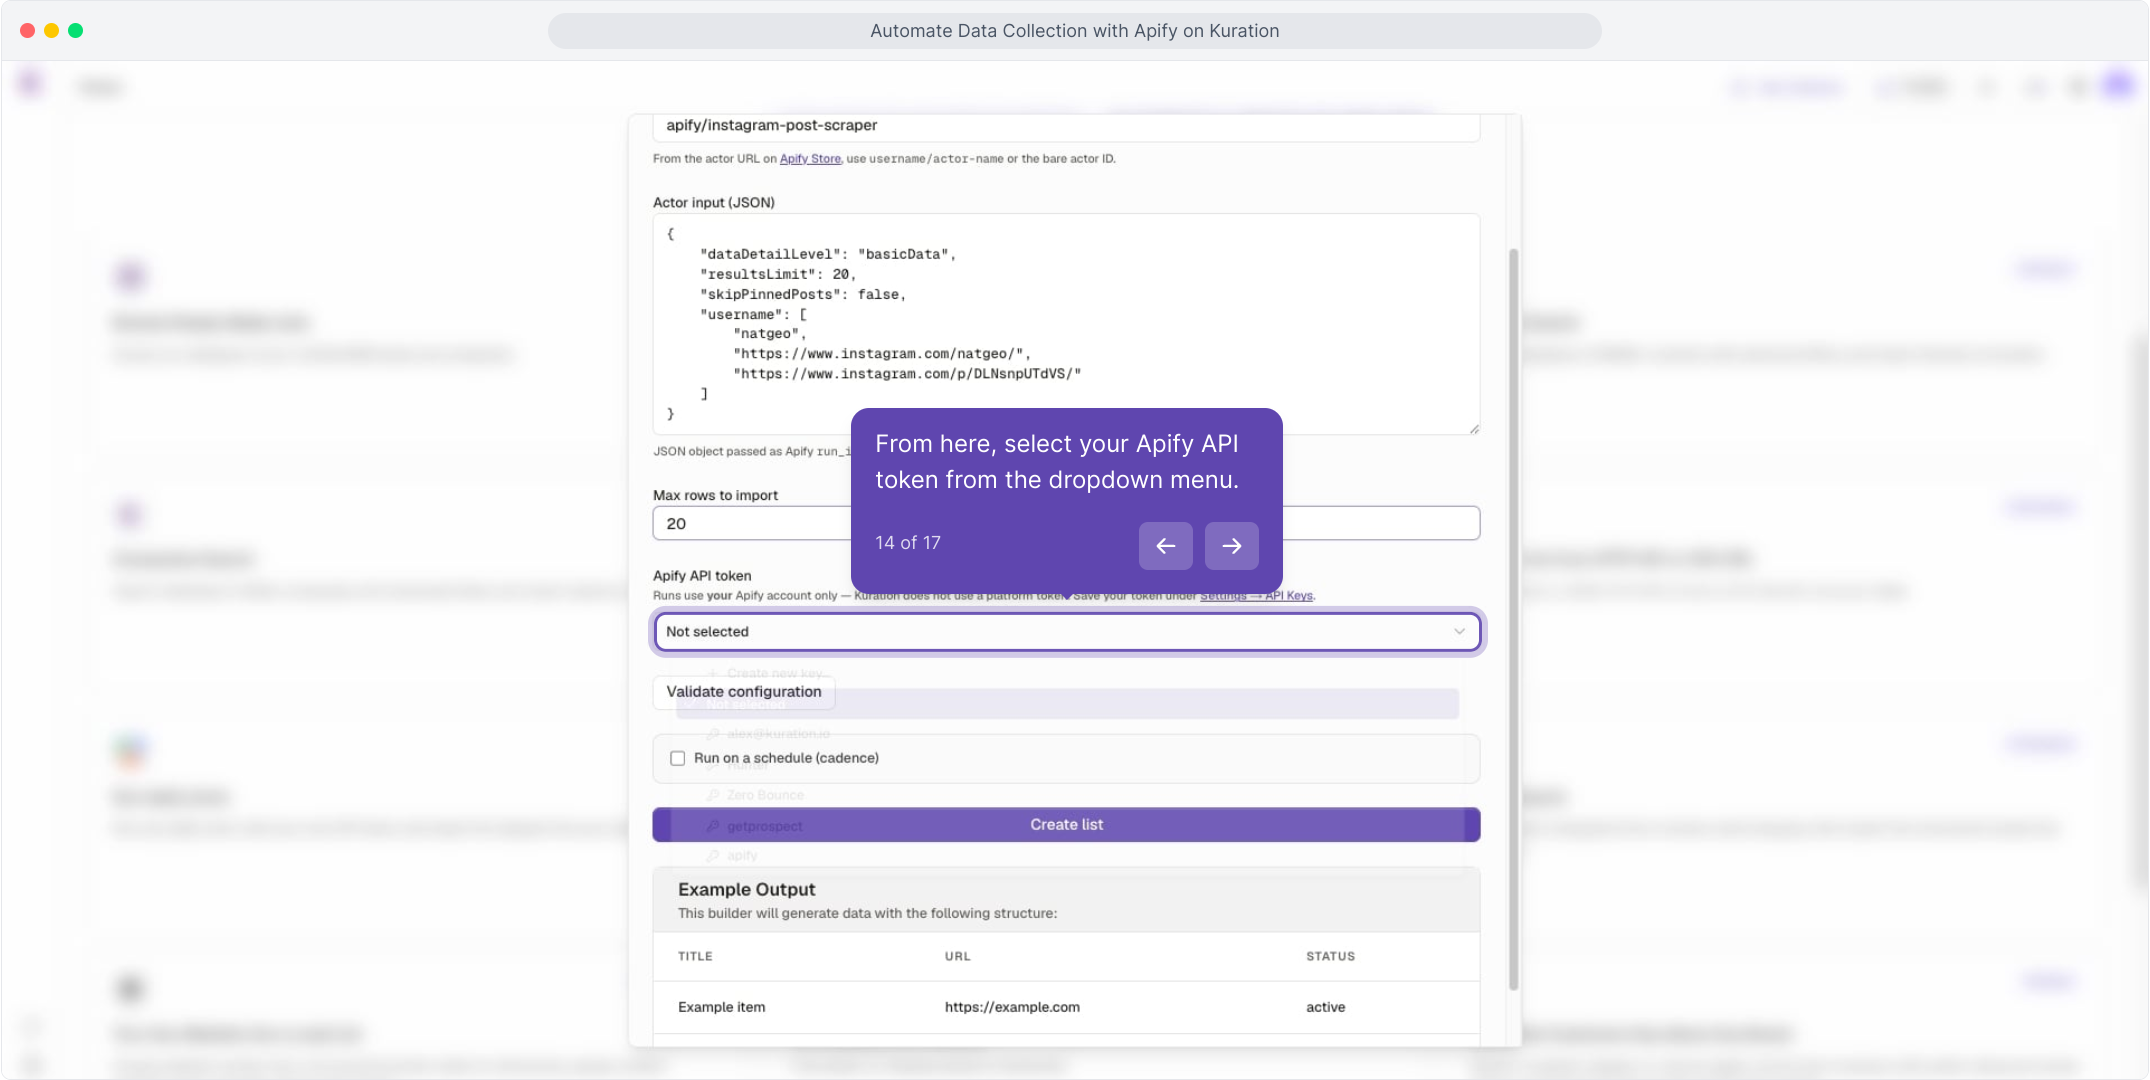
From here, select your Apify API token from the dropdown menu.

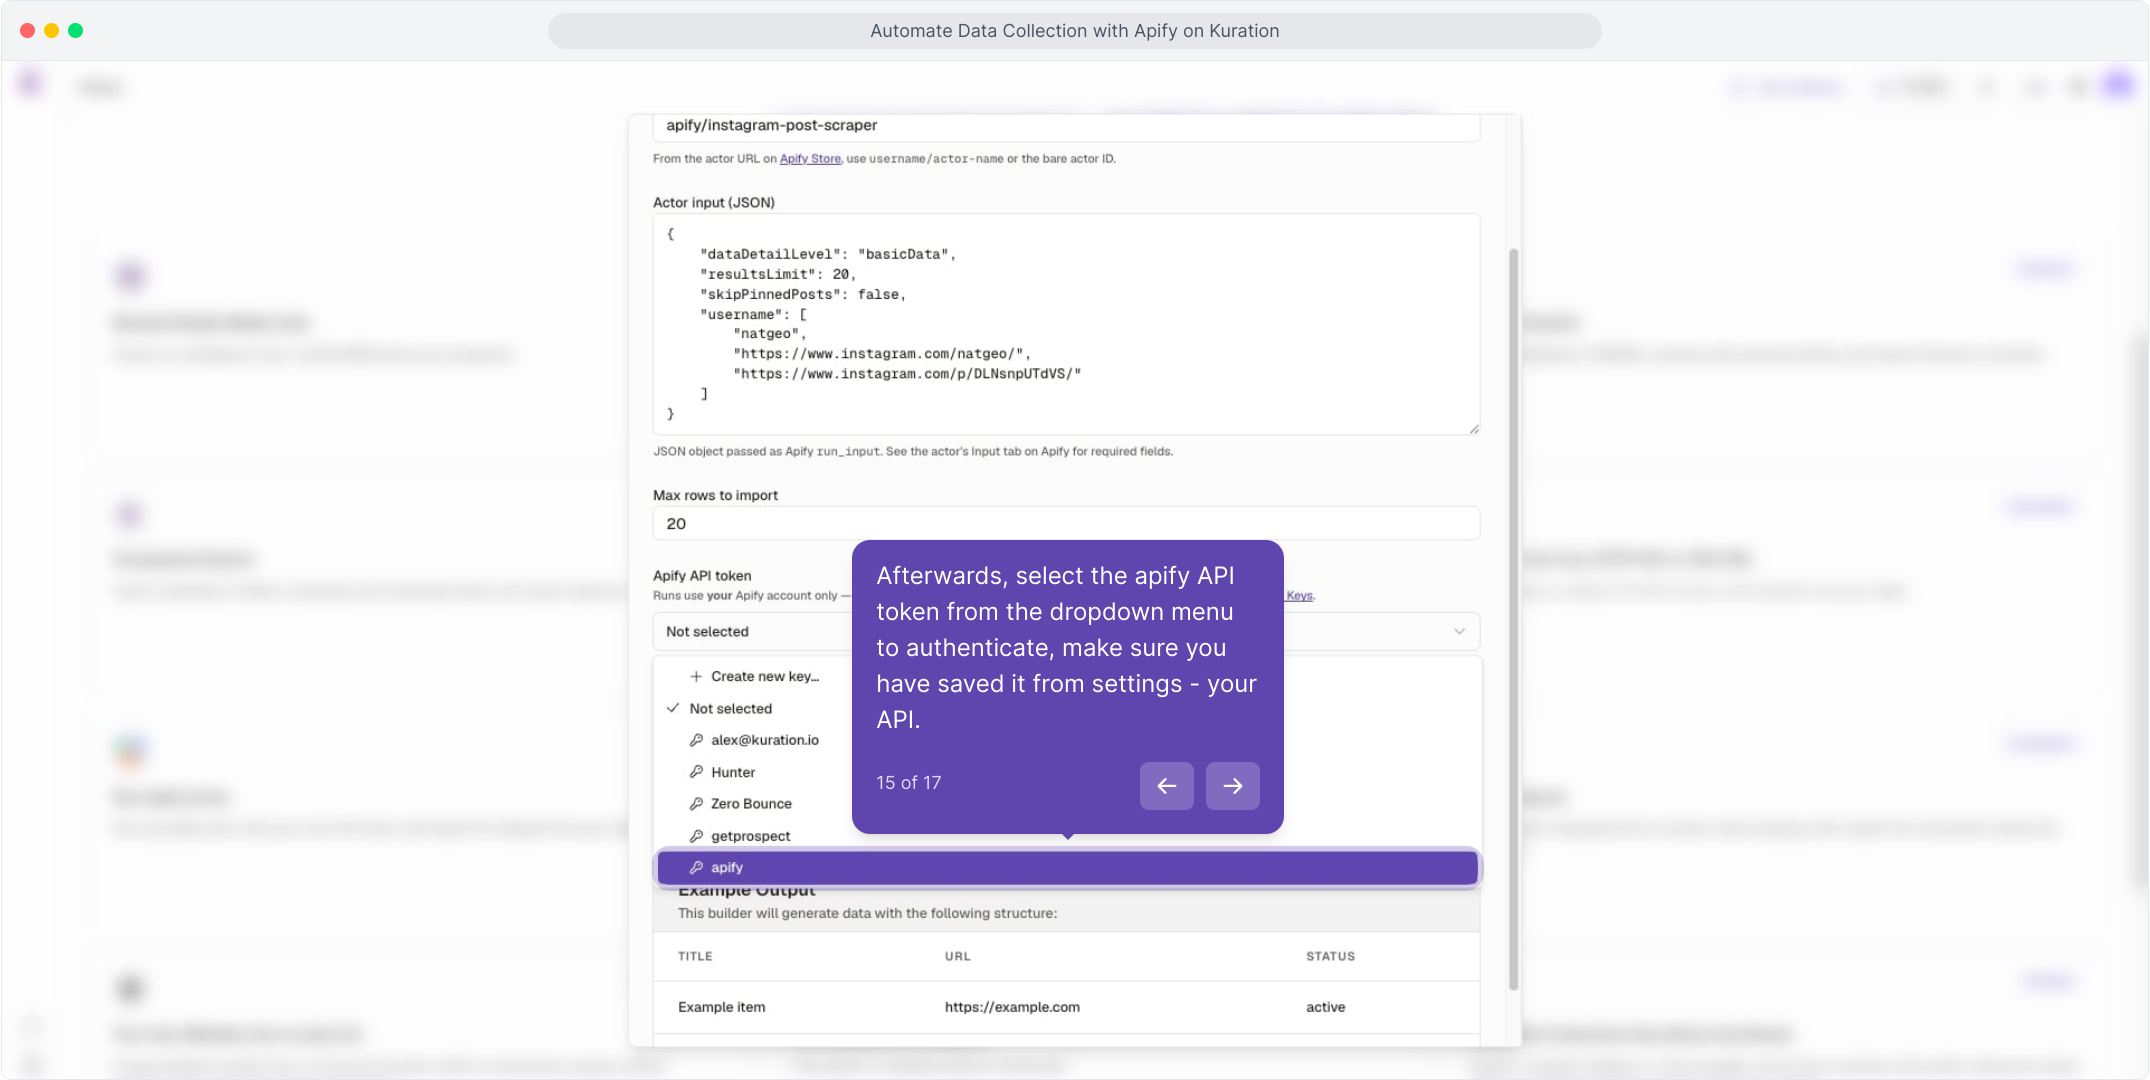
Afterwards, select the apify API token from the dropdown menu to authenticate, make sure you have saved it from settings - your API.

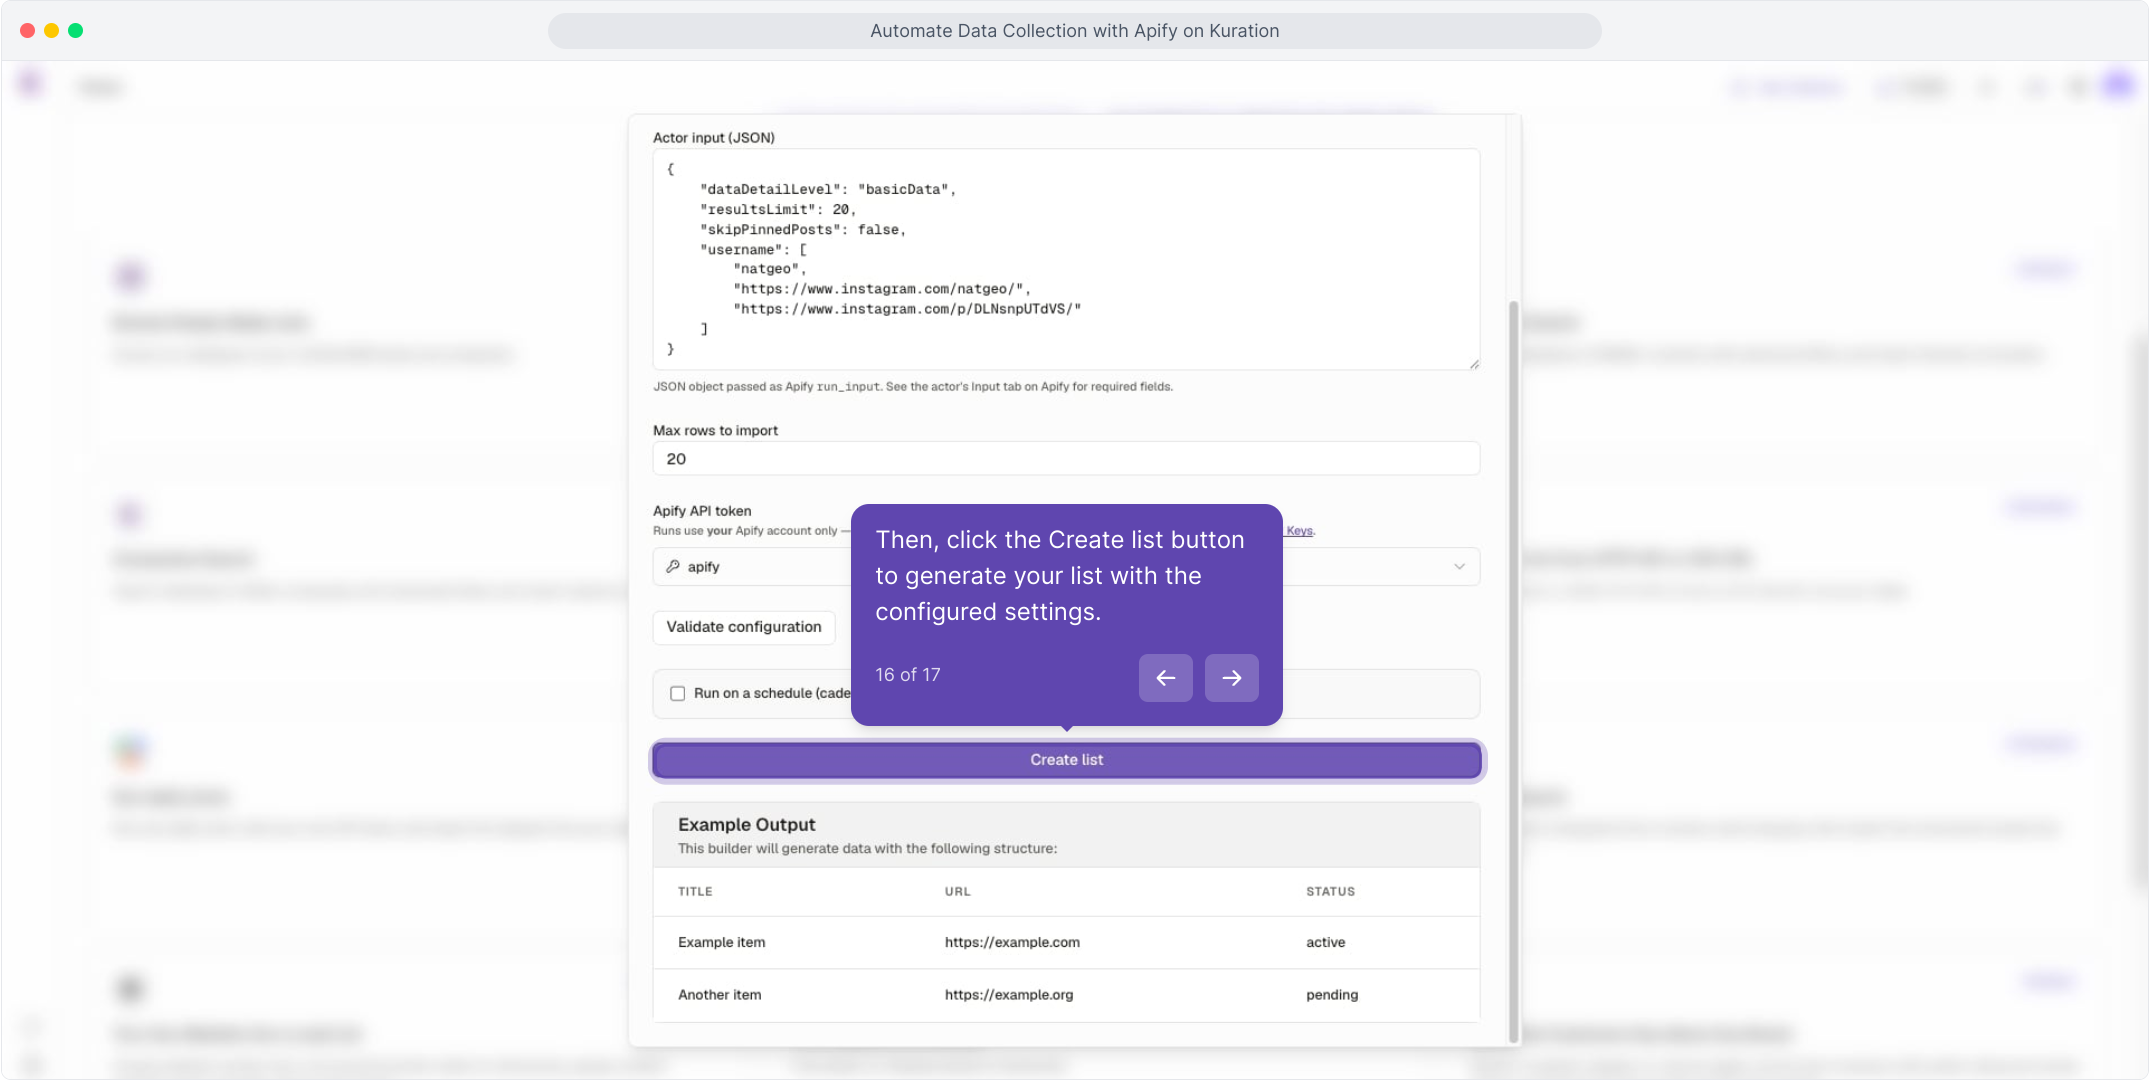
Then, click the Create list button to generate your list with the configured settings.

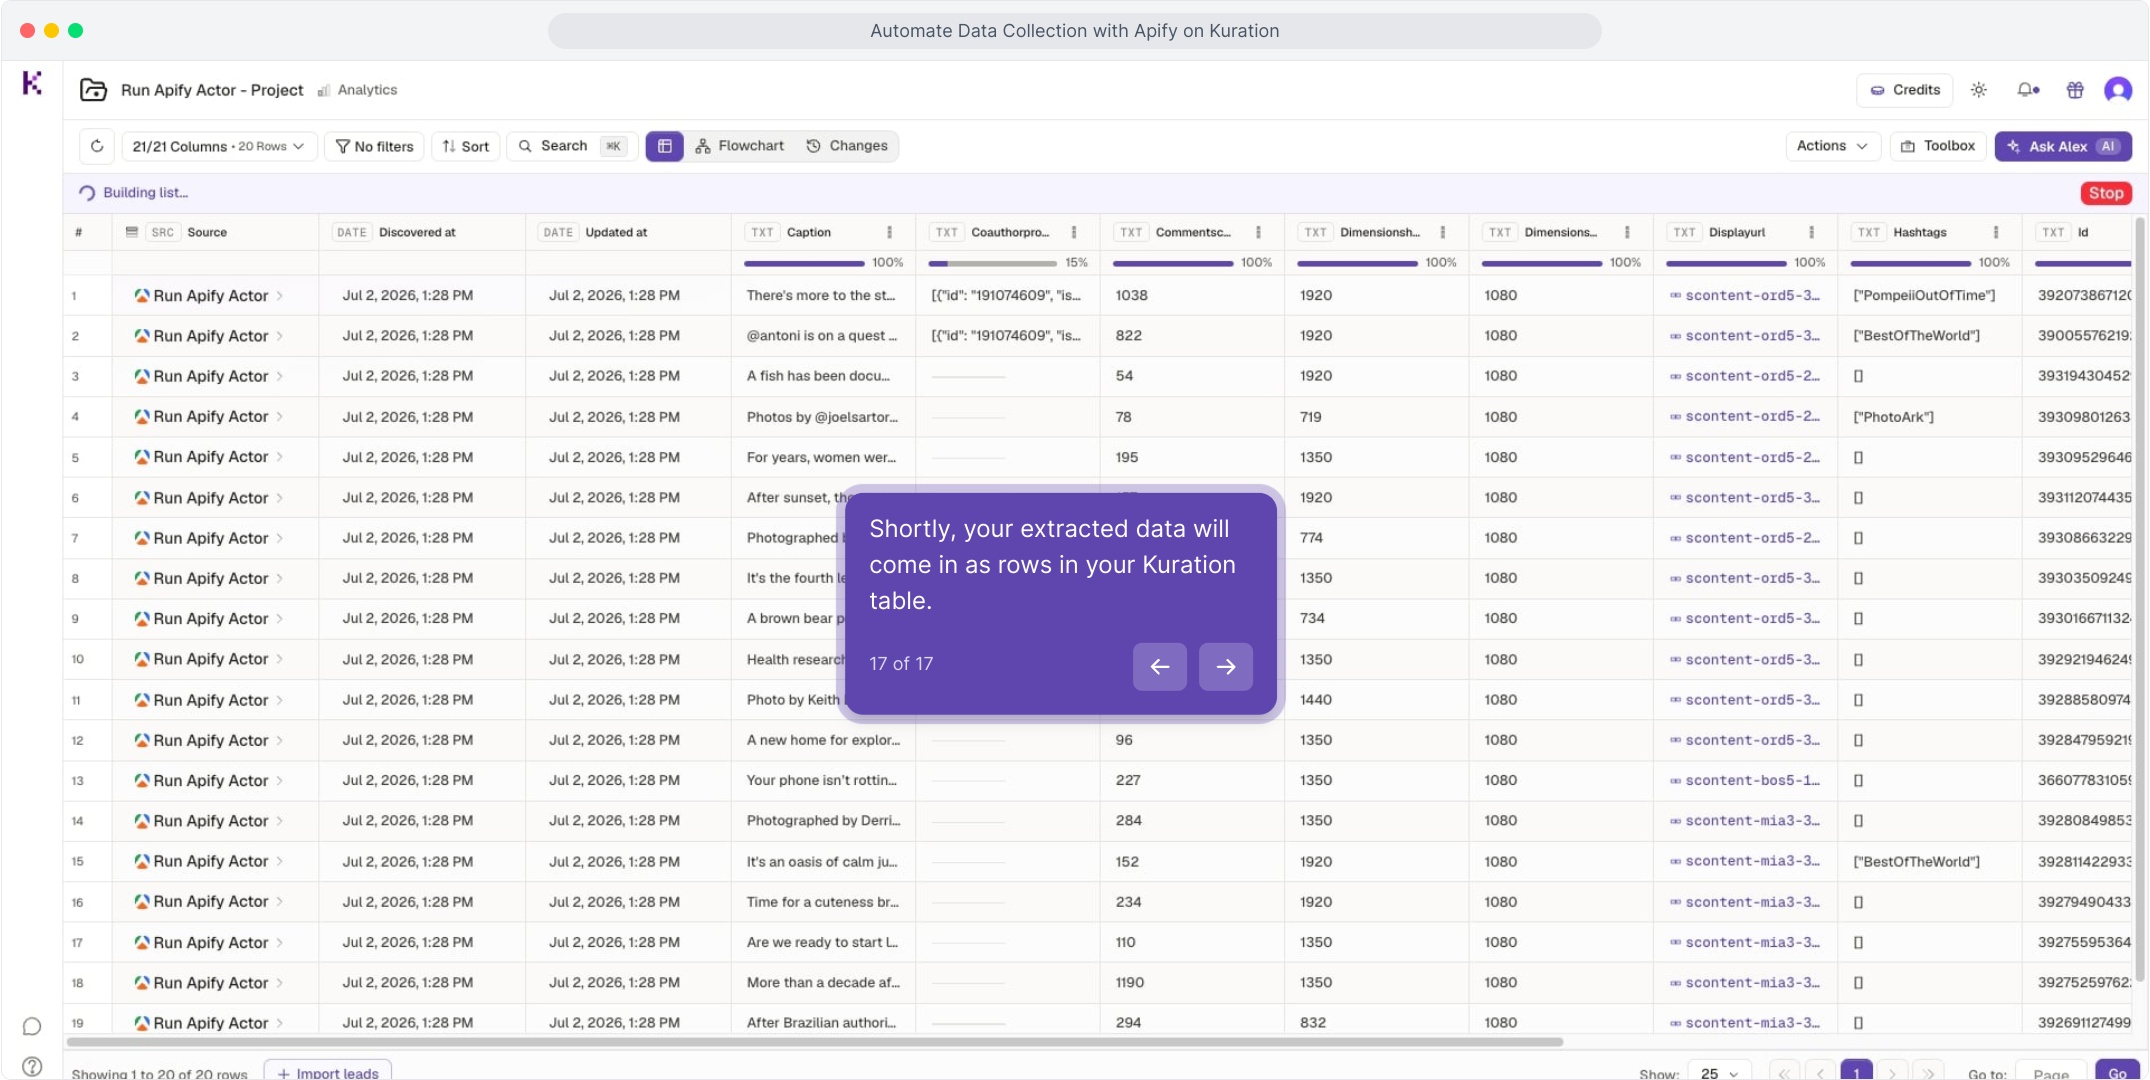
Your Apify data is on its way
Shortly, your extracted data will come in as rows in your Kuration table.